2016 Organiser Set Up and Carpe Diem Planner Review
8:09 AMHappy 2016. With the new year new resolutions emerge and of course, in the planner community, a chance to showcase new diaries, organisers or planners.
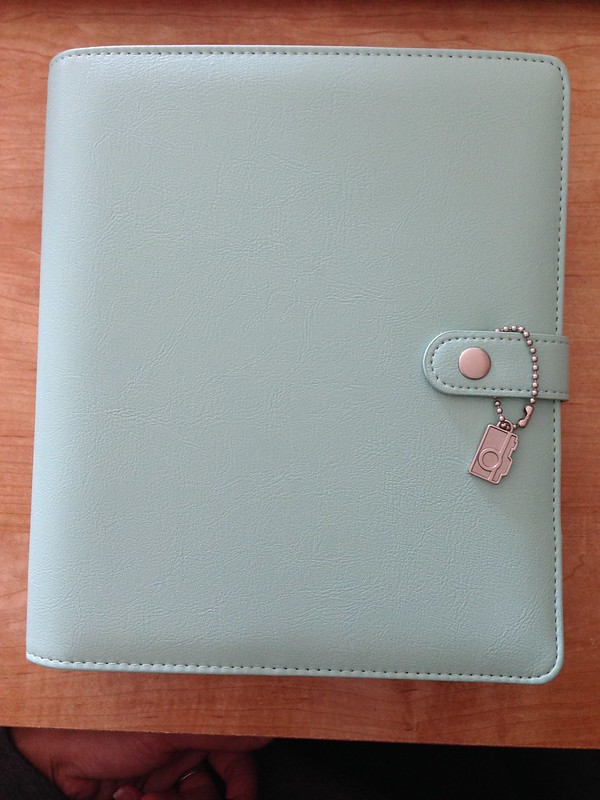
In my previous post, I mentioned acquiring the Carpe Diem A5 planner. As much as I would have loved to purchase the Union Jack Filofax Original in the A5 size, I decided against it. After all, I've accumulated quite a bit of Filofaxes over the years. Unfortunately, whilst Christmas shopping at a local scrapbook shop, I came across the Carpe Diem Planner and fell in love with the colour: Robin's Egg, which is a shade lighter than the Tiffany's jewelry box.
My whole purpose on using the Carpe Diem planner was to give my A5 Filofax Original a break from the wreckage of my bag as well as an attemp to downsize what I carry. Last year, during a holiday in Hawaii, I was unable to bring my Filofax as I've already overloaded my carry-on situation with my postgrad books, laptop, and of course, scuba gear. Yes. I've got scuba gear designed as a carry on.
As I retired my Filofax and moved into the Carpe Diem, I noticed the size difference. The Carpe Diem planner is slightly bigger by an inch compared to the Filofax Original and the ring sizes are also bigger. It is also quite bulky. The organiser is made out of textured faux leather/vinyl, similar to that used on the Filofax Metropol. This is one of the reasons why Carpe Diem is inexpensive. At $45 a piece, anyone who is looking at moving into an A5 size can purchase one without burning a hole through their purse, although I wouldn't recommend this as an everyday planner. It's big and bulky. And if you're planning to carry an A5 around, I would suggest in investing in a Filofax. They're slightly higher in price, but you get what you pay for and they've been in the organiser business since the 1920s.
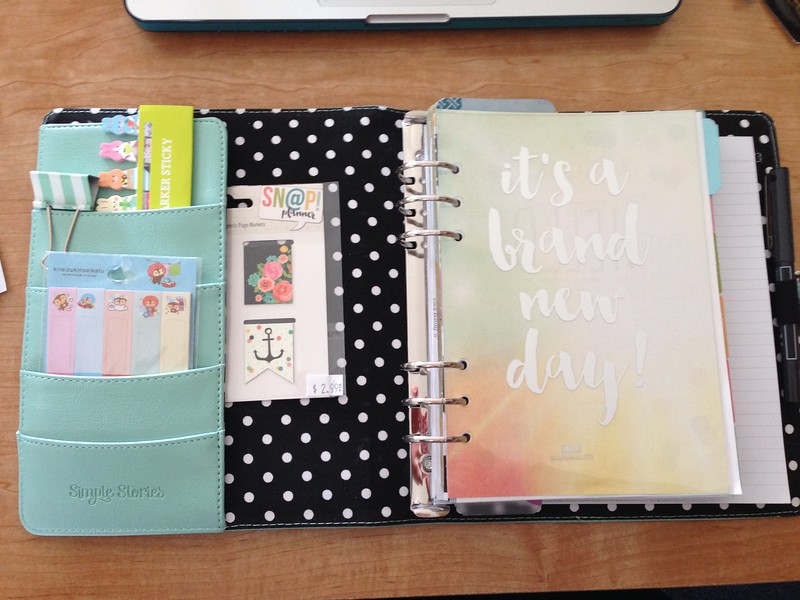
The interior of the Carpe Diem planner is not made out of the faux leather that covers the exterior, but with a black polka dot fabric material. On the front flap, there is a side pocket with credit card slots and the back flap holds a notepad.
The inserts that came with the organiser are beautiful and colourful. However, it is not dated. I like my diary pages to come already dated so I can just go in and plan and schedule in dates without having to figure out which day falls on what. It also saves time in having to date the diary pages. The purpose of having an organiser and diary pages is to facilitate proper time management. With undated diary pages, it takes time to write down each date. Once each date is written, then one can start planning.
It's a cute organiser, but as far as their diary pages, it's highly unlikely I will use it.
Now onto the set up.
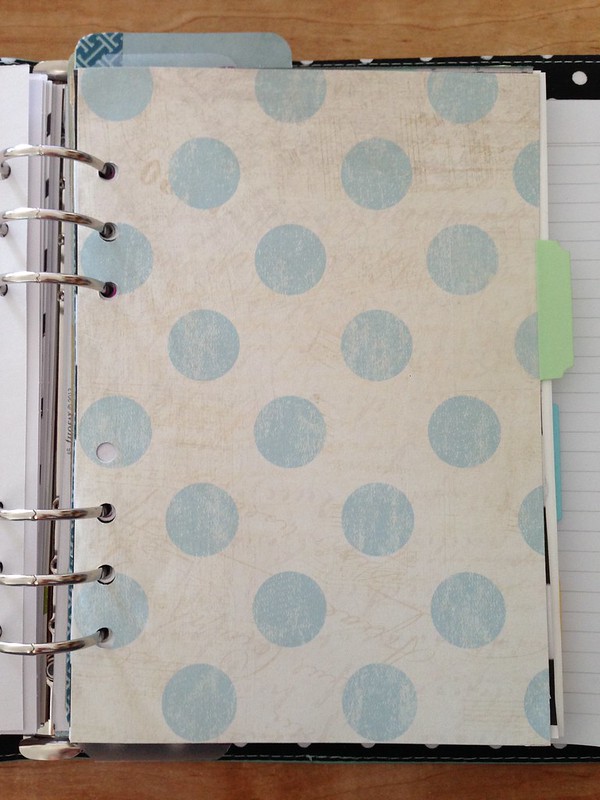
The first tab in the planner (I made my own by using heavy duty scrapbooking card stock and some Martha Stewart's peel and stick tabs) contains my information as well as dates and holidays that came with the diary inserts I purchased from Filofax.
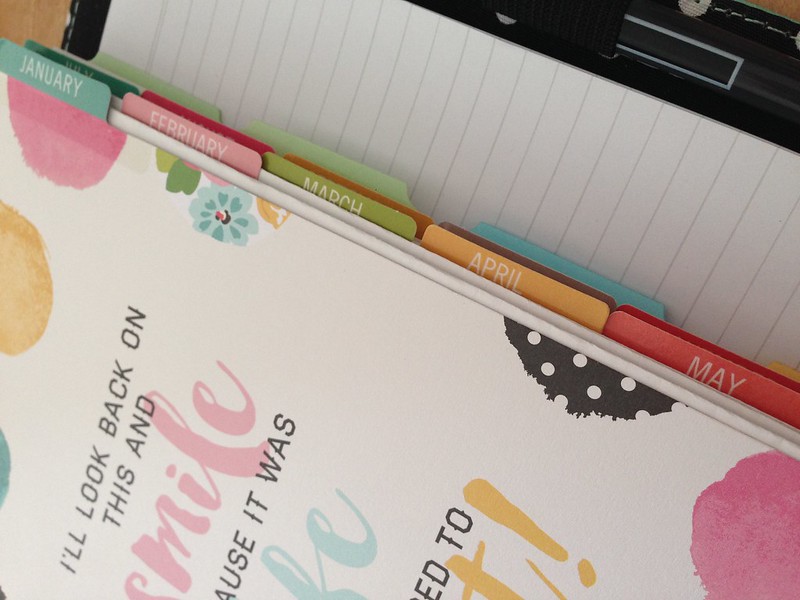
The second tab, I placed the foldout month at a glance pages I printed from the iCal app on my Mac. I use these foldout months to see what I've got going on at one glance rather than rifle through each page. On these pages, I use the photopolymer stamps I purchased from Sweet Stamp Shop, Studio L2E and Technique Tuesday. I've also used the colourful monthly dividers that came with the organiser to sort out each foldout monthly calendar.
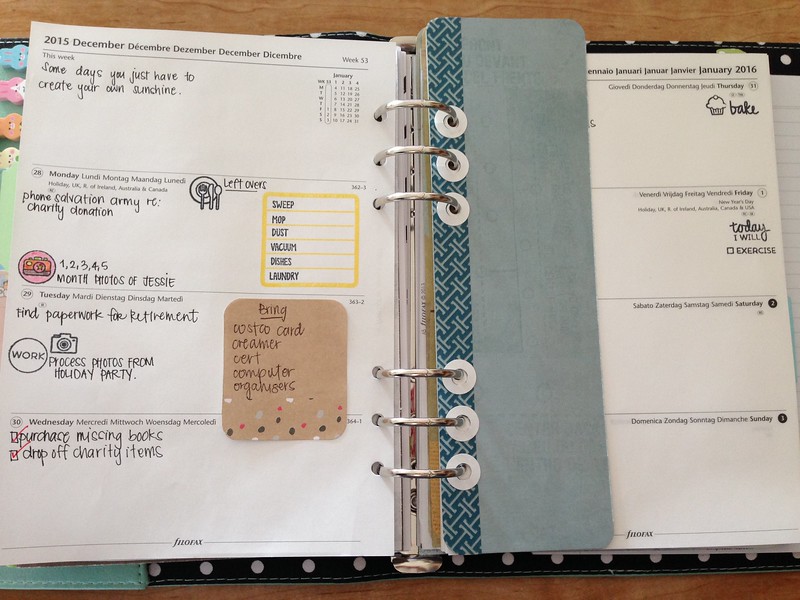
The third tab contains my diary pages. This is where I record everything from appointments, chores, work, and post-graduate dates.
The fourth tab is where I'll keep my notes. It's basically a memory dump page, but a bit neater than the one I keep in my Personal Domino.
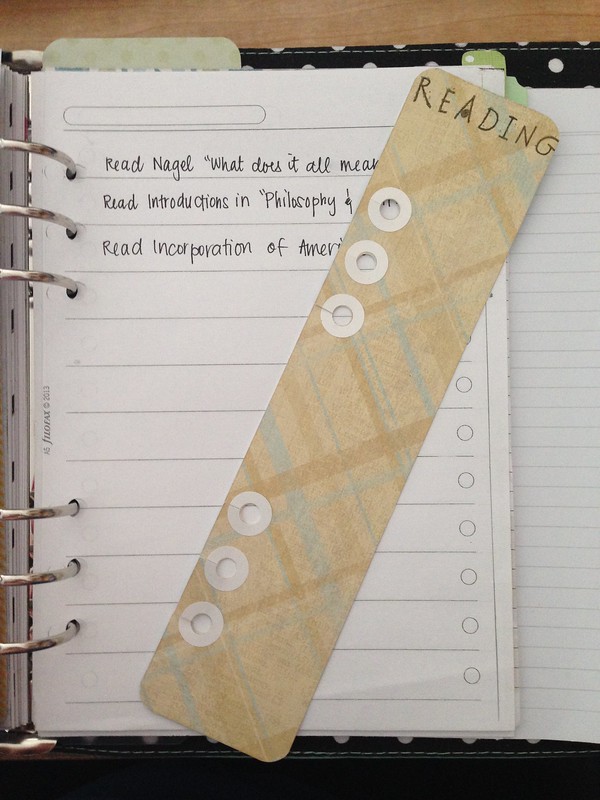
The fifth tab contains all post-graduate university related information. I've also copied the Filofax To-Do pages and placed them in this tab to record my readings. As a post-graduate student of history, I have a lot of reading and research to do as well as writing, so the reading list will help me keep track of all the reading I need to do. I've also added the program information in this tab so I can refer back to it whenever I need to.
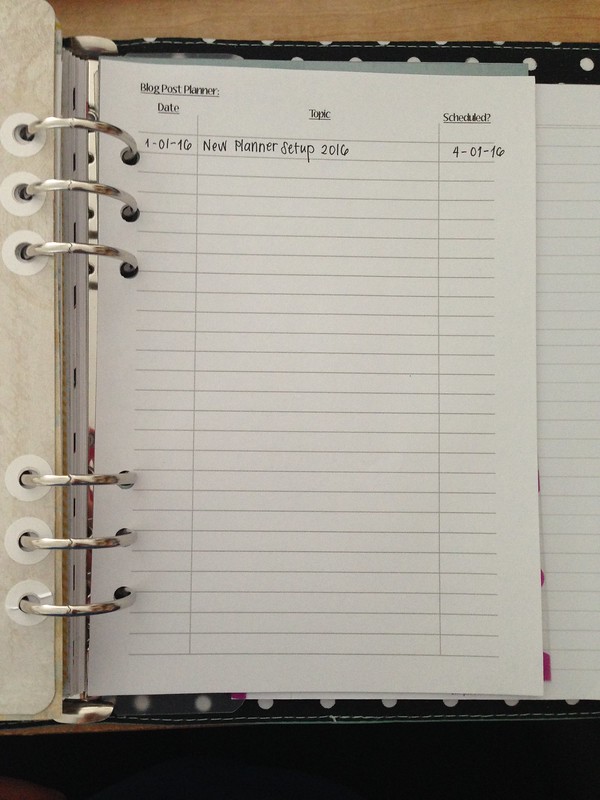
Lastly, I've got a blog schedule list which I obtained from Philofaxy. I haven't blogged at all last year and one of my goals this year is to blog as much as I can in hopes on getting on a design team.
The only gripe I had about this planner is that it did not come with a tabbed ruler. The ruler is sold separately and the local scrapbooking store did not carry the ruler not have I been able to find it on Amazon or the manufacturer's website, which prompted me to make my own.
How to do you set up your organiser this 2016?


0 comments