Planner

Kate Spade Agenda: Summer 2014 Setup

7:21 AM

I have been consider switching from my beloved Filofax Compact Saffiano in Aqua to my Kate Spade Agenda. I love how light and slim the compact Saffiano is, but I wanted a change and only for the summer. I will switch back to the Saffiano when I leave on holiday to the East Coast in the autumn.
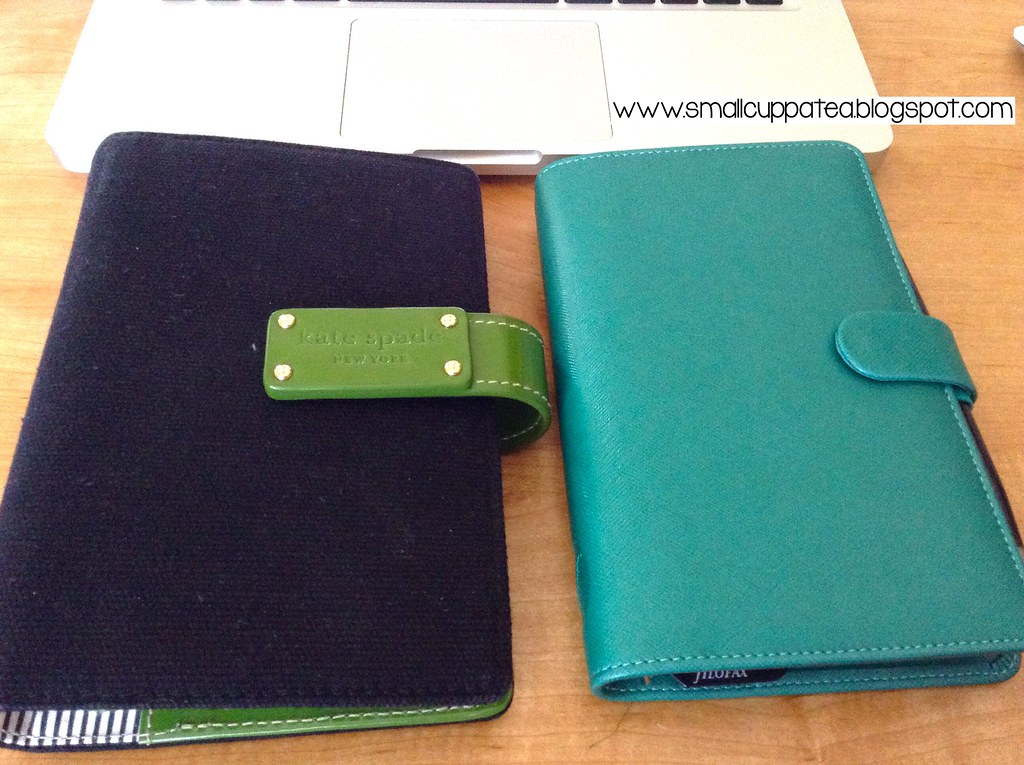

My set-up has relatively changed since I last posted, which was quite a bit ago. I promise to post more frequent. 

On my dashboard I have a clear flyleaf that came with the agenda on top of my quotes page. I love looking at this page when I first open my organiser as it gives me motivation to go through the day. On my Saffiano, I actually had quote page and the Filofax registration page in a protective covering, which I made by slipping them in a quart sized Ziplock Bag, cutting it and putting washi tape on the corner to punch the plastic better as well as to protect it. With the Kate Spade Agenda, I have no need to put the registration page on it.


After the quotes page, I have a "Keep Calm and Click On" DIY Project Life card that I downloaded from MissTiina. I pasted it on a 3x5 index card, punched holes and used the Recollections corner round punch I bought from Michaels, which sadly the corners a bit too round, but it works. I wanted to add a pop of colour to the plain Filofax dividers.


Next up is my diary. I know this page is blank, but I had so many private details in the week prior and is too lazy to blur out the info, I decided that this is a much better route.


Right before my To-Do list, I've got another DIY Project Life Card with the caption, Life is Good. I've placed the card on there to remind me that life is indeed good and also add a bit of colour to the otherwise plain divider.

I've also changed up the divider tabs. I'm using the Martha Stewart Tabs. The Filofax Divider tabs are so small. Using the Martha Stewart tabs, I'm able to get to what I really need quickly.
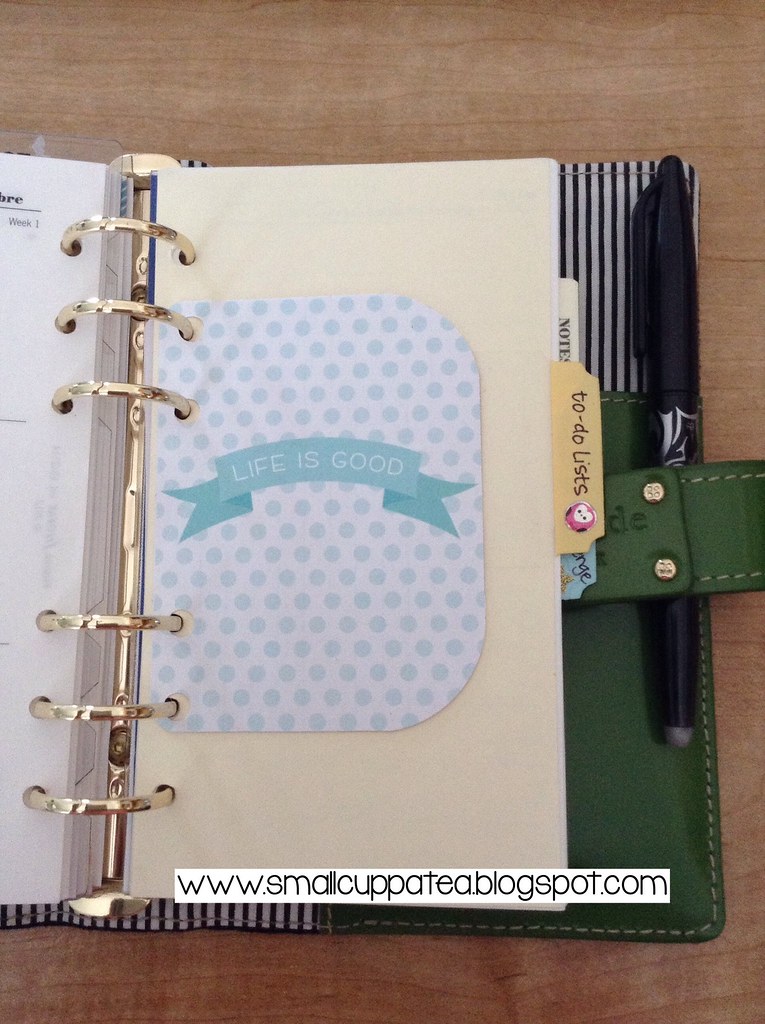

In the Notes section, I have some Filofax Note inserts and a few sheets of Post-Its. I used to carry the whole Post-It pad, but I find that I really don't need all of them. So I decided to carry a few sheets at a time within the notes section of my organiser.


The last tab in my organiser is the Reading Challenge. The divider is made out of heavy scrapbooking paper and I've also added another DIY Project Life card. This time, I was able to find a smaller round corner punch that made all four corners of this card a bit more neater.
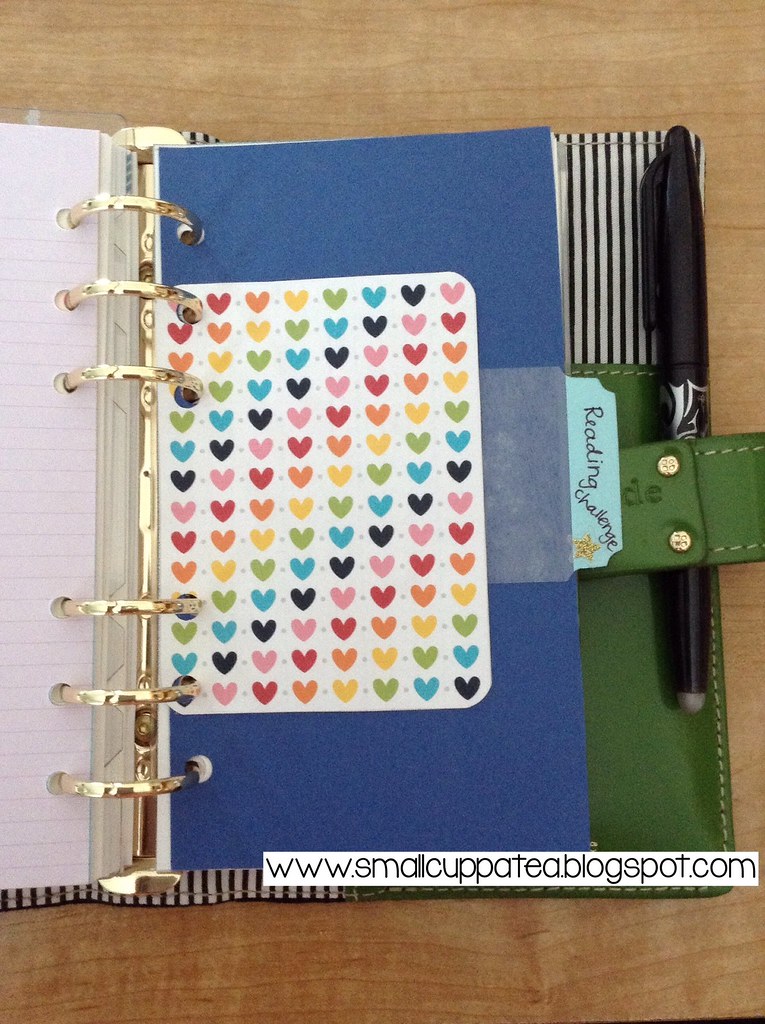

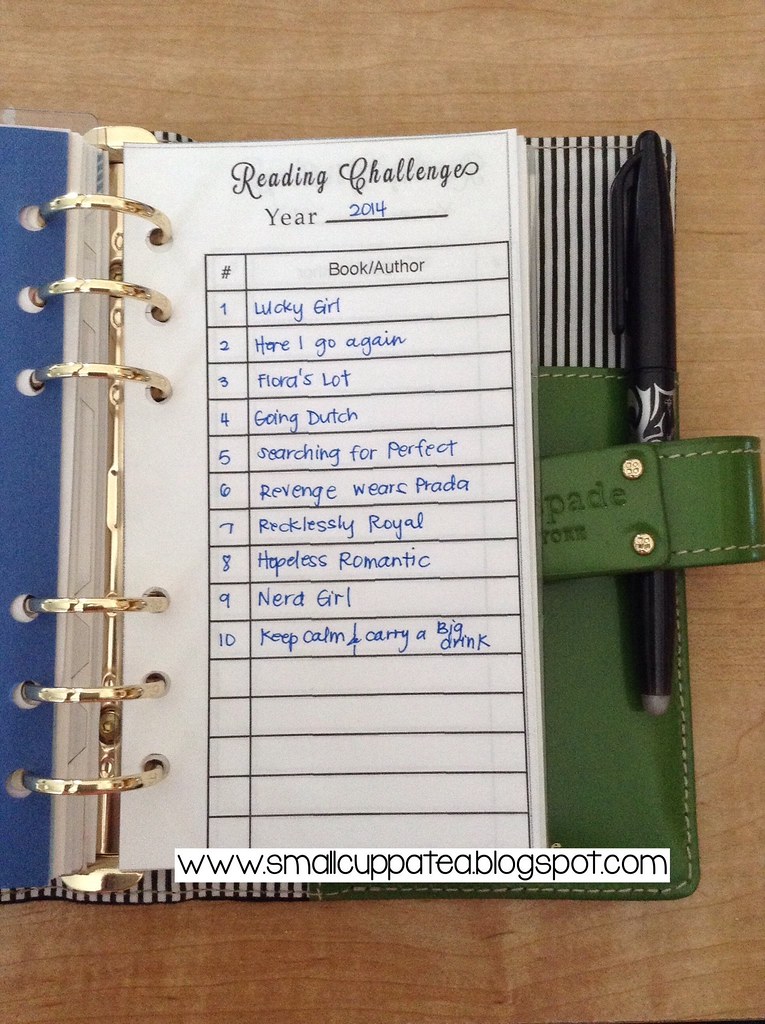
The Reading Challenge Insert has also changed. I wanted to keep it simple, so I changed it to add a blank space to insert the year of the Reading Challenge. So far, I've read ten books ... no make that 11 since I just recently finished "Single in the City" by Michele Gorman.

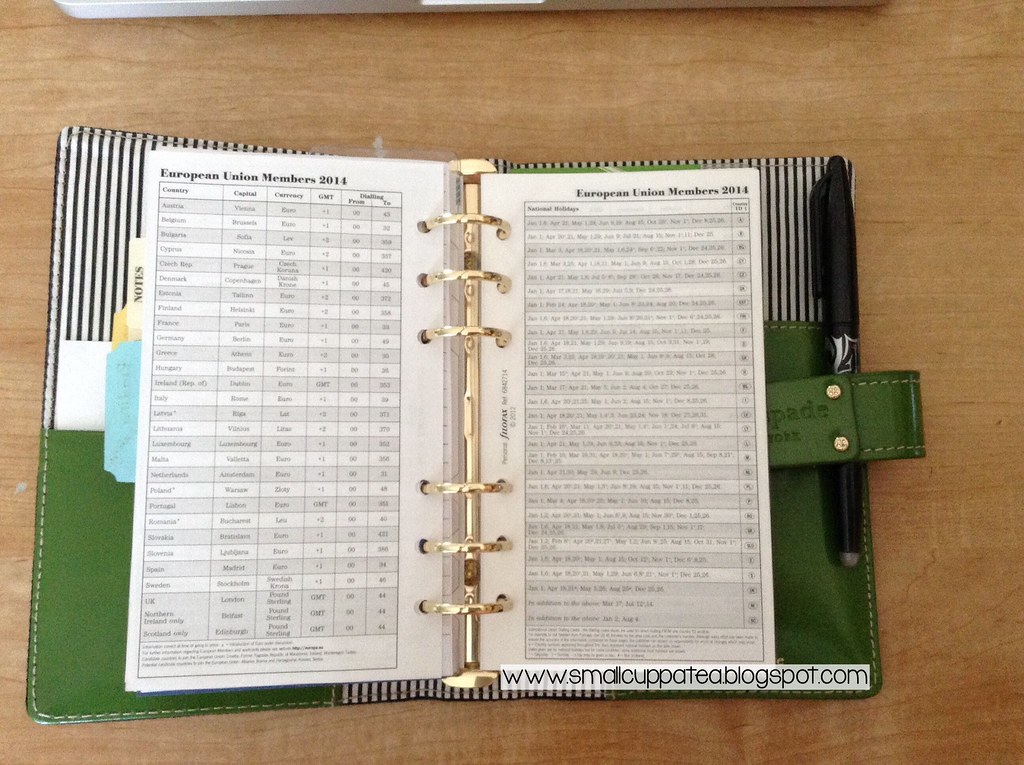
In the back, I've got all the Info Sheets that came with my Filofax. I could have omitted these sheets, but I like to refer to them. The States still uses the Imperial system. With these sheets, it makes it easier for me to convert from Metric to Imperial and Imperial to Metric without pulling out a calculator.

In the back, I've also got a business card holder that holds my library card and two Starbucks gift cards. In my Saffiano, the Starbucks gift cards are held in the front pocket so I can get to them easier, but since this organiser doesn't have that option, the cards were moved to the back.


Lastly, I've got a few Martha Stewart Peel and Stick labels (if that's what it's called. I purchased it a long time ago and have misplaced the packaging) as well as a post-it note with my initial. I bought the post-it note at the Dollar Store a while back and haven't been able to find it since. The post-it coincidentally matches the agenda.
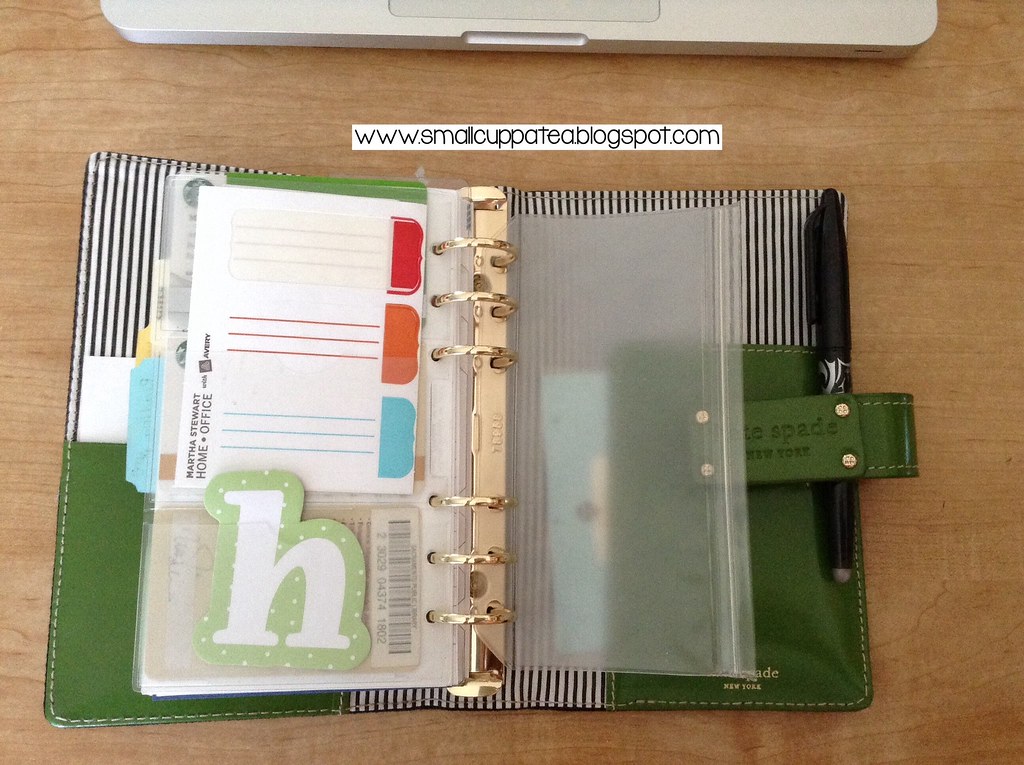

So, this is my Summer 2014 set-up. I'm planning to go back to my Saffiano or possibly my Finsbury at the end of the season. Do you have a summer set up? If so, comment below.

Planner

Filofax Saffiano: My 2014 Set-up & Week #6

10:31 AM

Warning: IMAGE HEAVY POST

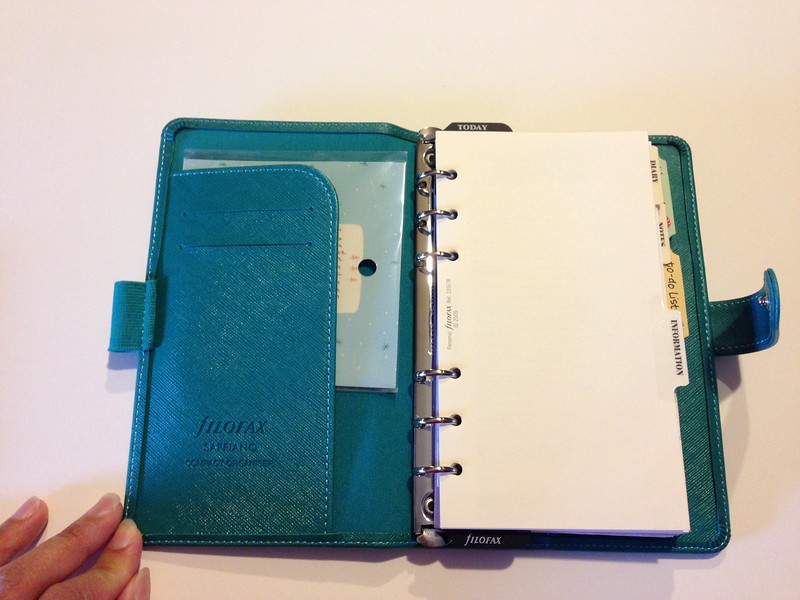
I've been wanting a compact Filofax and something that's not in the colour range of purple and pink. Since my other organisers are in Lavander and Raspberry, I decided to go with Aqua.

Since my decision to go to a compact size Filofax, I thought about getting a leather one, but decided against it. This Christmas, I received a leather iPad Mini case with a bluetooth keyboard. Since I take my iPad and my Filofax everywhere with me, my bag started to get heavy. I switched from the Finsbury to the Metropol, but even with the vinyl material on the Metropol, my bag was still heavy. That's when I realised that the problem lies in with the slightly bigger rings that the personal size offers which leads to overstuffing. It made my decision to switch to a compact Saffiano easier.

When the Filofax Saffiano came in the mail, I was a bit disappointed when I opened the box. Filofax no longer packaged their organisers in pretty packaging. Instead, it's covered in hard plastic. I remember when we used to get the organisers in the box.


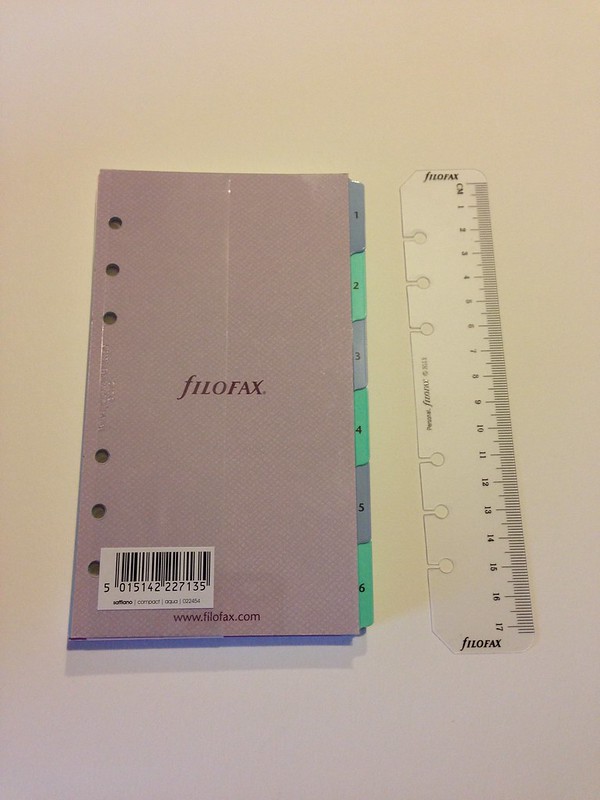
I do love the pop of colour that the Saffiano offers. The tabbed dividers are in purple and aqua colours and I love the frosted ruler. I've got way too many of the black ruler that the frosted one made me jump up and down for joy. Not only does the Saffiano have coloured dividers, it also provided an array of coloured paper ⎯ one of them is in grey.

However, I am not a fan of the diary inserts it came with. I'm used to the Week on 2 inserts without the "This Week" section. I like a lot of room to write in and adding that section shrinks down the days. Since I'm already using the inserts I purchased for my Finsbury, I didn't think it was necessary to switch them out and start over.


My set-up starts with the Information Tab where I keep my personal info, registration number, and the information pages such as measurements, temperature, etc.


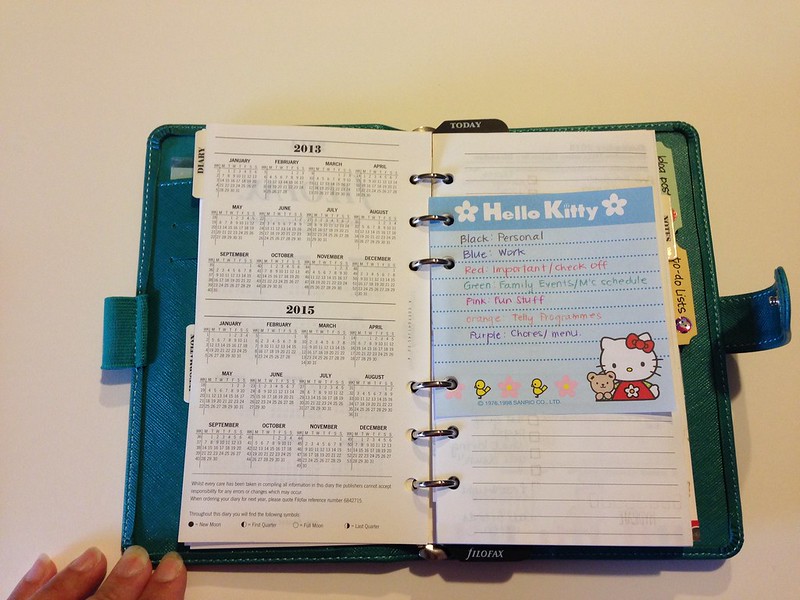
In the diary section, I wrote down the colour codes on a small Hello Kitty notepad just to remind me or if someone wants to check out my organiser, they'll have a pretty good idea why the diary pages are so colourful.


Here's Week 6, which isn't complete yet. I have so many post-it notes running around my desk that I haven't had the chance to pencil them in. I also don't need a full year in my organiser which made it slightly heavy and packed. If I need to plan ahead, I have a little Hello Kitty notepad in my purse to jot down future appointments.

In my diary pages, I also use the StudioL2E, Plan It stamps. I don't use all of the stamps in the collection, just the Hydrate and To-Do stamps.


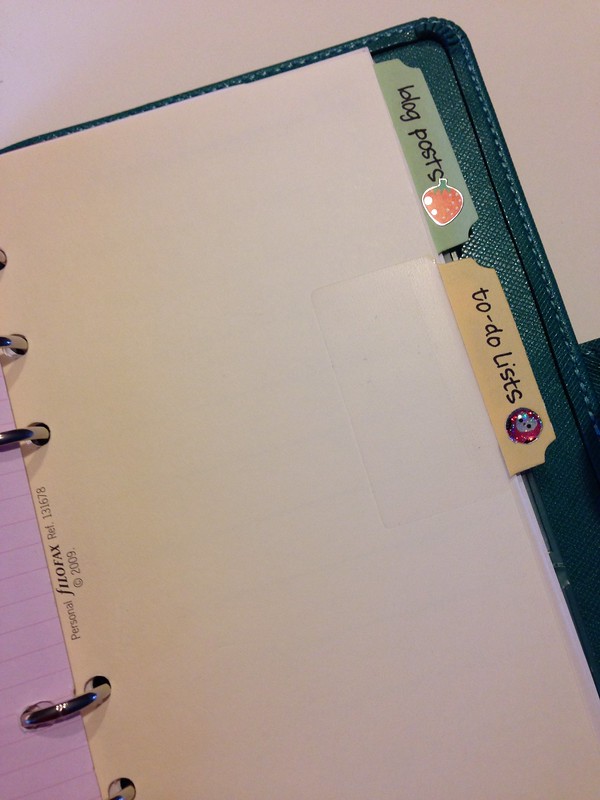
I've also decided to keep the To-Do section in the binder. I used the Martha Stewart coloured tabs to section off my stuff.

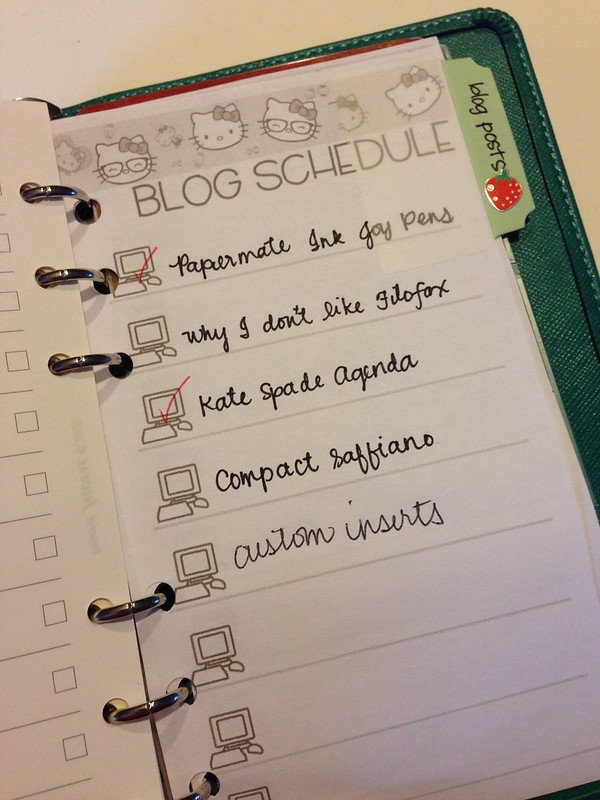
I've also created my own Blog Schedule insert using Photoshop by using Hello Kitty brushes and images to create a washi tape like border. The font I used is my own creation on the iFontMaker app on the iPad. I do apologise for the sloppy handwriting. I normally come up with blog ideas whilst I'm out and about. Whenever those ideas come up, a flat surface for me to write on isn't readily available.


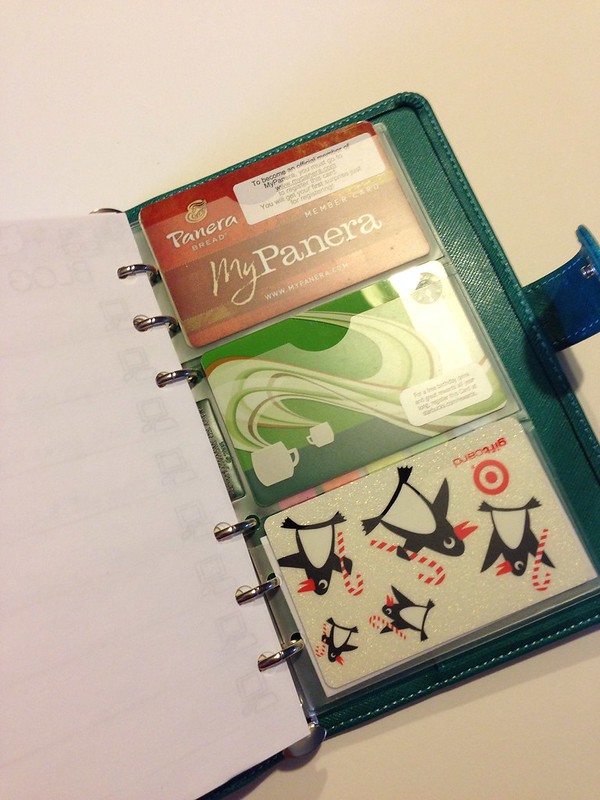
I also keep a business card holder in the back of my Filofax to hold my gift cards and a couple of tabs -- as you can see the orange, yellow, pink, blue and green from behind the Starbucks and Target cards. I don't really have room for them in my green Coach wallet since there are only enough slots for my ATM card, two credit cards, and my driver's license. 


I'm really excited to use the Saffiano to free up some room in my bag and organise 2014. Let me know how you're going to organise 2014.

Crafts

DIY Cute Paper Clip

8:35 AM

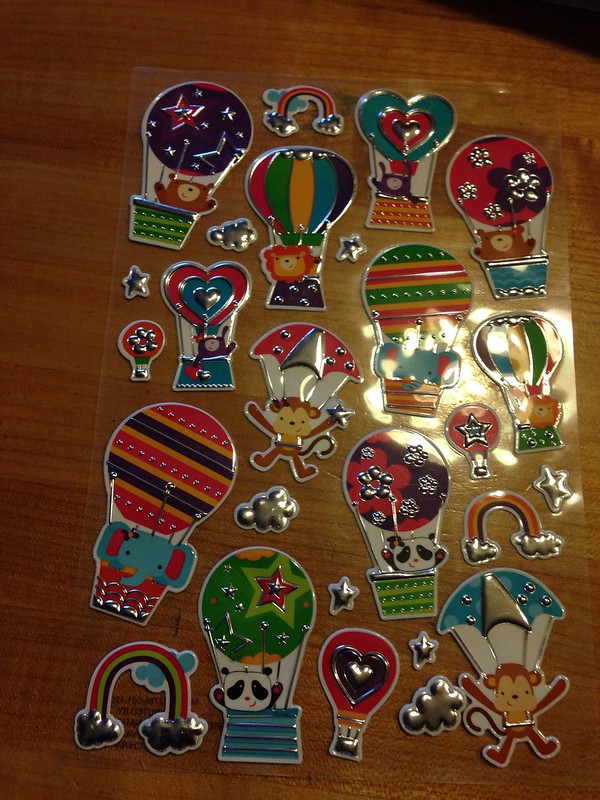
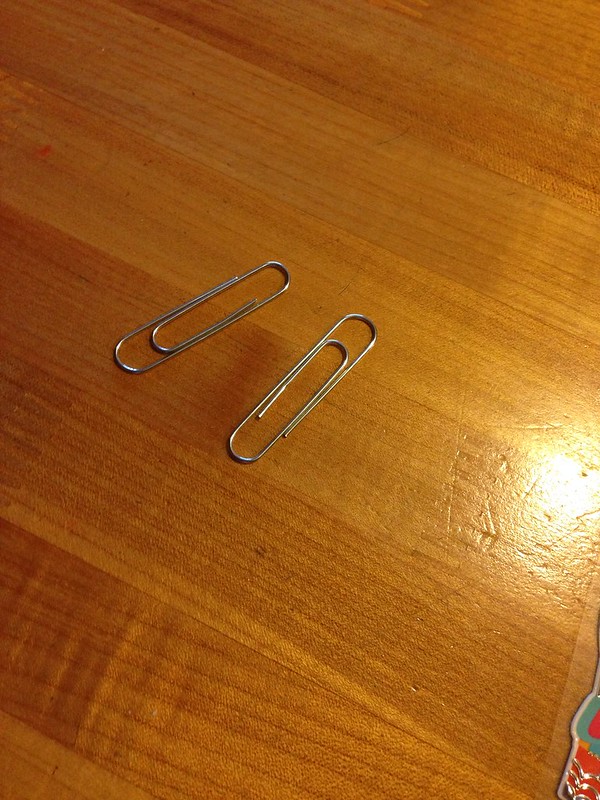
Cute paperclips have been popping up on Etsy and people have been posting their cute clip purchases on Instagram. I wanted one of those cute paperclips, but they're expensive. It's $6 not including tax or shipping for two paperclips. Since I have an abundance of paperclips, I decided why not make one. All you'll need for this easy project are large sized paperclips and 3D stickers.

I bought these stickers at the Dollar Store a couple of years ago to use to decorate my Filofax pages. They're 3D stickers so it made it hard to write in the pages. I had no clue what to use them for after I decided that I won't be sticking them onto my diary pages. I don't scrapbook anymore, so off to the box they went ... until yesterday.


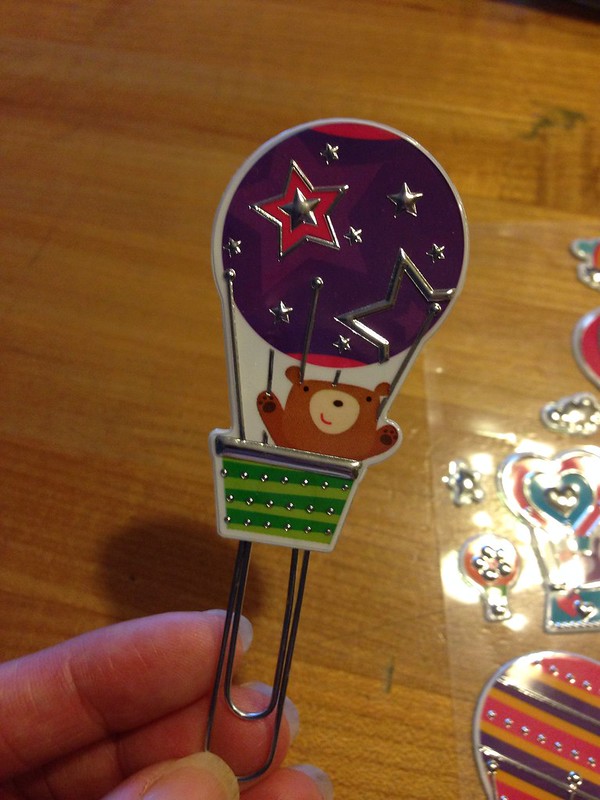
The process is fairly simple. Just grab a sticker and stick it onto the paperclip. Make sure that it's right side down or else you won't be able to clip it onto the page.


Take another similar sized sticker and flip the paperclip over. Place the sticker onto the other side of the first sticker and voila! You've got a cute paperclip!

Instagram