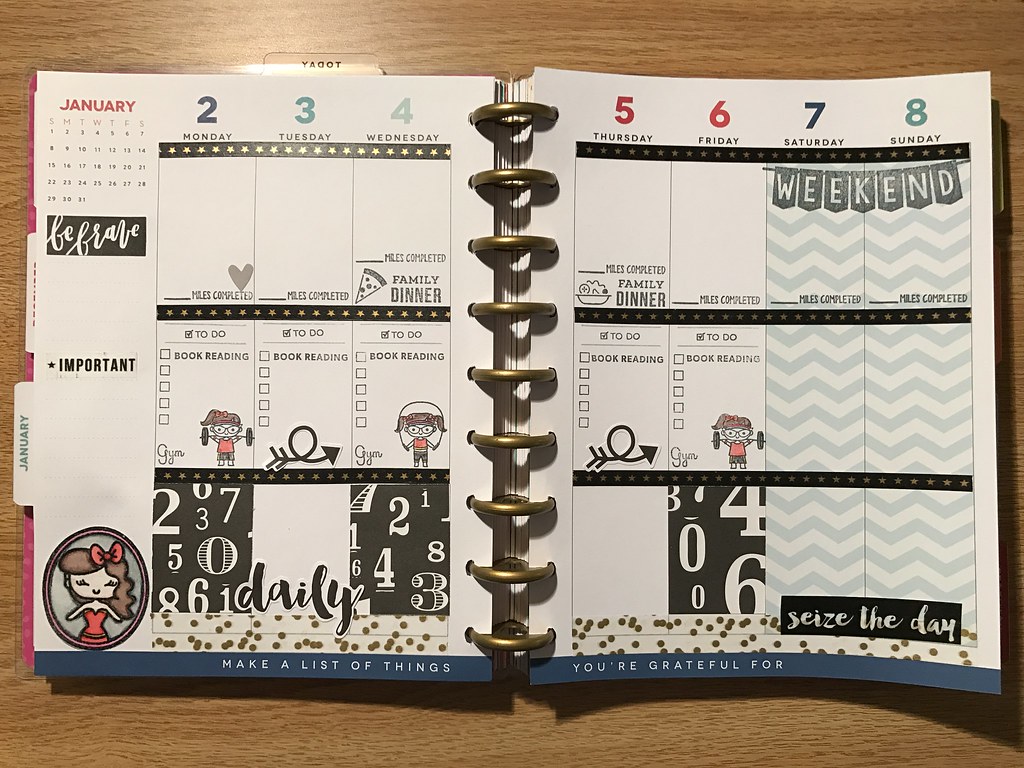
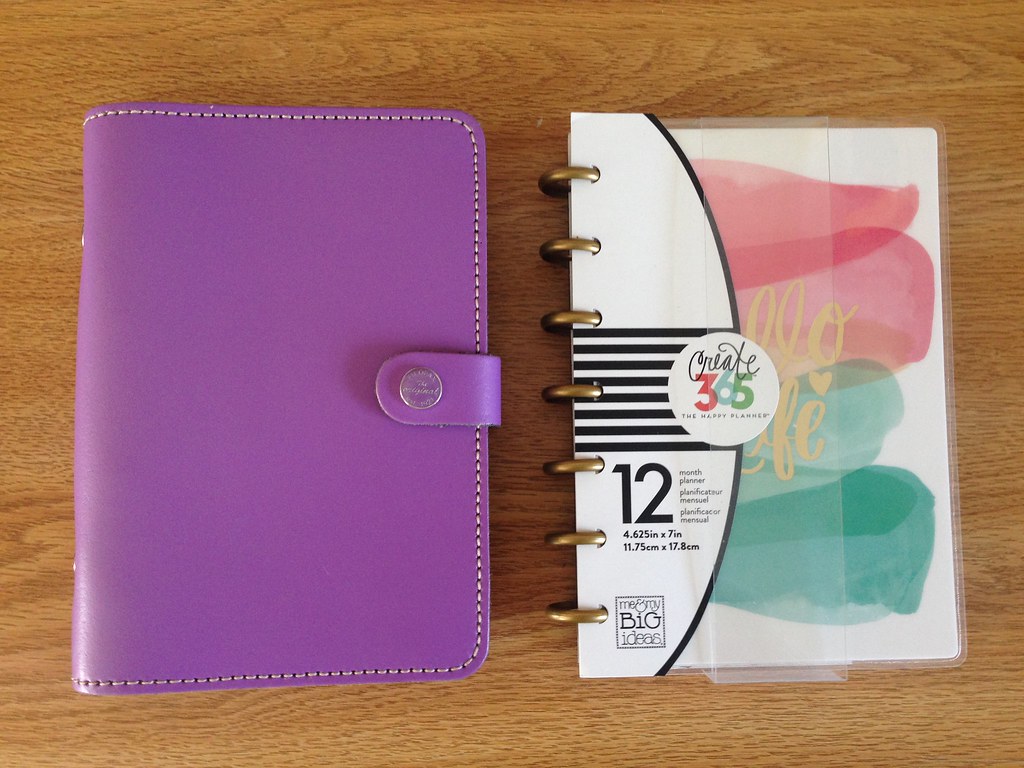
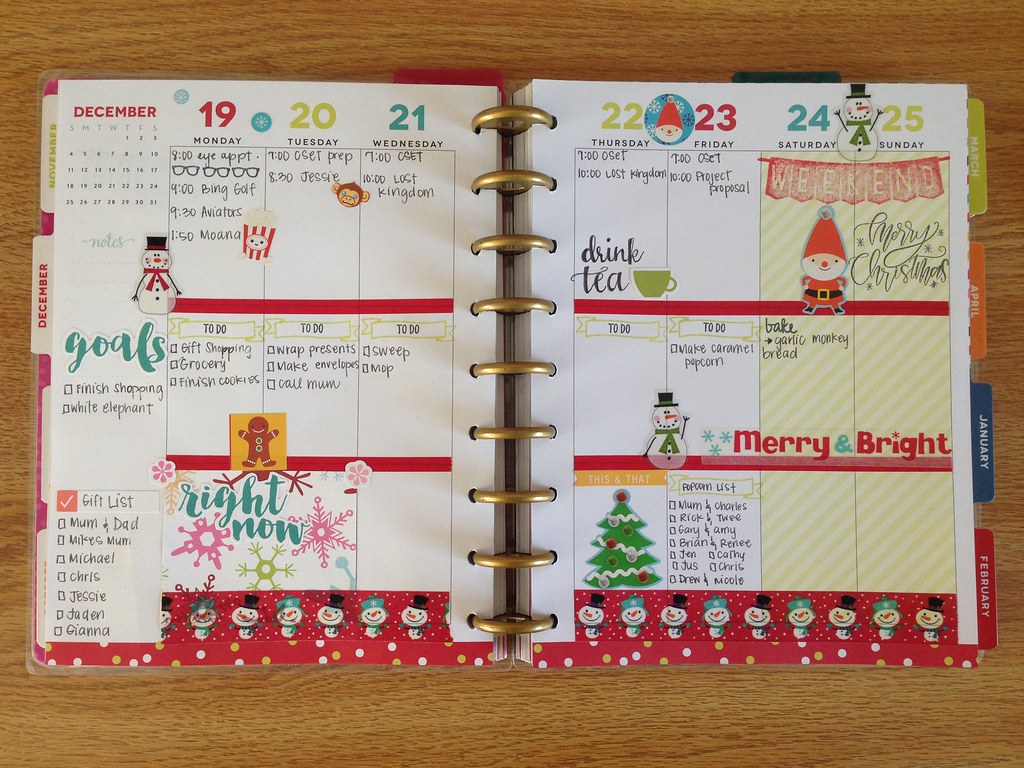
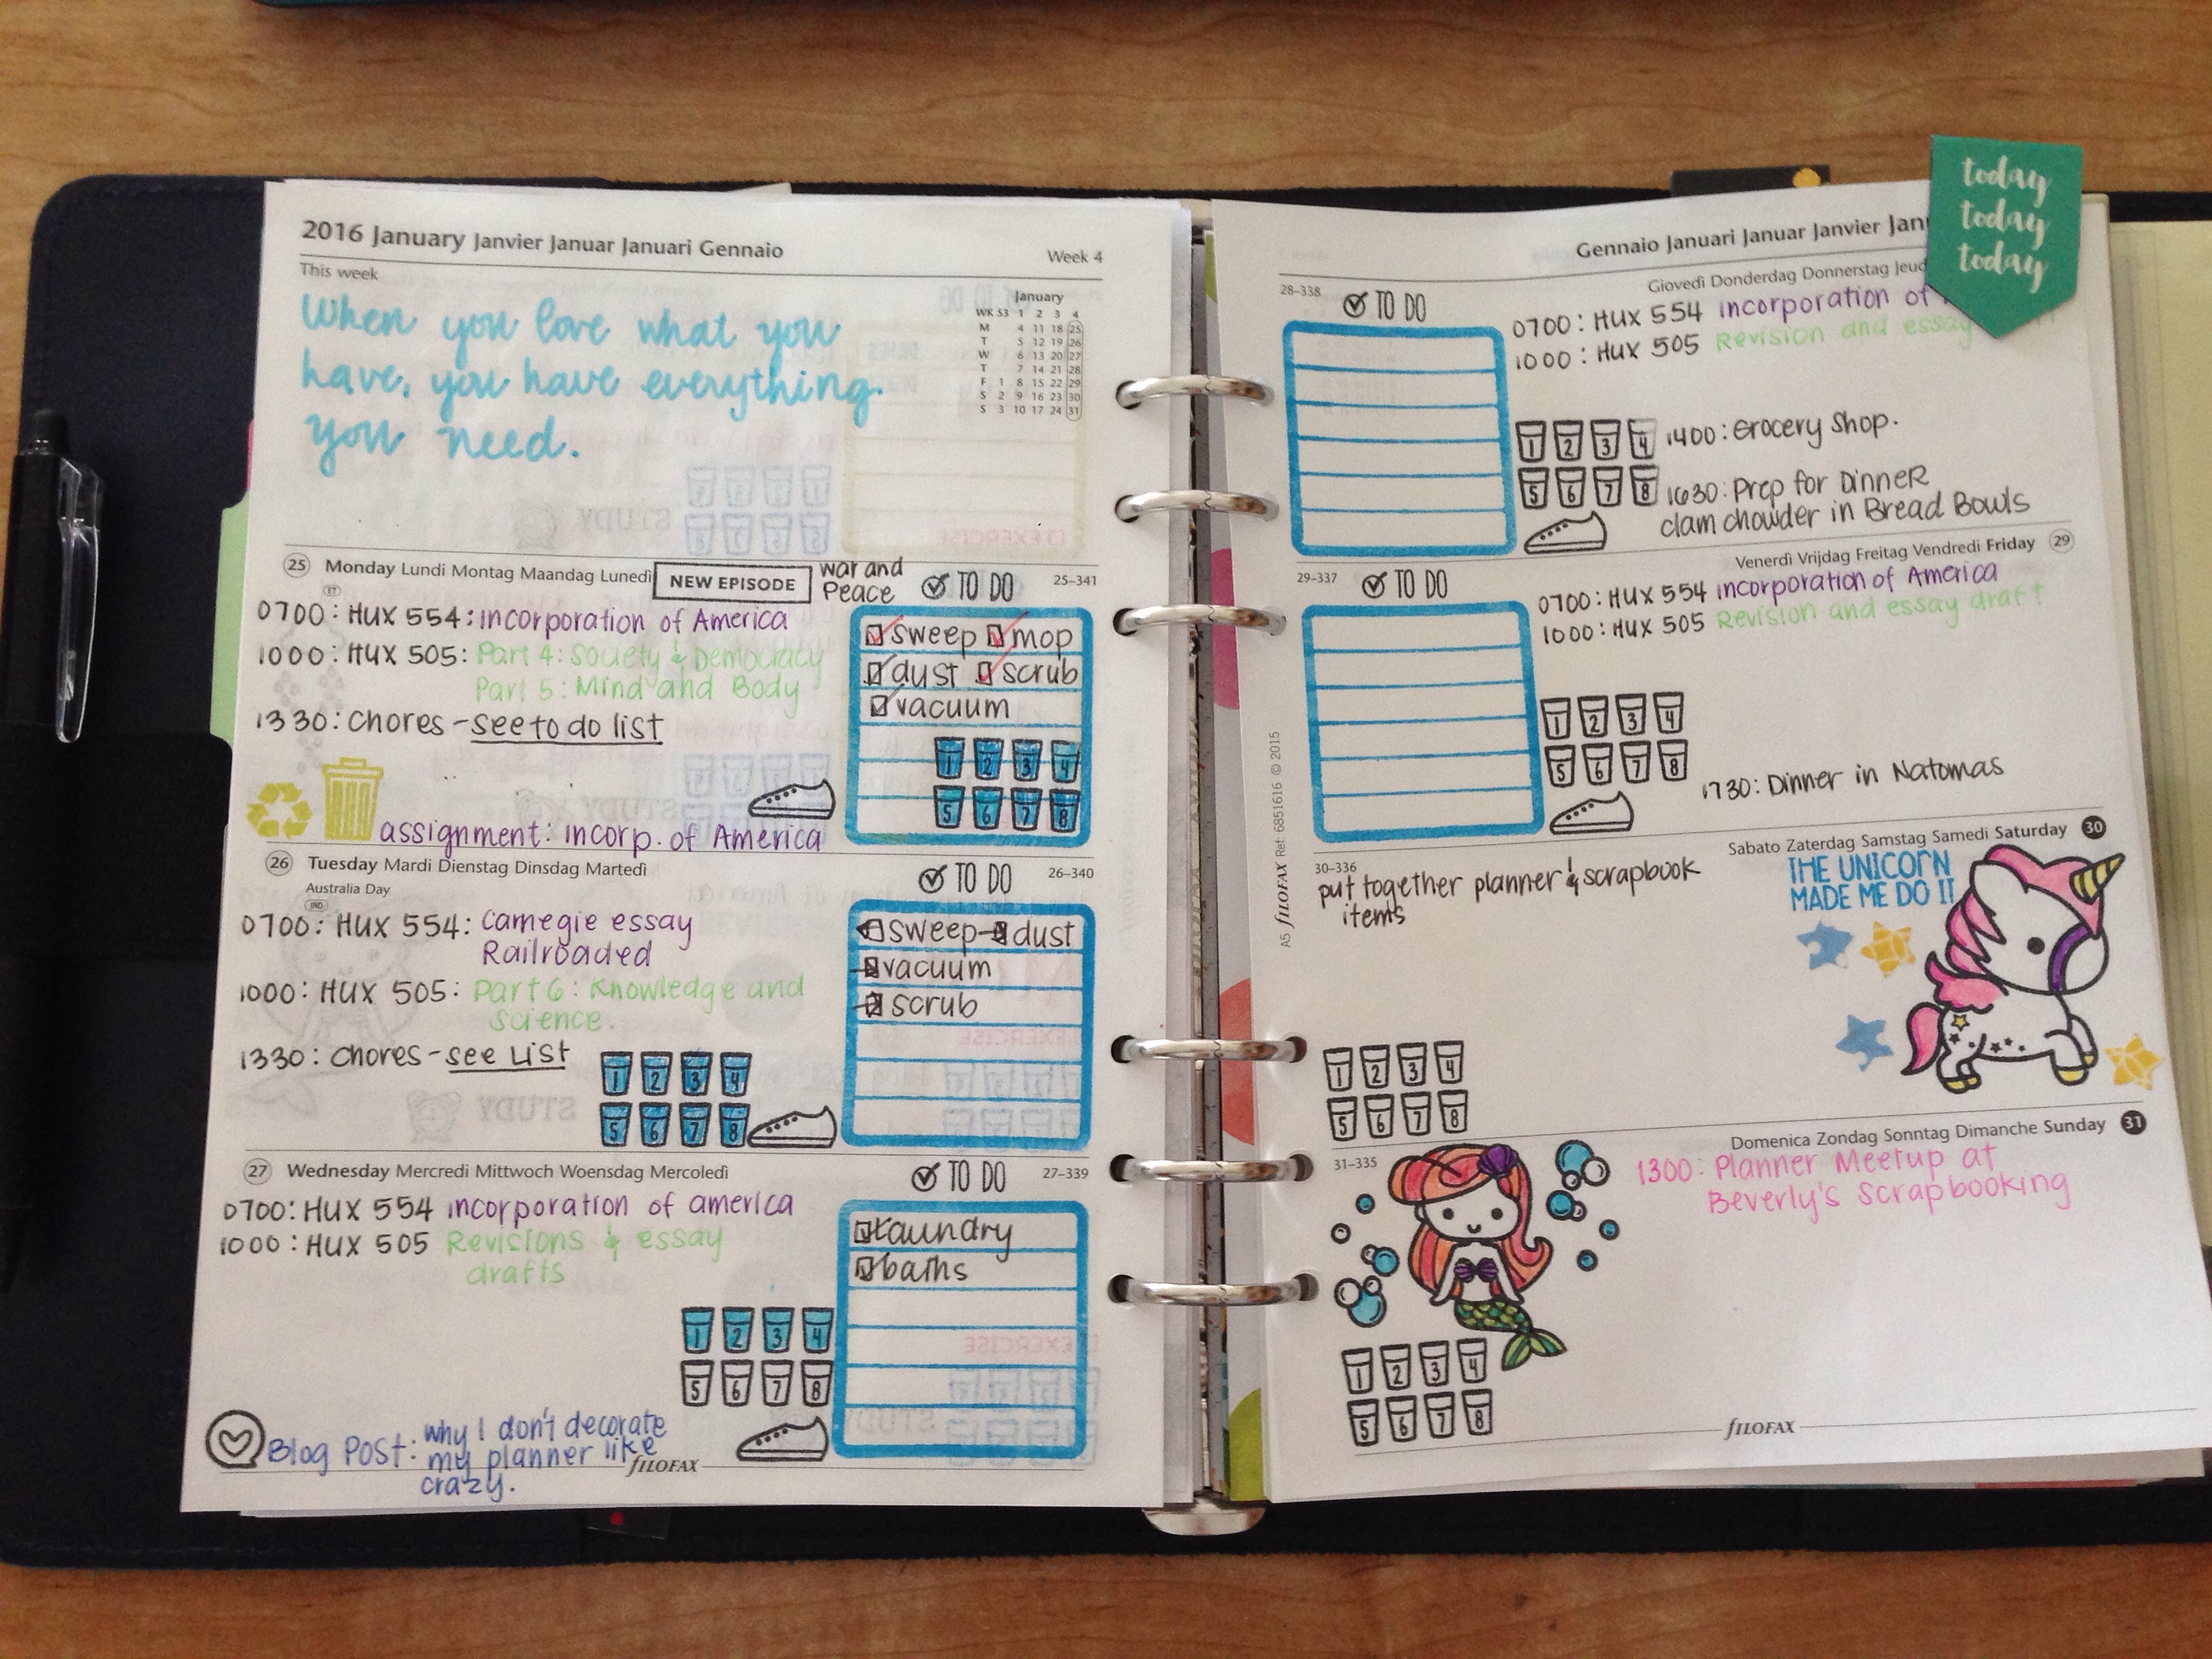
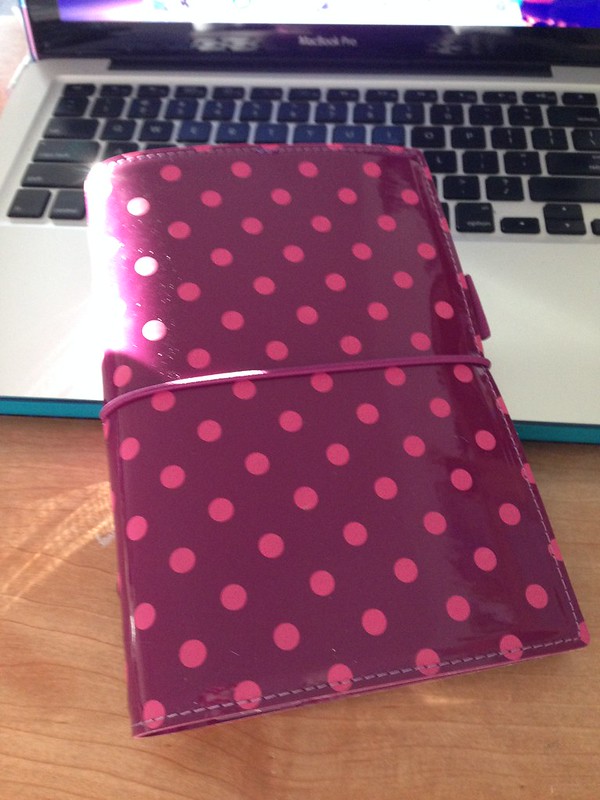
This week, I needed to get a lot of things done, particularly, I needed to finish my project proposal, which is due on the first of the February and there's still a lot of reading that needs to be done before it gets submitted for approval. On top of that, I've also got an eight page research paper due on the same day as well. With all the things on my plate, I really couldn't spend that much time decorating in my planners that I went with the minimalist option.
For this week, I went and grabbed one of the plain Recollections washi tape and went ahead and decorated the bottom of each day. I didn't have to worry about cutting anything to fit. I've also gone ahead and used the Plan TV and Donut Forget to remind me that on Monday, a new Timeless episode is on and on Wednesday, I need to mail in the proposal. On top of the left page, I used the Believe Princess set to stamp in the sentiment. This came from Sweet Stamp Shop's January Bundle. On the right page, I used the "Bright Star" set to stamp in the sentiment.
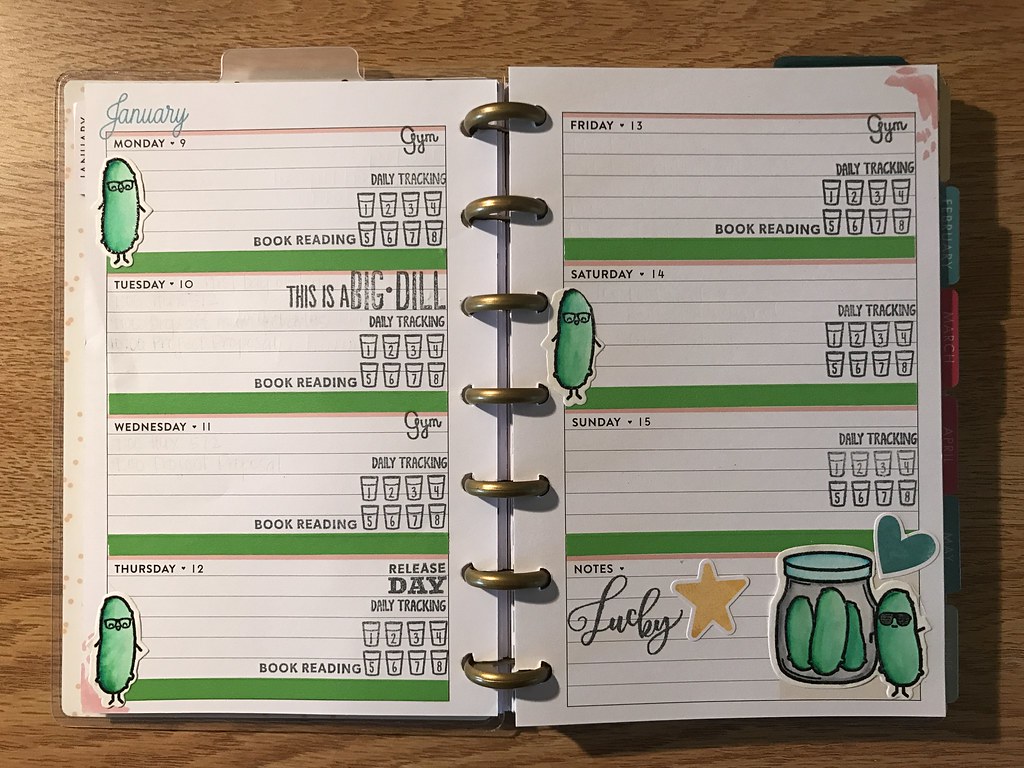
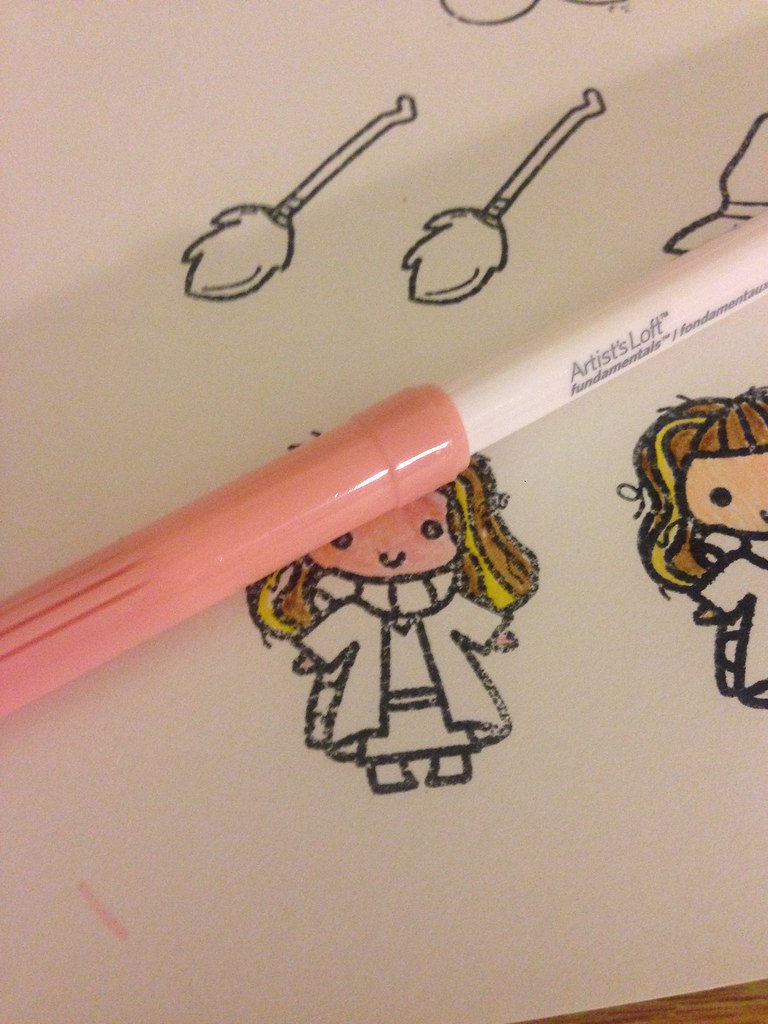
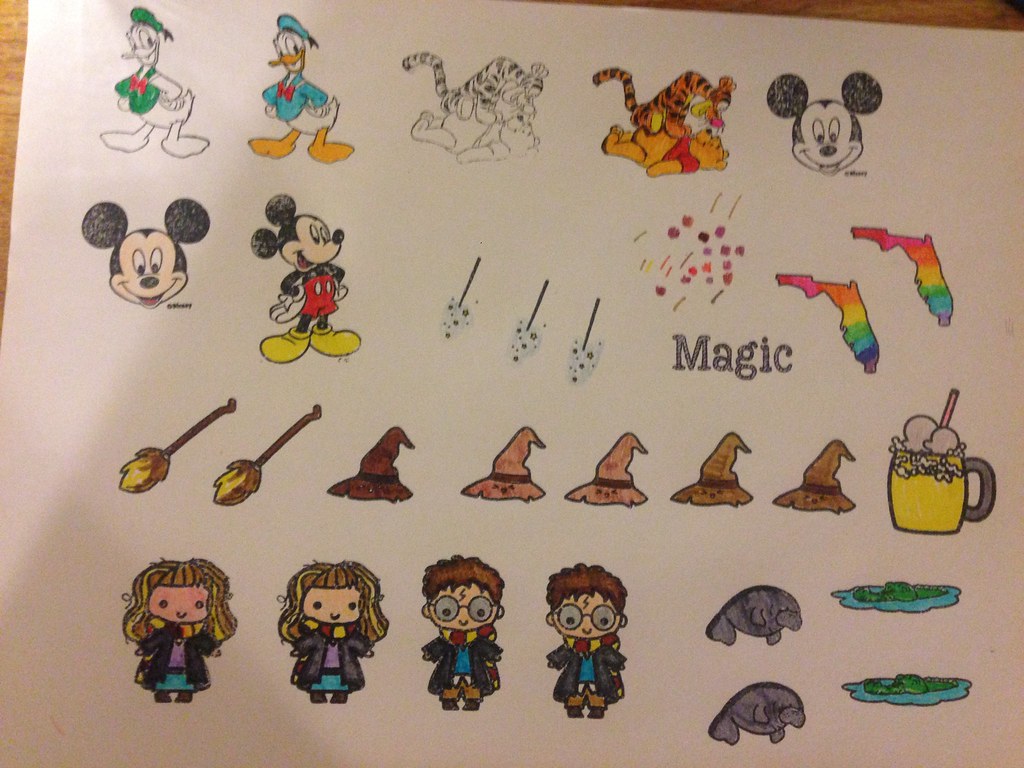
For the images, I used my new Love Cynthia and MommyLhey stamps that I'm absolutely in love with at the moment. As usual, I stamped them on the cheap Target Watercolour paper, embossed, and coloured them in with the Artist Loft Markers. Thankfully, I've already got these images done on Saturday, but didn't have a project in mind. I just needed to do some crafting to relax myself.
What about you? Do you do a minimalist page on your on-the-go planner?
Happy New Year! I can't believe 2016 has come and gone and 2017 is here. I guess it's time to set up some goals.
I've been quite absent from the blogging scene most of last year, but this year, I'm going to definitely blog more. I might even start a YouTube channel.
Now that we're into the first week of 2017, I know that many of you have your planners already set up for the year and have decorated the week as well. Since I'm working with two planners, an on-the-go and a desk bound one, the only planner that I've some embellishments on is the Mini Happy Planner.
In this planner, I decided to do a black and white theme. I haven't really had the chance to do this layout since I didn't have any stamps that coordinated well with my three black washi tapes. After I purchased the Pho You stamp and die set from the Sweet Stamp Shop during their Black Friday sale, I finally had the opportunity to create a black and white theme.
Since it's the New Year, I wanted to add my detox goals into my on-the-go planner. I've eaten quite unhealthily this past month despite being a vegetarian. All the sweets that came round during the holidays managed to make it to my plate, whether it was a dessert after dinner or a snack. I'd eat the chocolate covered cookies with a cup of tea here and a cup of tea there. Plus, there's coffee! My severe migraine attacks during the last week were the cause of my large consumption of coffee accompanied with a sugary creamer. Thus, with the amount of sugar I've consumed, the detox plan needed to be incorporated into my planner.
In the Classic Happy Planner, which I planned on leaving on my desk, I've done quite a bit of decorating. It might seem empty, but I haven't pencilled in my schedule. Can we say #beforethepen?
Happy Christmas Eve!
This will be my last planner related post for the year, unless there is a repeat of last year's planner gifting fiasco. We'll find out tomorrow morning.
For the coming year, I'll be working with two Happy Planners. The Mini and the Classic. There will be a lot of decorating in the Classic as this planner will stay put on my desk. As for the Mini, this will serve as my on-the-go planner.
Last night, I started putting together the layout for the coming week in the Mini Happy Planner. Although I don't plan on decorating in the Mini, I decided to add next week's exercise regime and detox plan in it. I also added some stickers that I made from the stamps I purchased from the Sweet Stamp Shop as well as a couple of different stamp sets from other vendors.

Hello! It's been a while since I've updated the blog and since it's almost Halloween, I've decided to do a small post on paper crafting.
Just this month, the Sweet Stamp Shop released the most amazing stamp set named Wizards. I've been quite addicted to Sweet Stamp Shop's stamps as they're super cute and super fun to play with and stamp in my Happy Planner. So, I went ahead and purchased the set with the intention of decorating the week I travel to Florida to visit the new Harry Potter attraction at Universal Studios, attend a conference, and visit my cousin who is working for Disney World.
So late last night, I did a little crafting to get my mind off the many maps and ancient texts I have to decipher of the Ancient Near East to determine the factors leading up to the Battle of Qadesh.
I pulled out two of my Sweet stamps, a couple of vintage wood mounted rubber stamps, Memento black ink, acrylic block, and a watercolour pad (I will list the materials I used for this project at the end of the post).
Planners. They're the most gorgeous things ever. Of course, a planner is supposed to organize your life, but there are moments that you just can't help yourself and buy loads of them. For those people, myself included, a planner can be a fashion accessory.
Like any Planner Addict, I'm always on the look out for the cutest planners and cruising through Instagram and Facebook for gorgeous photos of decorated planner pages. I also have a penchant for stationery and office supplies. So, whenever I'm in the San Francisco/Bay Area visiting family, I'm always in search for a cute post-it note or tags.
As far as decorating my diary pages with all those cute tabs and stickers, I generally find it too time consuming. No doubt you have seen photos of personal size planners stuffed with pictures, cute paper clips, keychains, and such. My planner, whether is the personal size of A5 size Filofax Original remains clutter free and here are a few reasons why I keep my planner clean and tidy.
Reason One:
I'm a post-graduate student earning my degree in Humanities and History. I use my planner as a tool to keep my life organized. I've got so much information to sift through that decorating my pages with loads of stickers and washi tape would end up burying all the important dates and information.
I have decorated my planner pages extensively in the past, but after missing a couple of due dates, I've decided to do my pretty planning in a different planner.
Reason Two:
While decorating your planner pages and adding some paperclips to the front flap of your planner can be fun and beautifies it, those extra things you put in your planner does create a lot of unnecessary bulk. Having an uneven surface to write on is one of my pet peeves, so I began to avoid decorating my planner.
Reason Three:
Decorating takes too much time.
When I was decorating my planner, I found that I was using up a lot of time trying to figure out what theme and pulling out my washi tapes, stamps, stickers, and such. Decorating it also takes quite a bit of time.
At the end of the week, I block out fifteen minutes to plan out the next. Having to pick a theme, take out the appropriate supplies such as washi tape, stickers, stamps, etc and the actual decorating takes more than fifteen minutes.
I do decorate in my A5 Filofax and the extent of my decorating is using some planner stamps from the Sweet Stamp Shop, Studio L2E, and Simply Kelly. If I wanted to see something cute in my week, I use one of the larger stamps during the weekend where my days are partially empty. As the day ends, that's when I'll add a random sticker on the day, but not on the current or future days of the week.
So there you have it. If I decorate my planner pages, I keep the decorating to a bare minimum.
I do have an extra planner (which was given to me at Christmas) that I decorate and call it Memory Keeping. I take my week, plug it into this planner and decorate to my hearts content with washi tape, photographs, stickers, and stamps to my hearts content without losing important information as the week I'm decorating had already passed.
Naturally, I thought I'd do a What's in My Bag post since another trimester is beginning in my adventures as a post-graduate student. But after checking my Longchamp Le Pliage tote and finding that my Kipling 100 Pens case and the Carpe Diem organiser is taking up all the room (and this bag doesn't even include my Macbook Pro at all!), I decided to do a What's in My Pen Case post instead. As you can see, I've got three books, iPad Mini, Carpe Diem Planner, research printouts, and my trust Kipling pen case.
Last year I embarked on a challenge called "Listers Gotta List" created by The Reset Girl which I found on Instagram. Unfortunately, as with my hobbies and challenges, this fell off my fun things to do as I've began my first trimester of postgraduate studies. I hadn't planned on continuing with the the challenge until recently (during Christmas), I received a bound planner from a friend who knew I had a penchant for all things planner/organiser and paper related things. Unfortunately, I've already got two planners I'll be working with (an A5 and a personal size). So, I decided to use the planner to memory keep and complete a years worth the Listers Gotta List challenge.
For the first three days of this year, I haven't had much to memory keep. Thankfully, the Listers Gotta List challenge took up quite a bit of room.
First day challenge materials:
1. Steak and BBQ grill images came from the Plan Summer from the Sweet Stamp Shop.
2. Suitcase image came from the Plan Everyday stamp from the Sweet Stamp Shop
2. Heart shaped image came from the Plan It stamp from Studio L2E.
3. Charlie Brown and Snoopy image is a stamp I've purchased in the late 1990s. I can't tell you what brand it is or when I've acquired it as its been too long.
The second day challenge, materials used:
1. Coffee Cup image, Plan To Go from the Sweet Stamp Shop.
2. Family Time and Menu captions, Plan It from Studio L2E.
3. Knife and serving fork image, Plan to Eat from the Sweet Stamp Shop
Third day challenge, materials used:
1. Brenda Walton Alphabet Stamps purchased from Joann's Fabrics.
The inkpads used in all three challenges were the Memento Fast Drying Ink in Bahama Blue, Rose Bud, Dandelion, Pear Tart, Tuxedo Black.
The pens used are the Pentel Energel in .07 Tip and Pilot Frixion Markers.
Happy 2016. With the new year new resolutions emerge and of course, in the planner community, a chance to showcase new diaries, organisers or planners.
In my previous post, I mentioned acquiring the Carpe Diem A5 planner. As much as I would have loved to purchase the Union Jack Filofax Original in the A5 size, I decided against it. After all, I've accumulated quite a bit of Filofaxes over the years. Unfortunately, whilst Christmas shopping at a local scrapbook shop, I came across the Carpe Diem Planner and fell in love with the colour: Robin's Egg, which is a shade lighter than the Tiffany's jewelry box.
My whole purpose on using the Carpe Diem planner was to give my A5 Filofax Original a break from the wreckage of my bag as well as an attemp to downsize what I carry. Last year, during a holiday in Hawaii, I was unable to bring my Filofax as I've already overloaded my carry-on situation with my postgrad books, laptop, and of course, scuba gear. Yes. I've got scuba gear designed as a carry on.
As I retired my Filofax and moved into the Carpe Diem, I noticed the size difference. The Carpe Diem planner is slightly bigger by an inch compared to the Filofax Original and the ring sizes are also bigger. It is also quite bulky. The organiser is made out of textured faux leather/vinyl, similar to that used on the Filofax Metropol. This is one of the reasons why Carpe Diem is inexpensive. At $45 a piece, anyone who is looking at moving into an A5 size can purchase one without burning a hole through their purse, although I wouldn't recommend this as an everyday planner. It's big and bulky. And if you're planning to carry an A5 around, I would suggest in investing in a Filofax. They're slightly higher in price, but you get what you pay for and they've been in the organiser business since the 1920s.
The interior of the Carpe Diem planner is not made out of the faux leather that covers the exterior, but with a black polka dot fabric material. On the front flap, there is a side pocket with credit card slots and the back flap holds a notepad.
The inserts that came with the organiser are beautiful and colourful. However, it is not dated. I like my diary pages to come already dated so I can just go in and plan and schedule in dates without having to figure out which day falls on what. It also saves time in having to date the diary pages. The purpose of having an organiser and diary pages is to facilitate proper time management. With undated diary pages, it takes time to write down each date. Once each date is written, then one can start planning.
It's a cute organiser, but as far as their diary pages, it's highly unlikely I will use it.
Now onto the set up.
The first tab in the planner (I made my own by using heavy duty scrapbooking card stock and some Martha Stewart's peel and stick tabs) contains my information as well as dates and holidays that came with the diary inserts I purchased from Filofax.
The second tab, I placed the foldout month at a glance pages I printed from the iCal app on my Mac. I use these foldout months to see what I've got going on at one glance rather than rifle through each page. On these pages, I use the photopolymer stamps I purchased from Sweet Stamp Shop, Studio L2E and Technique Tuesday. I've also used the colourful monthly dividers that came with the organiser to sort out each foldout monthly calendar.
The third tab contains my diary pages. This is where I record everything from appointments, chores, work, and post-graduate dates.
The fourth tab is where I'll keep my notes. It's basically a memory dump page, but a bit neater than the one I keep in my Personal Domino.
The fifth tab contains all post-graduate university related information. I've also copied the Filofax To-Do pages and placed them in this tab to record my readings. As a post-graduate student of history, I have a lot of reading and research to do as well as writing, so the reading list will help me keep track of all the reading I need to do. I've also added the program information in this tab so I can refer back to it whenever I need to.
Lastly, I've got a blog schedule list which I obtained from Philofaxy. I haven't blogged at all last year and one of my goals this year is to blog as much as I can in hopes on getting on a design team.
The only gripe I had about this planner is that it did not come with a tabbed ruler. The ruler is sold separately and the local scrapbooking store did not carry the ruler not have I been able to find it on Amazon or the manufacturer's website, which prompted me to make my own.
How to do you set up your organiser this 2016?
First of all, M E R R Y C H R I S T M A S ! I hope everyone had a wonderful and festive time filled with food, laughter, and love.
As the year comes to a close and we're all getting ready to move out 2015's diary pages out of our current organisers and replace them with 2016's or perhaps use one of the planners we either purchased or received from a friend or family member. This year, I am plagued with the problem of which organiser to use. Just a couple of weeks ago, I've purchased 2016 diary inserts for my Filofax Original with the intent of using it on my desktop and giving it a break from the wreckage that is my daily bag. Around September, I've acquired the Domino Personal in Aubergine Dots as my on-the-go organiser. Herein lies the problem, I just received a 2016 bond Eccolo planner from a friend this christmas eve and with three planners, I don't think I'd be using all of them. At the most, two, but not three. That's borderline insanity.
Stick to your original plan. I'm planning on using the A5 Filofax inserts, but using them in my Carpe Diem organiser on my desktop and the Domino Aubergine Personal Filofax as my every day and on the go organiser.
When you get a new and unexpected organiser/planner, think about how you're going to use it. As a person who've used organisers since the nineties, I know how I keep myself organised. Ask yourself this question, will this unexpected planner help you get organised? Since it was a gift, I know we might think it's rude not to use it. If that's the case, there is an option. You can use it as a memory keeper.
Using the new planner as a memory keeper is a great way to facilitate creativity. The one I received last night is a pretty planner complete with quotes. When I discovered those who decorated their diary pages with washi tape and stickers, I immediately jumped on the bandwagon on decorating my Filofax pages, but it didn't look professional and important information got lost in the clutter. Within weeks, I've returned to using my Filofaxes as I did for years, as a functional tool. Though I still love looking at the "pretty planning" pictures on Instagram and Pinterest.
By using your new and unexpected planner as a memory keeper, it acts as a scrapbook diary where you can go all out on decorating, stamping, washi taping, and stickering without sacrificing space and losing important information. I still decorate my Filofax pages with some washi and stickers to keep it colourful, but its minuscule compared to the others I've seen out there on social media.
There are a ton of ways you can use your extra planner. It can be a blog schedule if you're blogging quite a lot and want to keep that separate from your personal planner. It can also be a menu planner that you can keep in your kitchen where you can write ingredients you need for that day for meal prep and cooking. It can also be a fitness planner. The possibilities are endless. As for me, I'm using the planner as a way of memory keeping, perhaps a journal of sort. As far as meal planning, fitness journal, blog schedule, it will all go into my A5 organiser as I like everything in one one place.
The choice is up to you. Have a Happy Christmas and I will see you all in the next week when I upload a post on how I set-up my organisers for personal and university for 2016.
Last year, I've discovered Sweet Stamp Shop and I was instantly hooked on their clear planner stamps. It's so cute, compact, and inexpensive that I've ended up purchasing quite a few. However, my first clear planning stamps were from Studio L2E, which I found were too expensive.
When I started the semester, I wanted a set of school themed stamps. I wanted to purchase the ones from Sweet Stamp Shop, but upon further inspection, these stamps were made for mums to plan their children's schedule. So, I decided to search through Studio L2E's website and find the stamps that will fit my needs.