
DIY Washi Tape
1:51 PMIt’s been a while since I’ve posted anything. Three months to be exact. I’ve been busy studying for the CSET exam, coping with a spring cold/flu and also trying to organise and decorate the house. Another reason that I haven’t blogged either is Instagram. I post a lot of pictures about my travels, food, and just about anything interesting. If haven’t blogged, the chances are, there are a lot of posts on Instagram.The “washi tape” craze has hit the market. Stores like Beverly’s Crafts are carrying an assortment of washi. It was hard to find washi. I normally purchased them on Etsy or at Sanrio Surprises.The first one I bought was the Little Twin Stars washi from Sanrio Surprises. I love this washi (even though it’s pink) because I can write on it without having the ink smear. There’s a downside to the this design though, I hate writing on Kiki and Lala, so I decided to use it as a border decoration on my Filofax pages.
I searched online and found a pack of Martha Stewart washi tape. I was thrilled with the pattern and went ahead and bought them on Amazon. I really don’t like Martha Stewart’s washi tape. It’s glossy and you can’t write on it. You’d have to own a sharpie to be able to write on it. It’s purely decorative. I went on to buy the Scotch Expressions tape which is similar to the Martha Stewart brand.Finally, I was able to find washi tape that’s similar to the Little Twin Stars Washi I have. I couldn’t believe when I found it at Target and the price was reasonable. Now I have an addiction.But the price of washi tape (including shipping) is somewhat expensive considering what I plan to do with it. I’m hooked and I need alternatives. Of course, I’d still buy them, but I have to set myself a limit.
The thing about being a Do-It-Yourselfer, I started thinking about ways on how I can make my own washi tape. And since I want more, I made the decision to try to make it. The cost of a generic brand of double-sided tape and whatever paper you want to use is cheaper than buying spools of washi. There are several different ways you can make your own washi. I prefer this method better. Here are the instructions with photographs. Please bear in mind that I’ve taken these photos with my iPhone and might have been a little lazy to edit them.
Materials:
Double-Sided Tape
Scissors
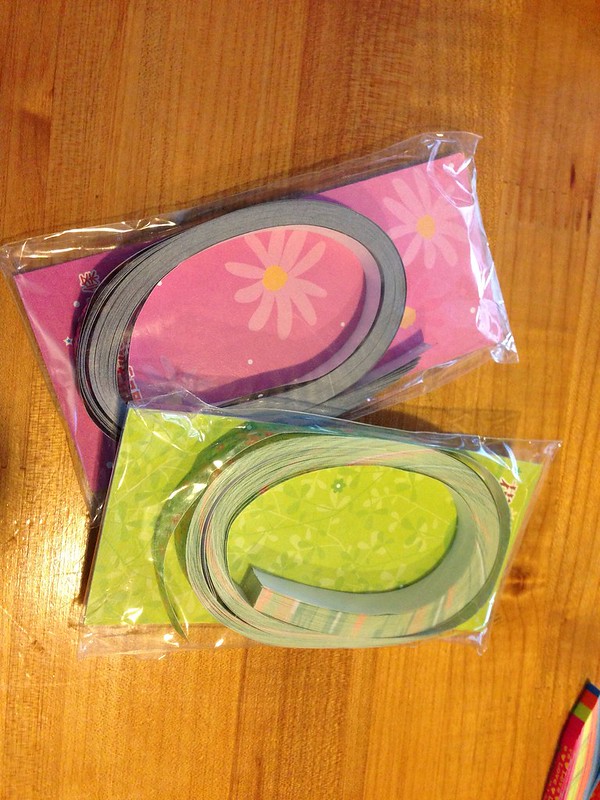
Patterned Paper
Commercial Grade Parchment paper.
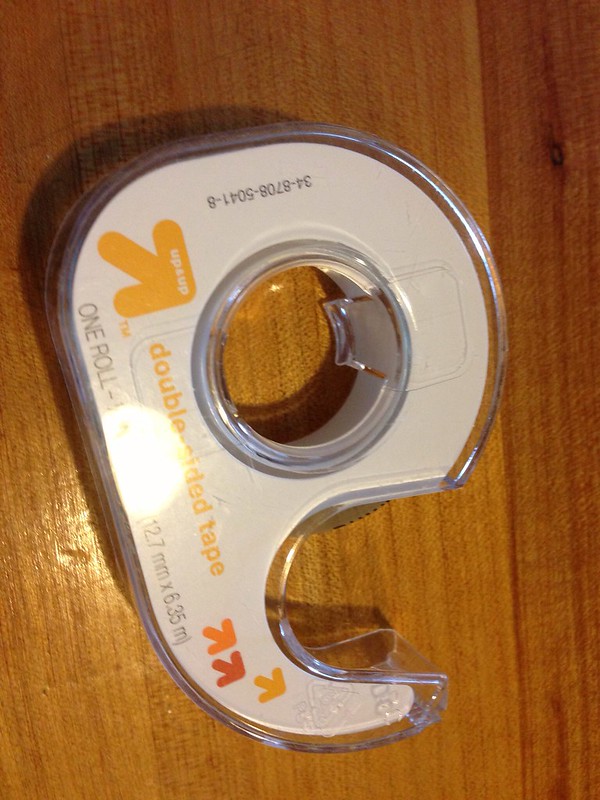
The first thing you want to do is check the measurement of your double-sided tape. Some tapes have a backing on top and others do not. The ones that have the backing are quite expensive (and I couldn’t find them at Target), so I decided to use the one without. That’s where the parchement paper comes in handy.
If you’re thinking of doing this, there’s no easy way to make a continuous spool of washi if you’re using double-sided tape without the backing. It’s possible to do it both with the backing or without, but just to save yourself from heartache and frustration, just make it in strips.
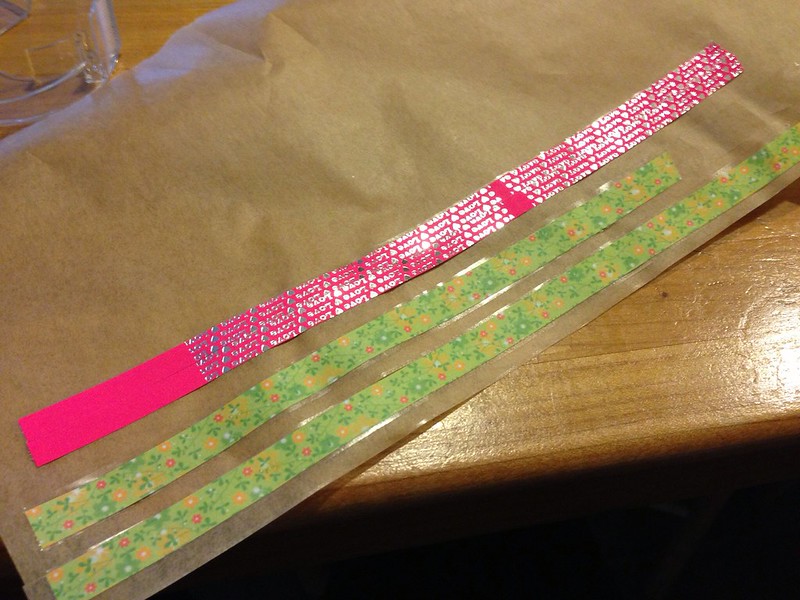
First, grab a long pice of tape, the length doest matter as long as it doesn’t exceed the length of the parchment paper you just tore out.
Tape it to the parchment paper. Grab your paper strip and start applying it on the tape, making sure that all the edges are neat and that there are no bubbles. When you’re finished, cut the wax paper with the tape and roll it onto a cork. It’s that simple.
I know you’re wondering why commercial grade parchment paper, why not wax paper. In my experience, the double sided tape tend to adhere pretty well to the wax paper and when you try to peel it off, it’s like peeling an old sticker from a glass or plastic jar.It’s not hard to find commercial grade parchment paper. They can be found at restaurant supply stores.


0 comments