Planner

Week 52, The Final Week: Happy Planner Layouts

10:50 AM

Happy Christmas Eve!

This will be my last planner related post for the year, unless there is a repeat of last year's planner gifting fiasco. We'll find out tomorrow morning.

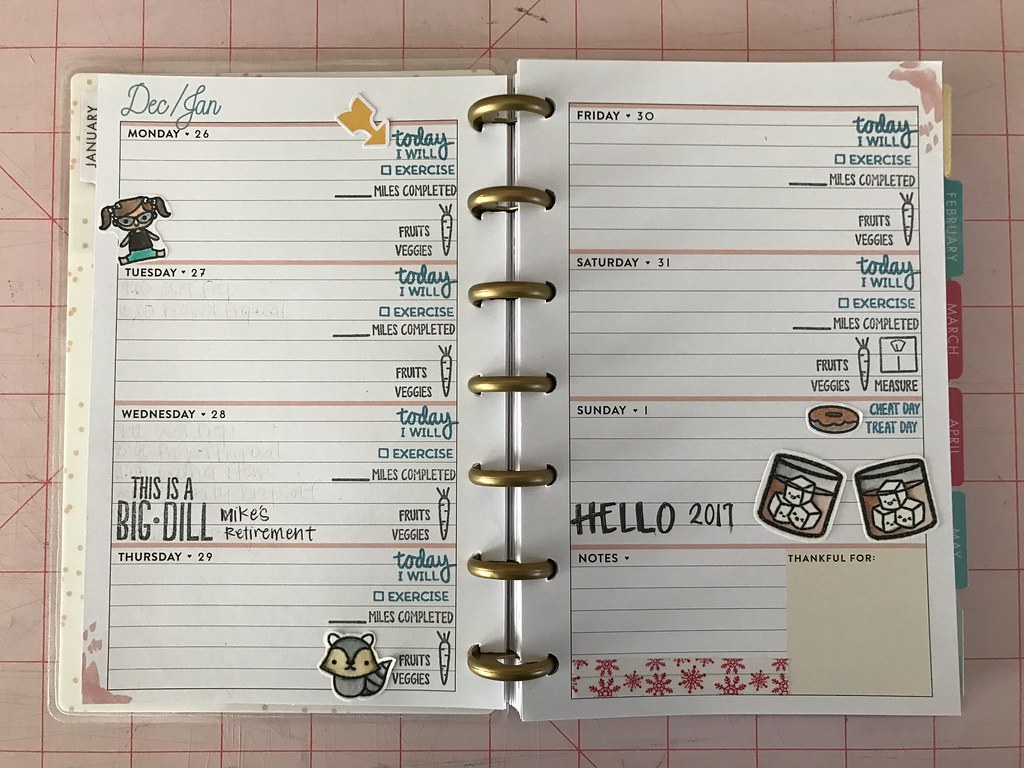
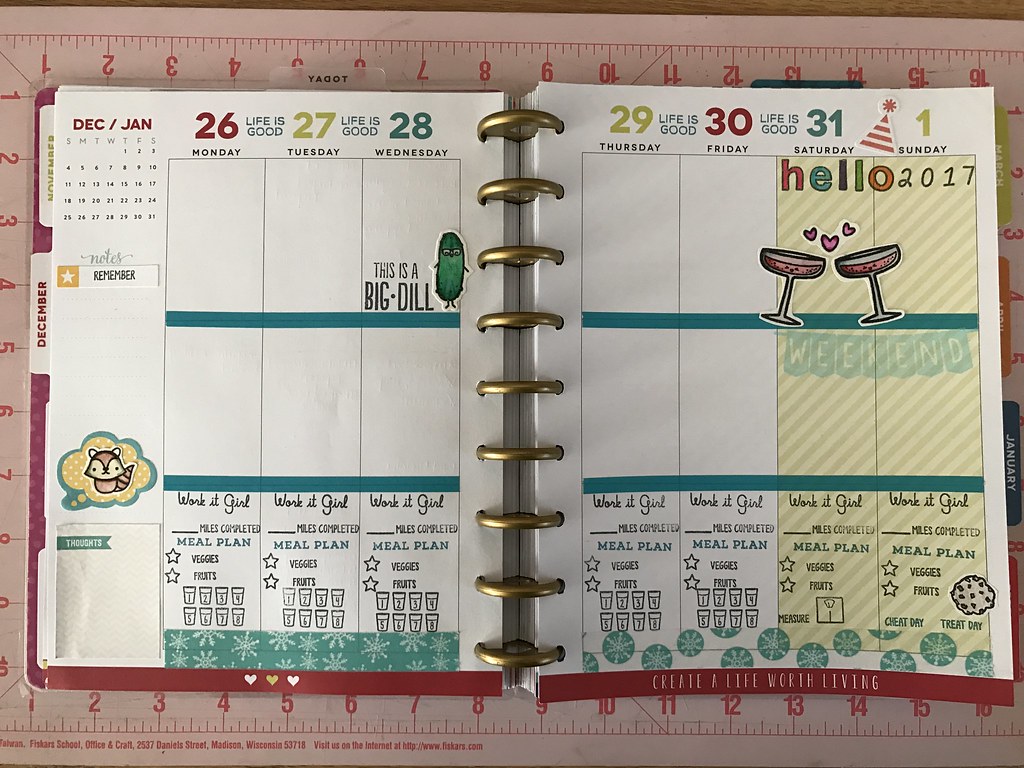
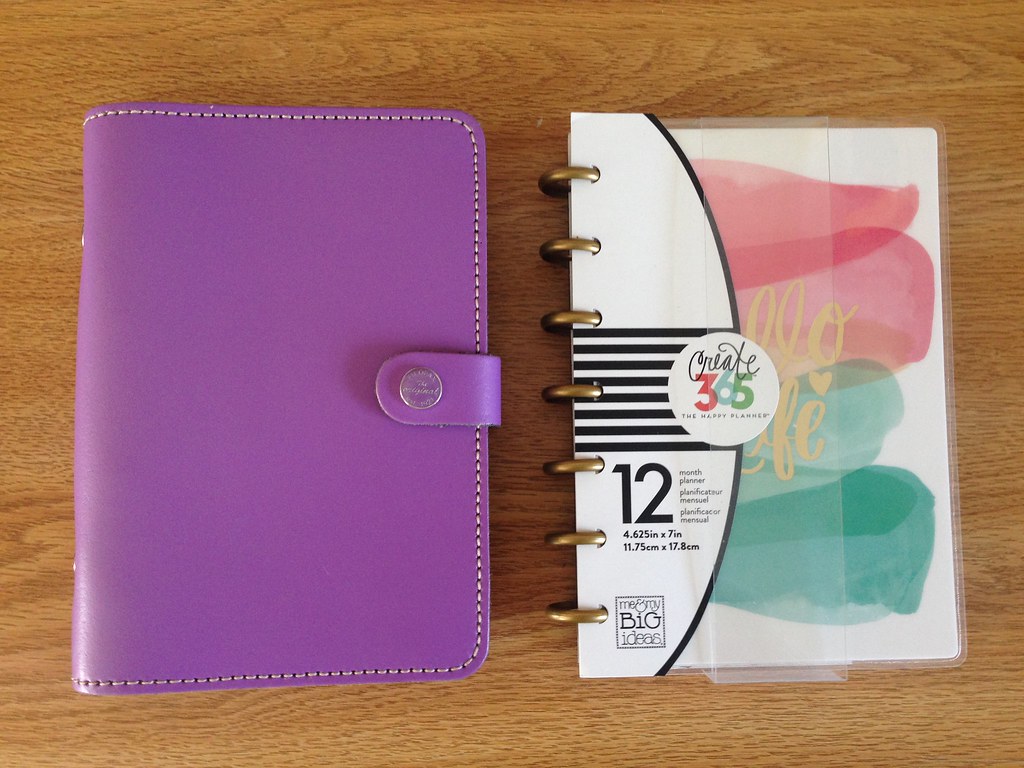
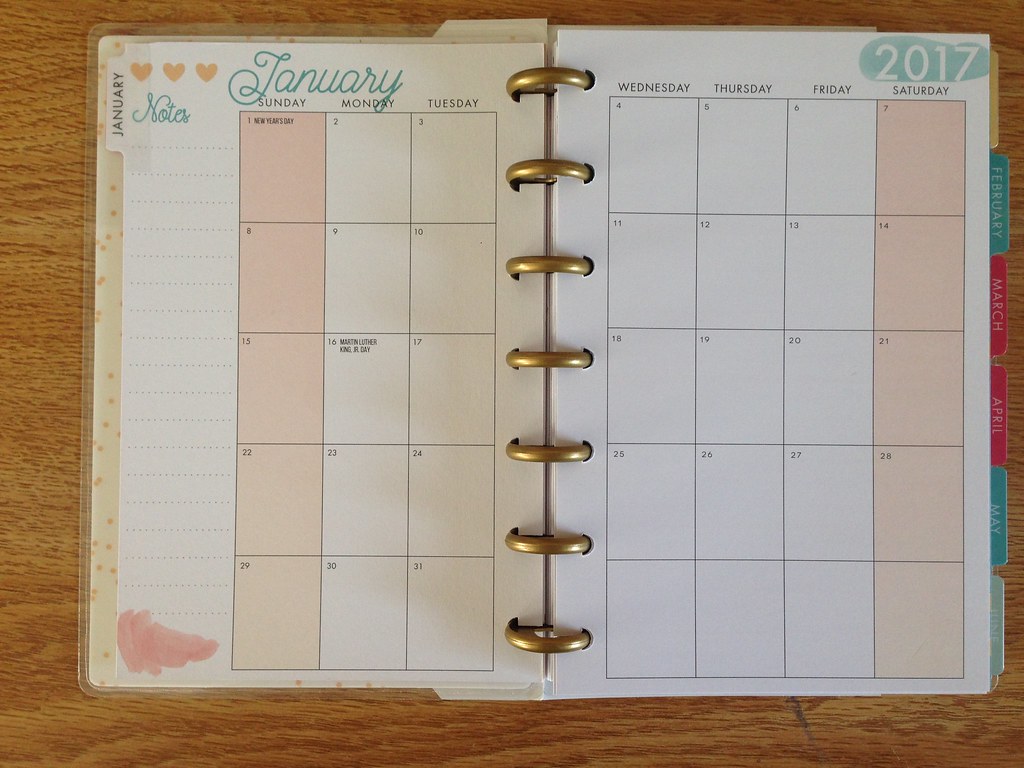
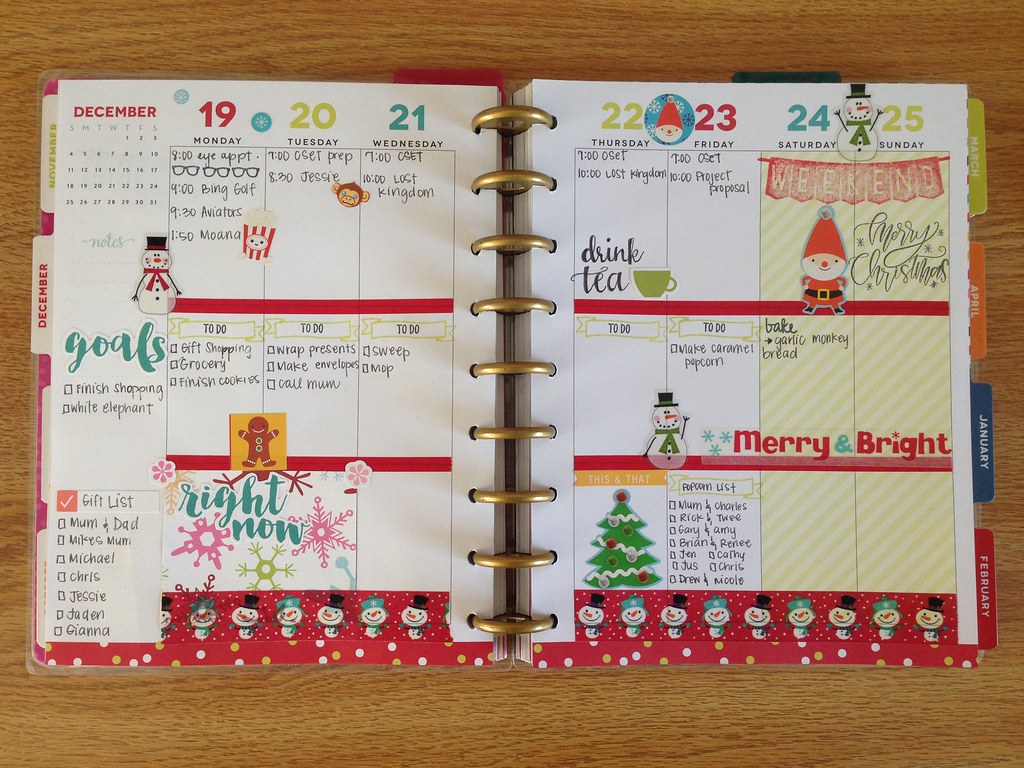
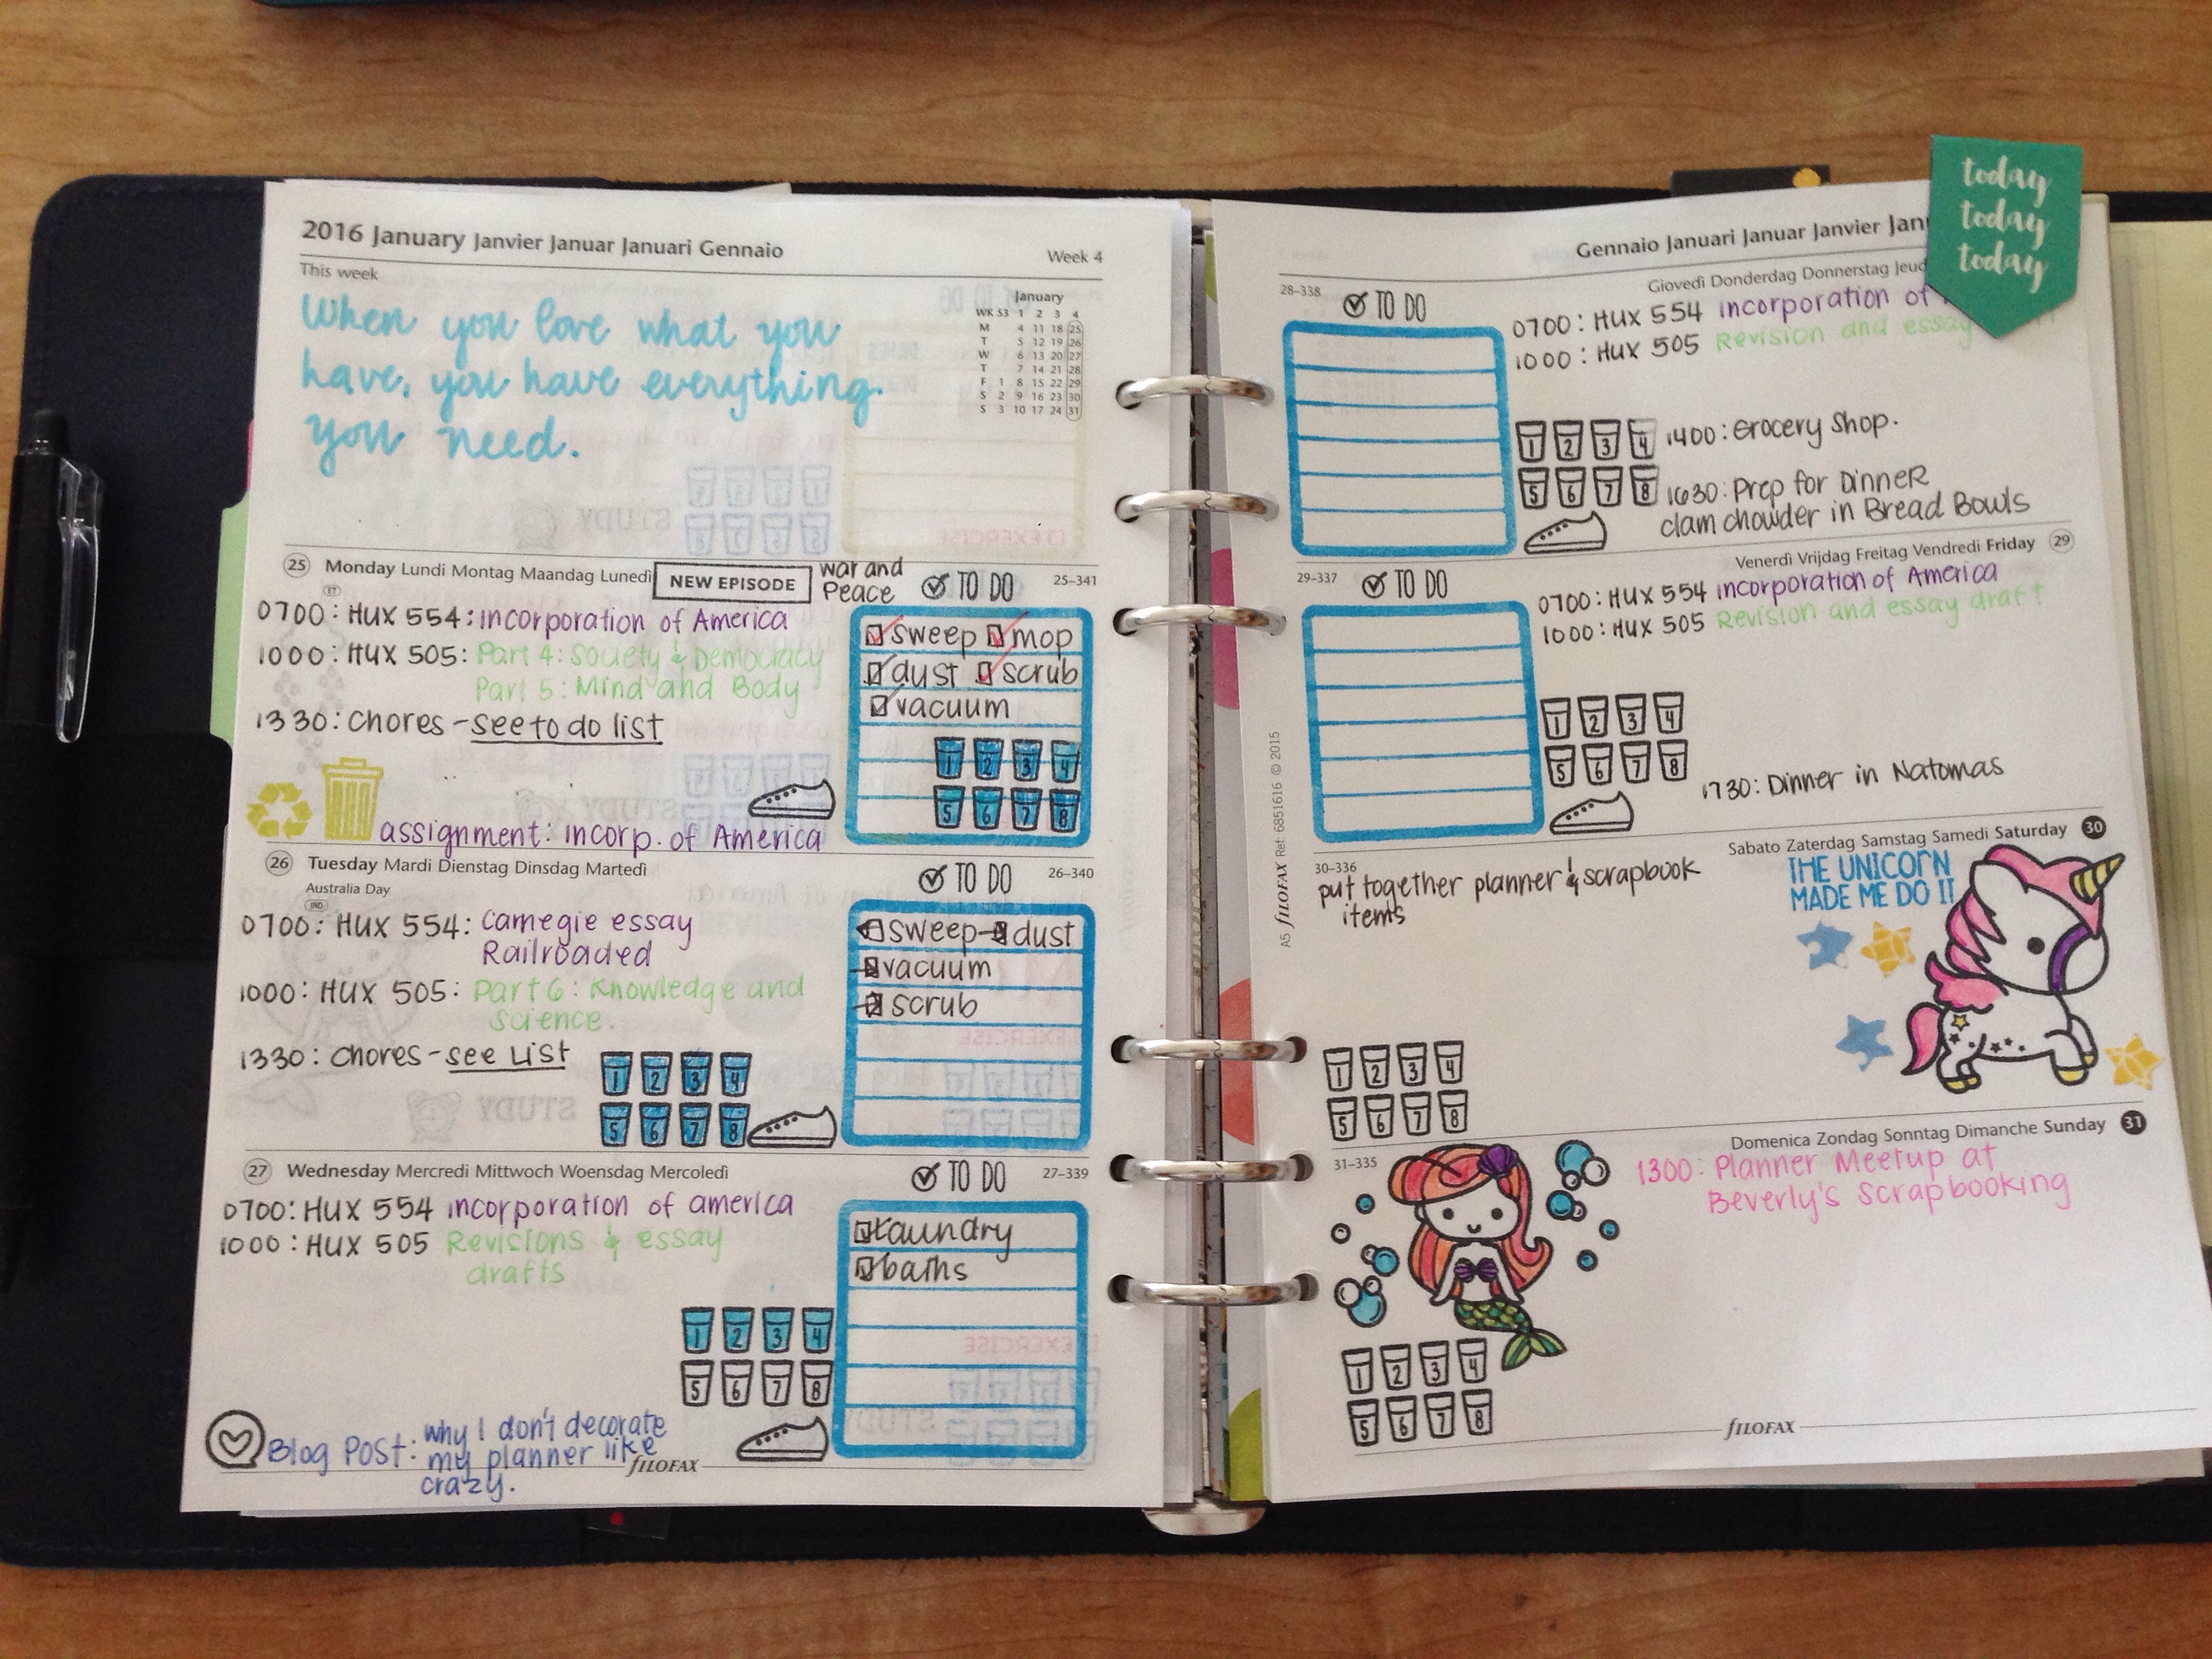
For the coming year, I'll be working with two Happy Planners. The Mini and the Classic. There will be a lot of decorating in the Classic as this planner will stay put on my desk. As for the Mini, this will serve as my on-the-go planner.

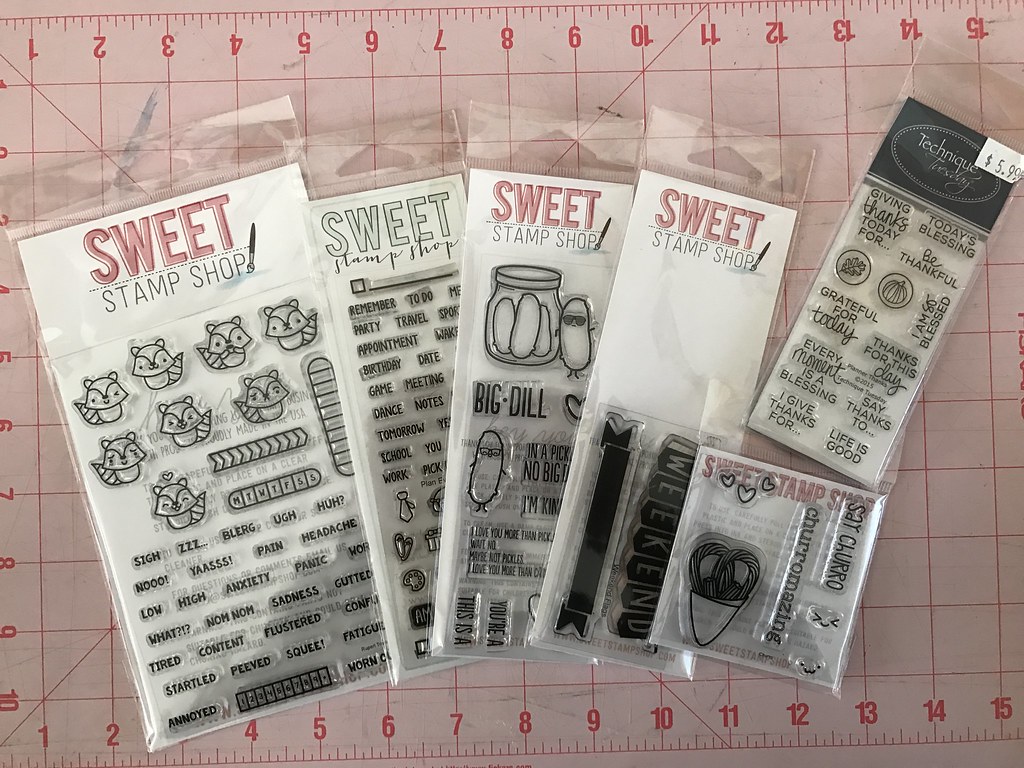
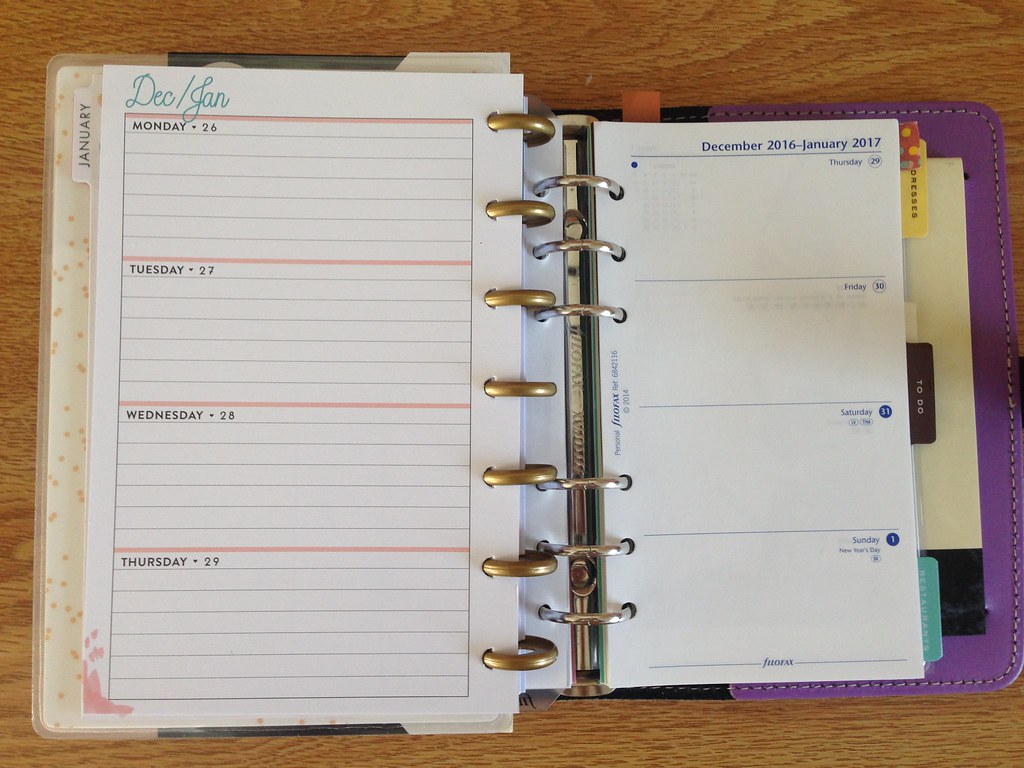
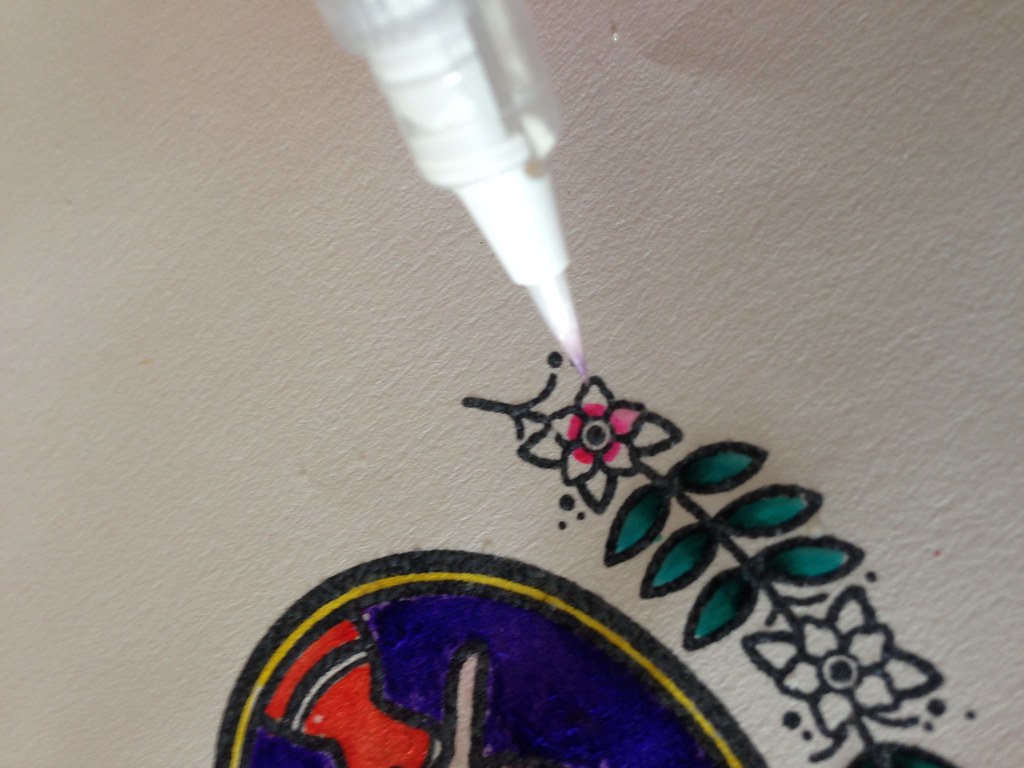
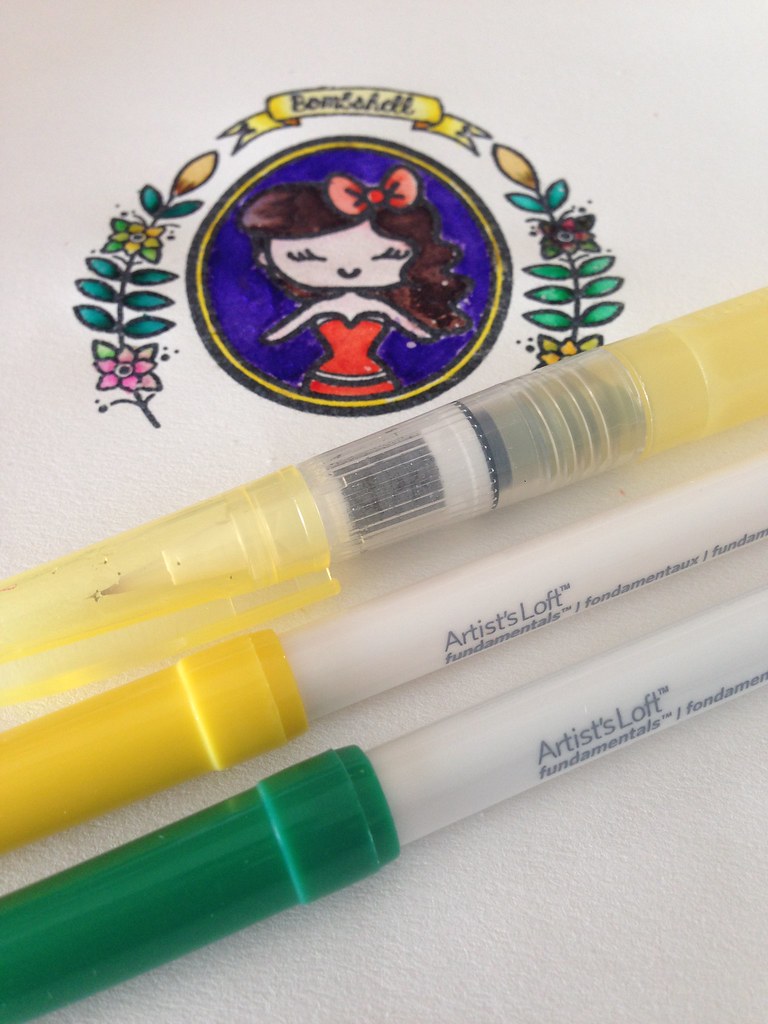
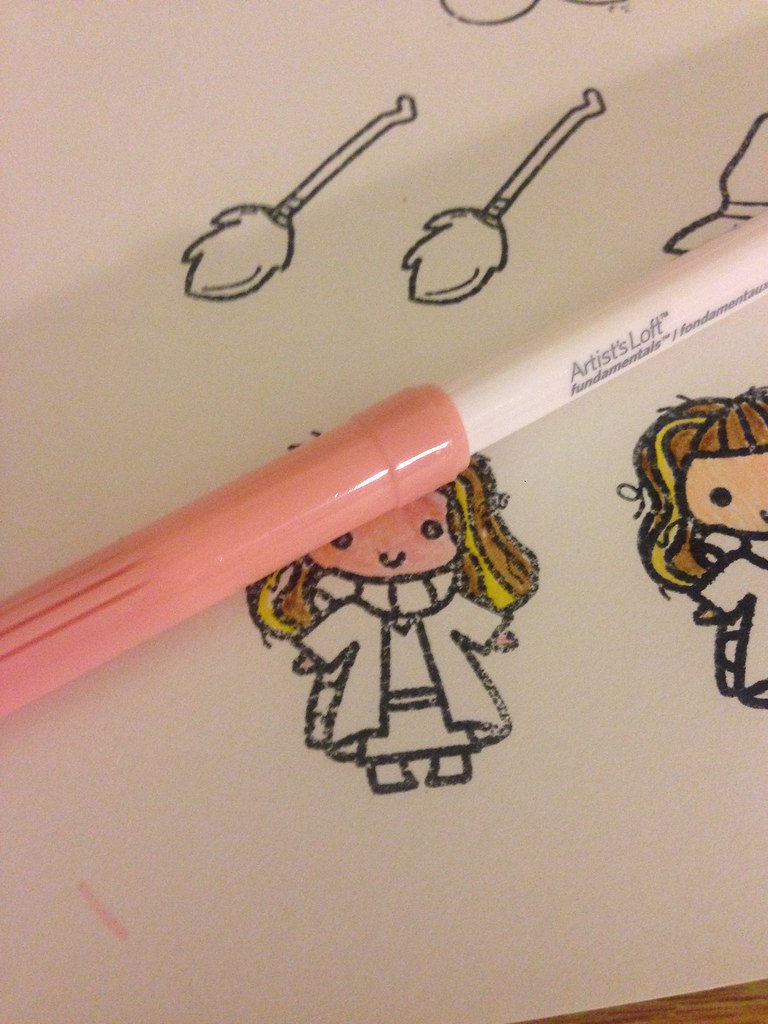
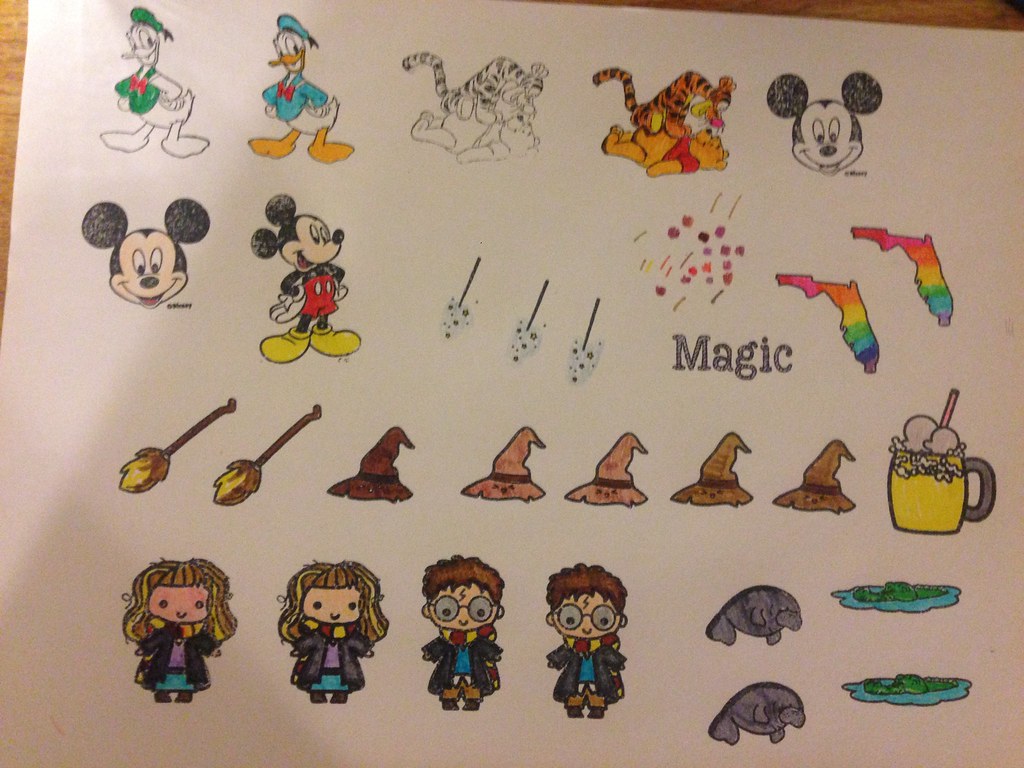
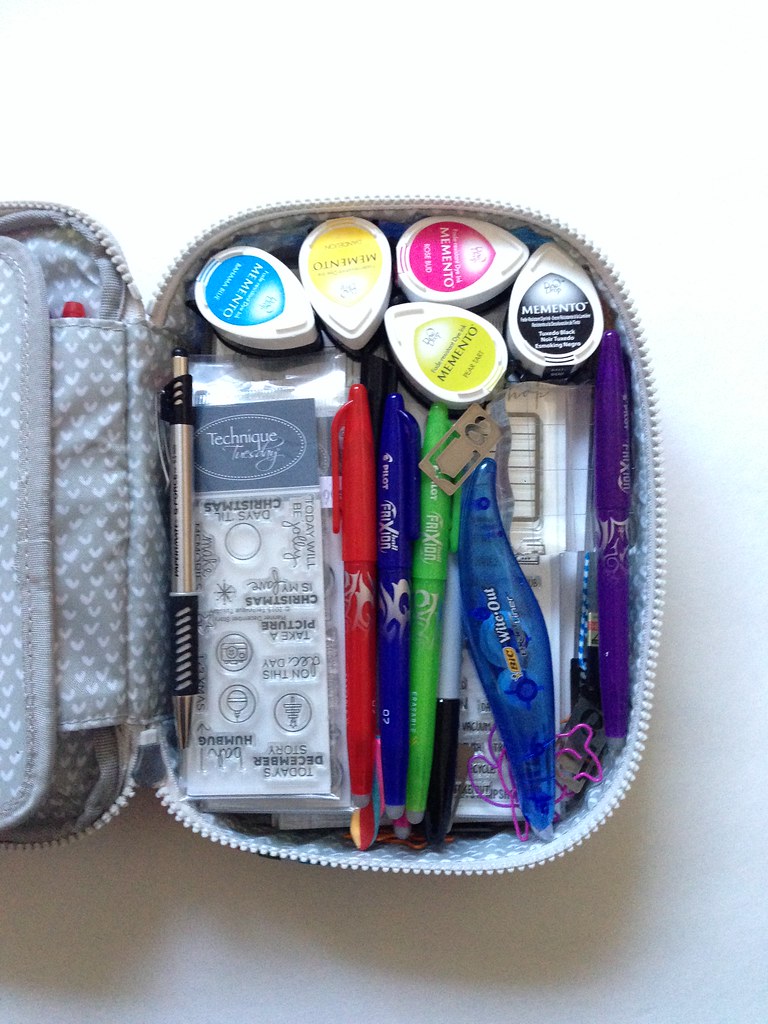
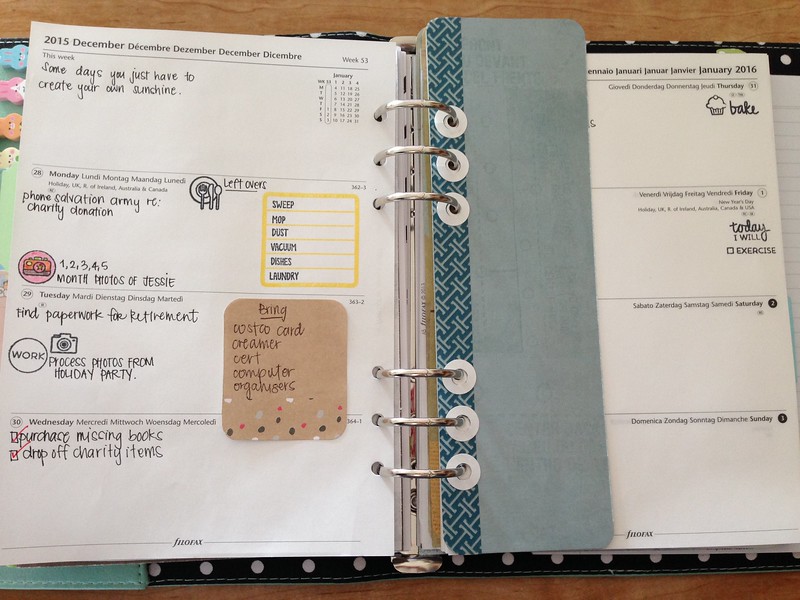
Last night, I started putting together the layout for the coming week in the Mini Happy Planner. Although I don't plan on decorating in the Mini, I decided to add next week's exercise regime and detox plan in it. I also added some stickers that I made from the stamps I purchased from the Sweet Stamp Shop as well as a couple of different stamp sets from other vendors.


As for the Classic Happy Planner, I've gone ahead and decorated. I used a variety of stamp sets, mostly from the Sweet Stamp Shop. Since I'm decorating the next week, I didn't want to use any of the Christmas washi tape on this layout. I would have gone gold, but I didn't have any that were about half a centimetre in width, so thus, I went with the blue theme.


For the materials used in this layout, I have pictures below. I will add a link to the shops I'd bought my crafting supplies in the next few posts. 


Stay safe and have a Happy Christmas everyone!

Planner

The Happy Planner Mini

8:27 AM

It's that time of year again! 2016 is coming to a close and if you're like me, you're going to need a new planner! There are quite a bit of planners out there to choose from. There are some inexpensive ones and there are some that can do quite a bit of damage to your bank account.

I'm a creature of habit when it comes to the things I like and for the last twenty years, I've been using a Filofax. It's a durable brand and the one thing I loved about it was that I can buy a binder and just keep buying inserts every year. But, as Filofax began adding different sizes and style of binders to their collection, I was no longer buying inserts, but buying the binders. The one big advantage to buying the binders was that I was coordinating them with my bags. If I was using my light pink Coach bag, I used my Filofax Personal size in Lavander and so on. It was easy to migrate or move everything from one binder to another. The only downfall to having a Filofax was that I can customize it any way I want it. Meaning, lots of custom inserts such as shopping list, goals, blog post schedule, the diary itself, university information, and so on. It can get quite heavy in my bag. 


So this year, I've decided to do a bit of a change. I've been using my Filofax in conjunction with Mambi's Happy Planner. But with Mambi's release of the Mini Happy Planner, I've decided to forego buying inserts for my Filofax and going with the mini Happy Planner.

The Mini Happy Planner is almost the same size as the personal Filofax binder.


The inserts in the mini Happy Planner come with a month at a glance as well as a week on two horizontal layout. This is what I like about the mini Happy Planner. The inserts come with the month at a glance whereas Filofax doesn't and you'd either have to search for a free printable, make it yourself, or buy the inserts along with your regular diary pages. As much as I love Filofax, their inserts are pretty thin and get quite expensive. The pages in the Happy Planner are made of thick paper and I don't have to worry about my pens bleeding through.


The inserts are larger than the personal size Filofax inserts and they are also lined. 


I've spoken to a older lady at the local scrapbooking store in Sacramento and she did not like the mini Happy Planner as it is made for people who just want to write their appointments in it rather than decorate and it seemed to me she thought it a bad thing. What I tried to explain to her, that in the planner community, we have multiple planners in which we can decorate or just keep appointments. For those who have quite a lot going on in their daily lives such as work, post-gradute university, family, and kids. Having a separate planner to plan everything without decorating it is a tool. For me, the Mini Happy Planner is a tool that is used in conjunction with my iPhone, MacBook Pro, and the Happy Planner. It is in the Happy Planner that I decorate, add my schedule and any other impromptu events that happen during the week.


If you like decorating your planner, but want an on-the-go one where you can quickly jot down things to do, assignments, grocery list, etc., but without all the bulk of a Filofax, then the mini Happy Planner is your best bet. I've always been a Filofax fan, but after getting my hands on the mini Happy Planner, I don't think I'm ever going back .... unless Mambi discontinues it.

I think I'll use my Christmas Wish on having Mambi keep the Mini Happy Planner for a long time to come.

Have a Happy Christmas everyone!!!


Crafts

Artist Loft Markers: Making the Best Out of Low-Grade Markers

11:05 AM

When it comes to crafting, particularly stamping, many of us are on a budget and as much as we would love to own the entire colour spectrum in Copic Markers, that might just not be feasible to our pocketbooks, unless we've won the lottery.

Recently, I've gotten back into paper crafting, particularly decorating in my Happy Planner and making greeting cards. I haven't scrapbooked any photographs in ages, but decorating in the Happy Planner had become a pretty good hobby for me. It also allowed me to get into my creative side and gave me a break from the monotony of postgraduate studies.

For the images I've been stamping, I wanted to produce an image that had crisp and vibrant colours. I tried the Sharpie markers, but they bled through easily, even after embossing the image. I was also having trouble blending them. I wanted the Comic Marker look, but I was not willing to pay $8 for one marker. So, I went on a hunt for some inexpensive ones.

During the summer season, I was browsing through the art materials at Michael's Arts and Crafts store in the Natomas area when I found a set of relatively inexpensive markers. It was the Artist Loft Triangle Markers. They were a bargain at $5. With 36 colours in the box, it seemed like the practical option.

The colours are very vibrant, which is what I was after. However, there are a few caveats to consider before buying these markers. Although they were vibrant, they created some pilling on watercolour paper as you layer in the colour. This made me think that if you used it on regular paper, the pilling will be much worse. Also, the pen cap does not match the colour of the pen, so I suggest creating a swatch or testing it on a piece of paper before you colour your image.

Since I've already purchased the markers and used it, I don't think returning it would be a good idea. Plus, the gas alone to get to the store would cost just as much which makes it not worth it to go back and get a refund. So, I decided to figure out a way in which I can maximize my use out of these markers.

Thankfully, the markers are waterbased, which means, you can add a little bit of water to dilute the colour and prevent pilling. You can also even out the colour throughout the image and remove the fine lines that were present while you were filling in the image.

The image I'm using as an example is the Heartbreaker set from The Sweet Stamp Shop.

The most important thing in using these markers is to use watercolour paper since the markers are waterbased and you'll be using a bit of water in conjunction with the markers. You can use a cheap version. I'm mostly stamping and coloring to use on cards and on my Happy Planner that the Target brand watercolour pad works great.

First, you need to emboss the image. I used the Memento Fade Resistant Dye Ink in Black with a White Transparent embossing powder.  As you can see, I've already started colouring in the negative space in purple and the girl is already finished.


Once you have your image embossed, it's time to start colouring. If you want one solid colour without any shadows, just fill in the whole section. Using a watercolour brush or any paintbrush you have on hand, dip it in water and go over the entire image to make sure the lines are blended out and you have one solid colour. The brush I used is the ZIG H2O Water Brush.

You can also tone down any colour with water. As for the skin tone, the flesh tone marker is too neon-pink that when you colour in the skin areas, it looks ridiculously unnatural. The trick is to colour in a line either on the top or the bottom of the face or any body part and use water to pull the colour out to tone it down. As you can see, it worked on the girl.

But if you want to create some shadows, use a darker coloured pen or layer the colour in the inside corners of the image. Using the same technique, pull the colour out to the outside corners just as I did on the leaves and the flower.


The one thing to remember about this technique is to let your image dry. You can speed it up by using a heat embossing tool, but if you've used your toaster oven or one of those old school electric mug warmers, letting the image air dry would be your best bet. I wouldn't suggest using a hair dryer as it blows air, which will blow the colours out of your page and all that hard work would be for nothing. After it's dry, you can start cut it and affix it to a card or to your planner.


Good luck and happy crafting!

Food

Epcot's Food and Wine Festival 2016

7:02 AM

Disney's Epcot held its annual Food and Wine Festival.

Five years ago, I experienced the Food and Wine Festival at Epcot. It was an amazing experience as you get to try a variety of foods from around selected countries around this world. They had a Pumpkin Mouse Trifle that was a phenomenon. But I'm not here to talk about the Food and Wine Festival of 2011, I'm here to talk about the Food and Wine Festival of 2016.

When you first walk in through the doors to Epcot, you're greeted by Spaceship Earth and underneath that is the display for the Food and Wine Festival. You'll have to walk to the Pavilion to get to the Festival.

Once there, you can pick and choose where you want to start your food adventure. Since I knew we were going for the Food and Wine Festival, I ate a very light breakfast. We nabbed our first ride before it opened, the Three Caballeros boat ride in the Mexico Pavilion. From there, we headed off into a presentation of China. After we got a few attractions out of the way, it was time to go and sample some food.

Our first food stop was China. We were quite hungry by that point, well, I was. The one thing you have to remember about the Food and Wine Festival, they plates are small. It is the proper serving size, not the American serving size in which is triple the amount we're supposed to eat and the dishes run between $5 and $9 dollars a piece.

In China, we tried the Beijing Roasted Duck in a Steamed Bun with Hoisin Sauce. Michael tried it since I'm a vegetarian. I had a piece of the bread, green onions, and the hoisin sauce. His verdict on the Roast Duck, it was good, however, not as spectacular as he would have hoped.


I tried the Black Pepper Shrimp with Garlic Sauce. The shrimp, I gave to Michael. The noodles were delicious and very flavorful. But as you can see, the plates are small. It's the perfect size since you're able to sample the food and not leave feeling fun that you can't sample other plates.


We moved on to the German Pavilion and there, we nabbed some dessert. An Apple Strudel with Vanilla Sauce.


Our next stop was Italy. Michael was still wanting some food as the Roast Duck didn't quite satisfy him. In the Italy Pavilion, we tried the Spezzatino all Toscana con Polenta: Tuscan-style Stew with Carrots, Mushrooms and Crispy Polenta. 

We both liked the stew. Although it had some shredded beef on it, I was able to pick around it and eat the polenta, mushrooms, carrots with a small amount of sauce.


Since that was Michael's dish .... very meaty. We headed off to the Morocco Pavillion. There, I had one of the phenomenal dishes, the Spicy Hummus Fries with Cucumber, Tomato, Onions and Tzatziki Sauce. The hummus fries were delectable. It was firm and the small bits of veggies and Tzatziki sauce made the dish lighter and it cut down the grease. This is the dish I will try to replicate when I get home, just as I did with the Pumpkin Mouse Trifle five years ago.


By this time, Michael was already full, but I wasn't. So off to Brazil we go and I try the Pão de Queijo: Brazilian Cheese Bread. This bread is light and fully. It might not be quite cheesy as American Cheese Bread, which is slathered with tons of butter and cheese, this is has a light cheese flavor. Another dish to try to replicate after the holiday is over.


At this point, you're probably wondering if we're, I mean, "I" am ever going to stop. The final dessert was our last stop and we've been debating on whether to head to the France Pavillion and have some Crème Brûlée Caramel Chocolat: Caramel and Chocolate Crème Brûlée topped with Caramelized Sugar or head on over to Ireland for some Warm Chocolate Pudding with Irish Cream Liqueur Custard.

The Irish won over the French and we were off to get some warm chocolate pudding.

The picture of the pudding didn't quite do it justice since the sample they gave us almost fell flat compared to others whose chocolate cake held up.

The dish was reminiscent of a lava cake. The inside was very chocolatey, warm and gooey. The sauce cut down a the chocolatey of the cake which evens out the flavor throughout the cake. It was definite heaven for a chocoholic like myself.


All in all, the visit to Epcot was a success. If there is one advice I can give you when you visit the Food and Wine Festival at Epcot next year is not to expect to try everything in one day. It takes two days to sample everything in the park. We've only visited one day. Five years ago, we did two days and we were able to sample everything.


Crafts

Accio Stamps!

10:43 AM

Hello! It's been a while since I've updated the blog and since it's almost Halloween, I've decided to do  a small post on paper crafting.

Just this month, the Sweet Stamp Shop released the most amazing stamp set named Wizards. I've been quite addicted to Sweet Stamp Shop's stamps as they're super cute and super fun to play with and stamp in my Happy Planner. So, I went ahead and purchased the set with the intention of decorating the week I travel to Florida to visit the new Harry Potter attraction at Universal Studios, attend a conference, and visit my cousin who is working for Disney World.

So late last night, I did a little crafting to get my mind off the many maps and ancient texts I have to decipher of the Ancient Near East to determine the factors leading up to the Battle of Qadesh.

I pulled out two of my Sweet stamps, a couple of vintage wood mounted rubber stamps, Memento black ink, acrylic block, and a watercolour pad (I will list the materials I used for this project at the end of the post).


I began stamping using the Memento Tuxedo Black in with the intent of embossing the images, but after stamping a few images, I decided that it was getting late in the evening and bed time is a lot more important as I have to get up early in the morning and get cracking on those maps.

After laying out the maps and the outline of events on my desk this morning, I wasn't feeling up to working at all. And lo and behold, the stamped page was sitting at the corner of my craft desk, which is adjacent to my working desk. It was calling out to me! Needless to say, I got cracking on the craft rather than on my work.


I started using the Michael's brand, Artist Loft markers to colour in the faces. I chose the flesh toned marker and started on the girl wizard. I didn't realize that the color was off when put on paper. Instead, I used the peach Crayola coloured pencil and the color turned out great!


For the rest of the wizards, I continued to use the Artist Loft Markers. As you can tell, from the first girl wizard was the trial run and the subsequent wizards turned out a lot better.


After I had the wizards colored out, I went ahead and continued on with the other stamped images.


Now, it's time for some fussing cutting, but after I get some work done. I'll continue on with a post on how I used these cute wizards and the Sunshine stamps in my Happy Planner layout. So stay tuned!

Food

Aloha! Delish food from Hawaiian Style Cafe

7:43 AM

Aloha!

This post is coming to you with love from the island of Hawaii. As a historian, I could give you a full blown lesson on the real history of Hawaii, not the haole version they all want us to know, but I won't. Instead, whilst on my trip, I'll give you guys some tips on restaurants to visit.

We first landed in Kona on October 7 and made our way around the island to stay in the city of Hilo. We could have stayed at our condo/timeshare at Worldmark Kona, but our reservation wasn't until the next day and the reason we flew in early is because of airfare costs. The couple we were traveling with can't travel mid-week and the earliest they can depart was on a Friday. There were a bit of last minute changes, which is one of the reasons why we ended up booking a hotel in Hilo for one night.

If you happen to stay or take a road trip to Hilo, which is only about a two hour drive, take the time to visit Hawaiian Style Cafe. They feature local food in large plates at an affordable price.

We had three different dishes ordered. Since I'm a vegetarian, I ordered the Haupia (Coconut Creme) pancakes. There were two pancakes stacked on top of each other and have taken up the whole plate. It is topped with coconut creme, toasted coconut shavings, and whipped cream. If you're going to order this, I would say share it with another person or two. It's such a big pancake that you can't expect to finish it by yourself.


The next dish that was ordered was called the Mok-A-Saurus. The name of the dish alone told us that it was going to be big. It's the restaurant's take on the local favourite, Loco Moco. This is one of the few versions they had on the menu.

The Mok-A-Saurus is a bed of fried rice topped with Spam, chicken cutlet, kalua pork, hamburger patty, two eggs, and brown gravy. As a pescetarian/vegetarian, this is something I would not order and if I did, I would just be ordering the eggs, rice and brown gravy ... not this meat lover's heaven.

As said, it was quite big. I tried portions of it (without the meat) and it was delicious. It might seem too much with the fried rice and the gravy, but they both complemented each other well. I can't say what it would have tasted like with the meat, but according to Michael, it was heavenly.


Lastly, the other local favourite ordered was the Ahi Poke Nachos. You won't find this on their regular menu, but if you look at the specials, you will find it there. I really can't tell you what kind of sauce they used, what's on top, but from what I saw, the tortilla chips were topped with freshly caught ahi tuna, avocado, tomato, seaweed shavings, green onions, wasabi mayo, and possibly sriracha. I tried a couple of bites.... yes.... I had some meat. I know I said I'm a vegetarian, but I do occasionally consume fish as long as its caught, not farm raised.

The nachos were delicious and also full of flavour. The tortilla chips were crispy and light.


Overall, I would say our brunch foodieventure was a success. It is definitely worth it to take a road trip to Hilo if you're coming from Kona to get a taste of Hawaiian Style Cafe's food.

Planner

Why I Don't Decorate My Planner Pages Extensively

1:01 PM

Planners. They're the most gorgeous things ever. Of course, a planner is supposed to organize your life, but there are moments that you just can't help yourself and buy loads of them. For those people, myself included, a planner can be a fashion accessory.

Like any Planner Addict, I'm always on the look out for the cutest planners and cruising through Instagram and Facebook for gorgeous photos of decorated planner pages. I also have a penchant for stationery and office supplies. So, whenever I'm in the San Francisco/Bay Area visiting family, I'm always in search for a cute post-it note or tags.

As far as decorating my diary pages with all those cute tabs and stickers, I generally find it too time consuming. No doubt you have seen photos of personal size planners stuffed with pictures, cute paper clips, keychains, and such. My planner, whether is the personal size of A5 size Filofax Original remains clutter free and here are a few reasons why I keep my planner clean and tidy.

Reason One:
I'm a post-graduate student earning my degree in Humanities and History. I use my planner as a tool to keep my life organized. I've got so much information to sift through that decorating my pages with loads of stickers and washi tape would end up burying all the important dates and information.

I have decorated my planner pages extensively in the past, but after missing a couple of due dates, I've decided to do my pretty planning in a different planner.

Reason Two:
While decorating your planner pages and adding some paperclips to the front flap of your planner can be fun and beautifies it, those extra things you put in your planner does create a lot of unnecessary bulk. Having an uneven surface to write on is one of my pet peeves, so I began to avoid decorating my planner.

Reason Three:
Decorating takes too much time.

When I was decorating my planner, I found that I was using up a lot of time trying to figure out what theme and pulling out my washi tapes, stamps, stickers, and such. Decorating it also takes quite a bit of time.

At the end of the week, I block out fifteen minutes to plan out the next. Having to pick a theme, take out the appropriate supplies such as washi tape, stickers, stamps, etc and the actual decorating takes more than fifteen minutes.

I do decorate in my A5 Filofax and the extent of my decorating is using some planner stamps from the Sweet Stamp Shop, Studio L2E, and Simply Kelly. If I wanted to see something cute in my week, I use one of the larger stamps during the weekend where my days are partially empty. As the day ends, that's when I'll add a random sticker on the day, but not on the current or future days of the week.


So there you have it. If I decorate my planner pages, I keep the decorating to a bare minimum.

I do have an extra planner (which was given to me at Christmas) that I decorate and call it Memory Keeping. I take my week, plug it into this planner and decorate to my hearts content with washi tape, photographs, stickers, and stamps to my hearts content without losing important information as the week I'm decorating had already passed.

Fashion

What's In My Bag or my Planner Supplies Kit

4:38 PM

Naturally, I thought I'd do a What's in My Bag post since another trimester is beginning in my adventures as a post-graduate student. But after checking my Longchamp Le Pliage tote and finding that my Kipling 100 Pens case and the Carpe Diem organiser is taking up all the room (and this bag doesn't even include my Macbook Pro at all!), I decided to do a What's in My Pen Case post instead. As you can see, I've got three books, iPad Mini, Carpe Diem Planner, research printouts, and my trust Kipling pen case.


I've always loved Kipling Bags and this love dates all the way back to the 90s. I love the fact that it's light and water resistant. I've been caught in a downpour once and the contents of my Kipling bag was dry. When I got the case, I'm completely in love with the pattern and the colours. It's bright and fun. Of course, it holds as many items I want it to hold. And yes, it's stuffed with things I need for revisions, research, and of course planning. I'm currently working with two planners and have decided that I might need to pack around the extremely large Carpe Diem for research purposes whilst I still have the Personal Domino as my on the go and everyday planner.


Inside the case, I've put every single thing I would possibly need. Pilot Frixion markers, Pilot Frixion pens, Pilot Frixion Hilighters and  Staedtler ball point pens practically fill each and every one of those pen loops. I use these pens for revision notes and my planner.


The second tab contains all of my planner stamps, some Pilot Frixion pens, mechanical pencil, correction tape, stamping block, inkpads, and paper clips. I could downsize to one inkpad, but I love the colours and I do love colour in my otherwise black and white organiser.


Further inspection of the planner stamps, I've got my favourites from The Sweet Stamp Shop, Studio L2E, Kelly Purkey, and Technique Tuesday. It seems quite a lot for planner stamps, but I use them all. I don't bring washi tape with me. I'd rather keep those at home when I'm leisurely decorating and doing revision notes. It seems weird that I've got a planner supply kit when I'm doing my post-graduate studies online with CSU Dominguez Hills, but a lot of times, I make my way to the library to study or go to class. There's less distractions at the library such as the television and the kitchen!


There are some Christmas and Thanksgiving stamps in my collection and although the holidays are over, I still use some of the icons in the set for everyday planning such as the bake caption, camera, mail, and cocoa.

What about you? How much of your planner supplies do you carry?

Planner

Memory Keeping and Listers Gotta List (plus supplies used)

12:04 PM

Last year I embarked on a challenge called "Listers Gotta List" created by The Reset Girl which I found on Instagram. Unfortunately, as with my hobbies and challenges, this fell off my fun things to do as I've began my first trimester of postgraduate studies. I hadn't planned on continuing with the the challenge until recently (during Christmas), I received a bound planner from a friend who knew I had a penchant for all things planner/organiser and paper related things. Unfortunately, I've already got two planners I'll be working with (an A5 and a personal size). So, I decided to use the planner to memory keep and complete a years worth the Listers Gotta List challenge.


For the first three days of this year, I haven't had much to memory keep. Thankfully, the Listers Gotta List challenge took up quite a bit of room.


First day challenge materials:

1. Steak and BBQ grill images came from the Plan Summer from the Sweet Stamp Shop.
2. Suitcase image came from the Plan Everyday stamp from the Sweet Stamp Shop
2. Heart shaped image came from the Plan It stamp from Studio L2E.
3. Charlie Brown and Snoopy image is a stamp I've purchased in the late 1990s. I can't tell you what brand it is or when I've acquired it as its been too long.

The second day challenge, materials used:

1. Coffee Cup image, Plan To Go from the Sweet Stamp Shop.
2. Family Time and Menu captions, Plan It from Studio L2E.
3. Knife and serving fork image, Plan to Eat from the Sweet Stamp Shop

Third day challenge, materials used:
1. Brenda Walton Alphabet Stamps purchased from Joann's Fabrics.

The inkpads used in all three challenges were the Memento Fast Drying Ink in Bahama Blue, Rose Bud, Dandelion, Pear Tart, Tuxedo Black.

The pens used are the Pentel Energel in .07 Tip and Pilot Frixion Markers.

Planner

2016 Organiser Set Up and Carpe Diem Planner Review

8:09 AM

Happy 2016. With the new year new resolutions emerge and of course, in the planner community, a chance to showcase new diaries, organisers or planners.

In my previous post, I mentioned acquiring the Carpe Diem A5 planner. As much as I would have loved to purchase the Union Jack Filofax Original in the A5 size, I decided against it. After all, I've accumulated quite a bit of Filofaxes over the years. Unfortunately, whilst Christmas shopping at a local scrapbook shop, I came across the Carpe Diem Planner and fell in love with the colour: Robin's Egg, which is a shade lighter than the Tiffany's jewelry box.


My whole purpose on using the Carpe Diem planner was to give my A5 Filofax Original a break from the wreckage of my bag as well as an attemp to downsize what I carry. Last year, during a holiday in Hawaii, I was unable to bring my Filofax as I've already overloaded my carry-on situation with my postgrad books, laptop, and of course, scuba gear. Yes. I've got scuba gear designed as a carry on.

As I retired my Filofax and moved into the Carpe Diem, I noticed the size difference. The Carpe Diem planner is slightly bigger by an inch compared to the Filofax Original and the ring sizes are also bigger. It is also quite bulky. The organiser is made out of textured faux leather/vinyl, similar to that used on the Filofax Metropol. This is one of the reasons why Carpe Diem is inexpensive. At $45 a piece, anyone who is looking at moving into an A5 size can purchase one without burning a hole through their purse, although I wouldn't recommend this as an everyday planner. It's big and bulky. And if you're planning to carry an A5 around, I would suggest in investing in a Filofax. They're slightly higher in price, but you get what you pay for and they've been in the organiser business since the 1920s.

The interior of the Carpe Diem planner is not made out of the faux leather that covers the exterior, but with a black polka dot fabric material. On the front flap, there is a side pocket with credit card slots and the back flap holds a notepad.


The inserts that came with the organiser are beautiful and colourful. However, it is not dated. I like my diary pages to come already dated so I can just go in and plan and schedule in dates without having to figure out which day falls on what. It also saves time in having to date the diary pages. The purpose of having an organiser and diary pages is to facilitate proper time management. With undated diary pages, it takes time to write down each date. Once each date is written, then one can start planning.

It's a cute organiser, but as far as their diary pages, it's highly unlikely I will use it.

Now onto the set up.

The first tab in the planner (I made my own by using heavy duty scrapbooking card stock and some Martha Stewart's peel and stick tabs) contains my information as well as dates and holidays that came with the diary inserts I purchased from Filofax.


The second tab, I placed the foldout month at a glance pages I printed from the iCal app on my Mac. I use these foldout months to see what I've got going on at one glance rather than rifle through each page. On these pages, I use the photopolymer stamps I purchased from Sweet Stamp Shop, Studio L2E and Technique Tuesday. I've also used the colourful monthly dividers that came with the organiser to sort out each foldout monthly calendar.


The third tab contains my diary pages. This is where I record everything from appointments, chores, work, and post-graduate dates.


The fourth tab is where I'll keep my notes. It's basically a memory dump page, but a bit neater than the one I keep in my Personal Domino.

The fifth tab contains all post-graduate university related information. I've also copied the Filofax To-Do pages and placed them in this tab to record my readings. As a post-graduate student of history, I have a lot of reading and research to do as well as writing, so the reading list will help me keep track of all the reading I need to do. I've also added the program information in this tab so I can refer back to it whenever I need to.


Lastly, I've got a blog schedule list which I obtained from Philofaxy. I haven't blogged at all last year and one of my goals this year is to blog as much as I can in hopes on getting on a design team.


The only gripe I had about this planner is that it did not come with a tabbed ruler. The ruler is sold separately and the local scrapbooking store did not carry the ruler not have I been able to find it on Amazon or the manufacturer's website, which prompted me to make my own.

How to do you set up your organiser this 2016?

Instagram