
Artist Loft Markers: Making the Best Out of Low-Grade Markers
11:05 AM
When it comes to crafting, particularly stamping, many of us are on a budget and as much as we would love to own the entire colour spectrum in Copic Markers, that might just not be feasible to our pocketbooks, unless we've won the lottery.
Recently, I've gotten back into paper crafting, particularly decorating in my Happy Planner and making greeting cards. I haven't scrapbooked any photographs in ages, but decorating in the Happy Planner had become a pretty good hobby for me. It also allowed me to get into my creative side and gave me a break from the monotony of postgraduate studies.
For the images I've been stamping, I wanted to produce an image that had crisp and vibrant colours. I tried the Sharpie markers, but they bled through easily, even after embossing the image. I was also having trouble blending them. I wanted the Comic Marker look, but I was not willing to pay $8 for one marker. So, I went on a hunt for some inexpensive ones.
During the summer season, I was browsing through the art materials at Michael's Arts and Crafts store in the Natomas area when I found a set of relatively inexpensive markers. It was the Artist Loft Triangle Markers. They were a bargain at $5. With 36 colours in the box, it seemed like the practical option.
The colours are very vibrant, which is what I was after. However, there are a few caveats to consider before buying these markers. Although they were vibrant, they created some pilling on watercolour paper as you layer in the colour. This made me think that if you used it on regular paper, the pilling will be much worse. Also, the pen cap does not match the colour of the pen, so I suggest creating a swatch or testing it on a piece of paper before you colour your image.
Since I've already purchased the markers and used it, I don't think returning it would be a good idea. Plus, the gas alone to get to the store would cost just as much which makes it not worth it to go back and get a refund. So, I decided to figure out a way in which I can maximize my use out of these markers.
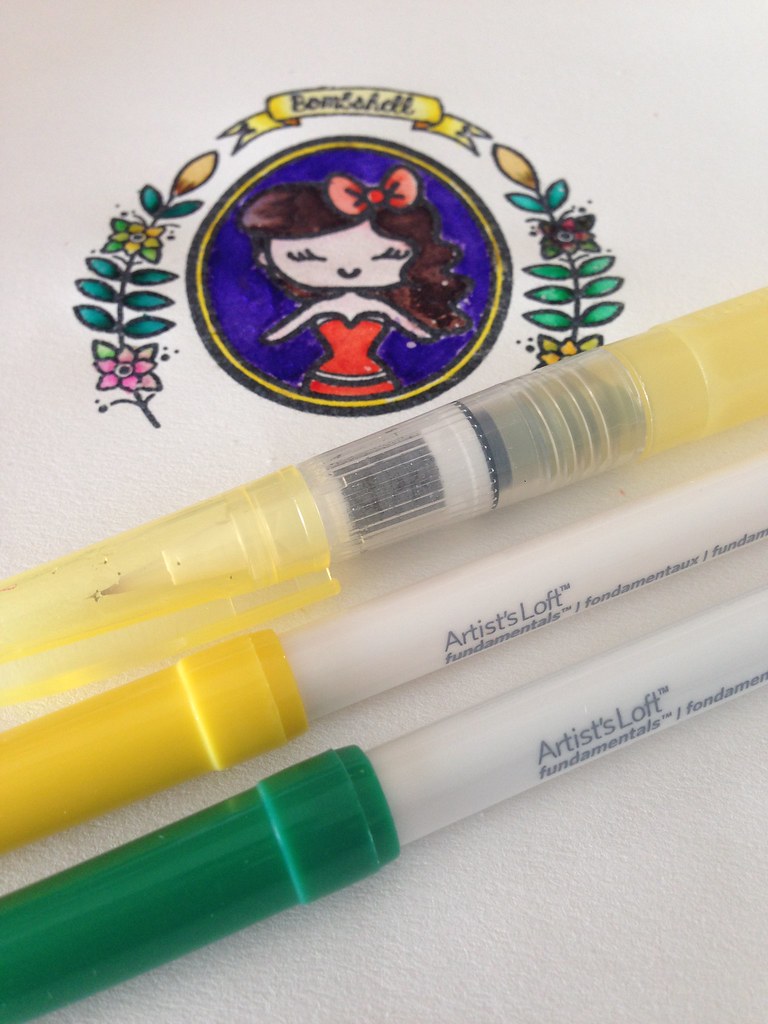
Thankfully, the markers are waterbased, which means, you can add a little bit of water to dilute the colour and prevent pilling. You can also even out the colour throughout the image and remove the fine lines that were present while you were filling in the image.
The image I'm using as an example is the Heartbreaker set from The Sweet Stamp Shop.
The most important thing in using these markers is to use watercolour paper since the markers are waterbased and you'll be using a bit of water in conjunction with the markers. You can use a cheap version. I'm mostly stamping and coloring to use on cards and on my Happy Planner that the Target brand watercolour pad works great.
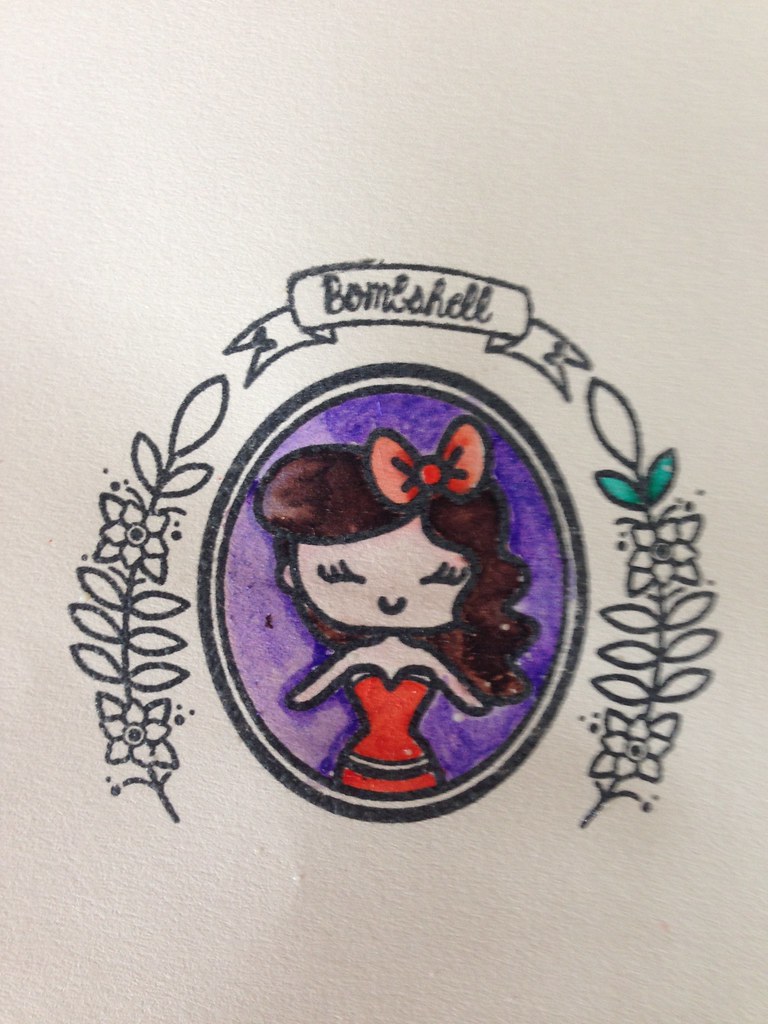
First, you need to emboss the image. I used the Memento Fade Resistant Dye Ink in Black with a White Transparent embossing powder. As you can see, I've already started colouring in the negative space in purple and the girl is already finished.
Recently, I've gotten back into paper crafting, particularly decorating in my Happy Planner and making greeting cards. I haven't scrapbooked any photographs in ages, but decorating in the Happy Planner had become a pretty good hobby for me. It also allowed me to get into my creative side and gave me a break from the monotony of postgraduate studies.
For the images I've been stamping, I wanted to produce an image that had crisp and vibrant colours. I tried the Sharpie markers, but they bled through easily, even after embossing the image. I was also having trouble blending them. I wanted the Comic Marker look, but I was not willing to pay $8 for one marker. So, I went on a hunt for some inexpensive ones.
During the summer season, I was browsing through the art materials at Michael's Arts and Crafts store in the Natomas area when I found a set of relatively inexpensive markers. It was the Artist Loft Triangle Markers. They were a bargain at $5. With 36 colours in the box, it seemed like the practical option.
The colours are very vibrant, which is what I was after. However, there are a few caveats to consider before buying these markers. Although they were vibrant, they created some pilling on watercolour paper as you layer in the colour. This made me think that if you used it on regular paper, the pilling will be much worse. Also, the pen cap does not match the colour of the pen, so I suggest creating a swatch or testing it on a piece of paper before you colour your image.
Since I've already purchased the markers and used it, I don't think returning it would be a good idea. Plus, the gas alone to get to the store would cost just as much which makes it not worth it to go back and get a refund. So, I decided to figure out a way in which I can maximize my use out of these markers.
Thankfully, the markers are waterbased, which means, you can add a little bit of water to dilute the colour and prevent pilling. You can also even out the colour throughout the image and remove the fine lines that were present while you were filling in the image.
The image I'm using as an example is the Heartbreaker set from The Sweet Stamp Shop.
The most important thing in using these markers is to use watercolour paper since the markers are waterbased and you'll be using a bit of water in conjunction with the markers. You can use a cheap version. I'm mostly stamping and coloring to use on cards and on my Happy Planner that the Target brand watercolour pad works great.
First, you need to emboss the image. I used the Memento Fade Resistant Dye Ink in Black with a White Transparent embossing powder. As you can see, I've already started colouring in the negative space in purple and the girl is already finished.
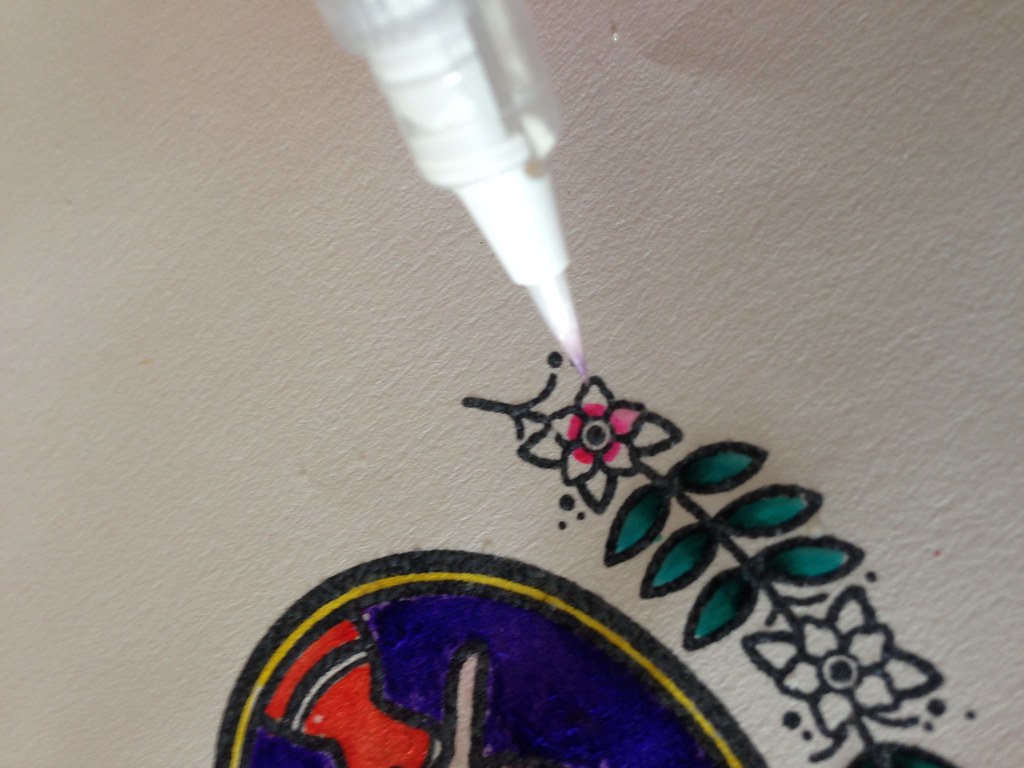
Once you have your image embossed, it's time to start colouring. If you want one solid colour without any shadows, just fill in the whole section. Using a watercolour brush or any paintbrush you have on hand, dip it in water and go over the entire image to make sure the lines are blended out and you have one solid colour. The brush I used is the ZIG H2O Water Brush.
You can also tone down any colour with water. As for the skin tone, the flesh tone marker is too neon-pink that when you colour in the skin areas, it looks ridiculously unnatural. The trick is to colour in a line either on the top or the bottom of the face or any body part and use water to pull the colour out to tone it down. As you can see, it worked on the girl.
But if you want to create some shadows, use a darker coloured pen or layer the colour in the inside corners of the image. Using the same technique, pull the colour out to the outside corners just as I did on the leaves and the flower.
The one thing to remember about this technique is to let your image dry. You can speed it up by using a heat embossing tool, but if you've used your toaster oven or one of those old school electric mug warmers, letting the image air dry would be your best bet. I wouldn't suggest using a hair dryer as it blows air, which will blow the colours out of your page and all that hard work would be for nothing. After it's dry, you can start cut it and affix it to a card or to your planner.
Good luck and happy crafting!


0 comments