Planner

Stampin' Up!

3:35 PM

I love the Sunday paper, particularly the Sunday advert inserts.  I love browsing through them whilst eating breakfast and I can find pretty good deals.  I never usually peruse through the Staples advert, but for some I did yesterday and I found something pretty cool.

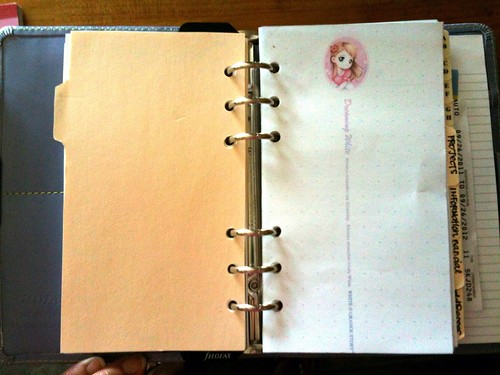
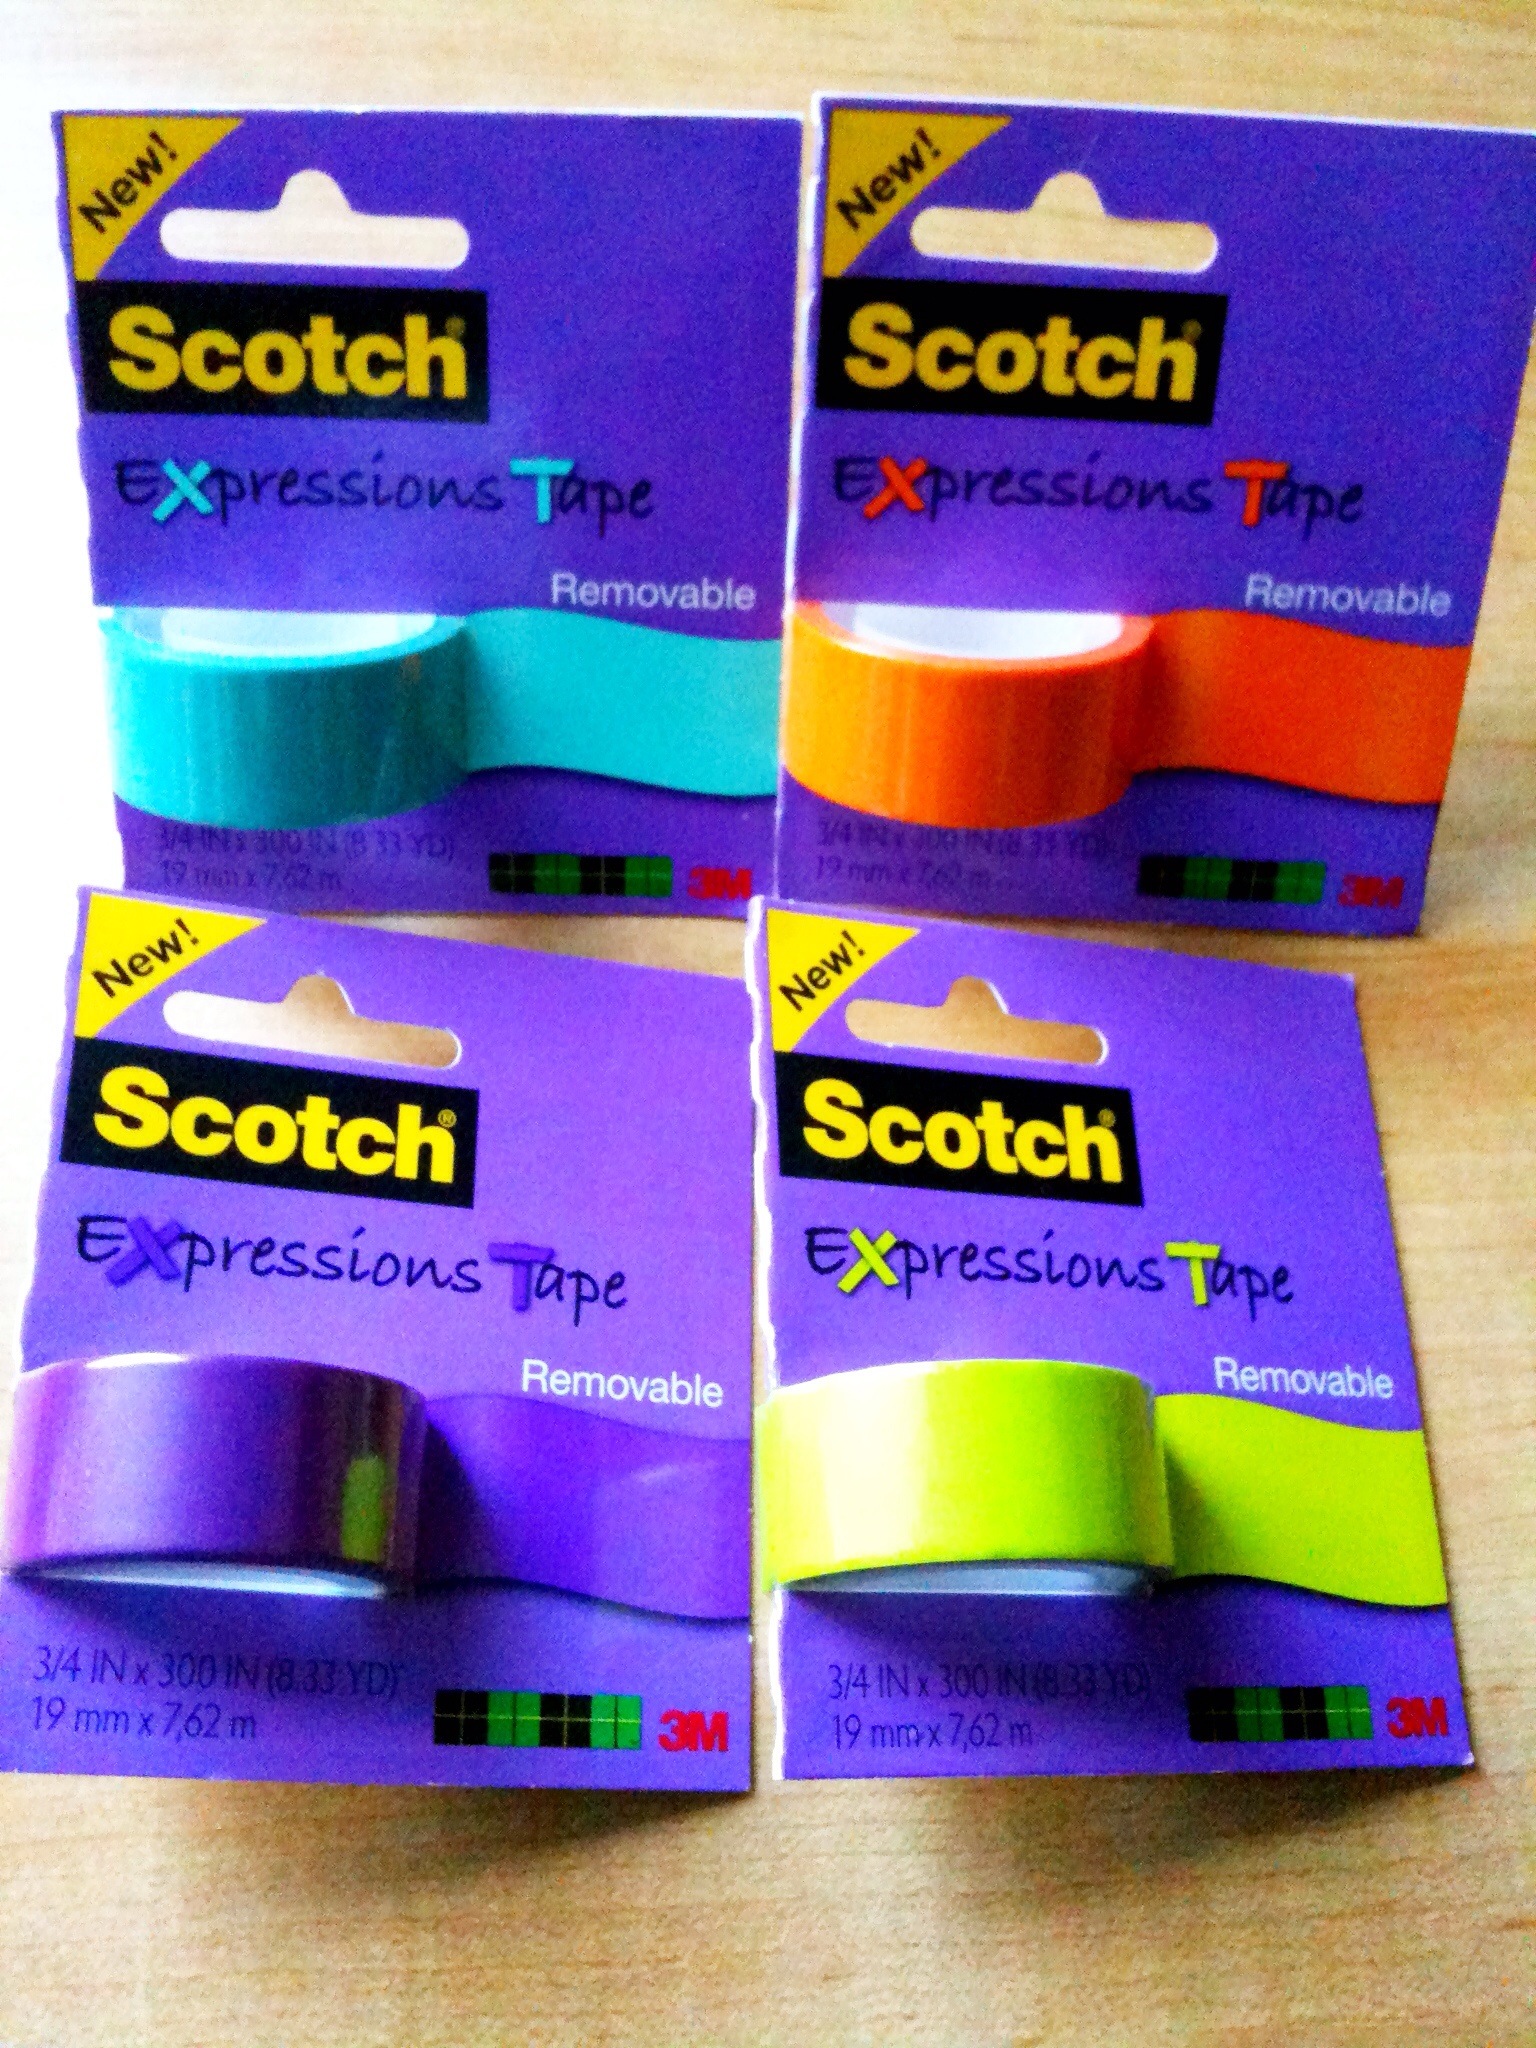
It's the Scotch Expressions Tape in a variety of colours and it's removable without damaging the paper for $1.50 each.  So I head on over to Staples and buy four colours ... Green, orange, purple and blue.  I though these would be the perfect things to label and decorate my Filofax without damaging any of the sheets.


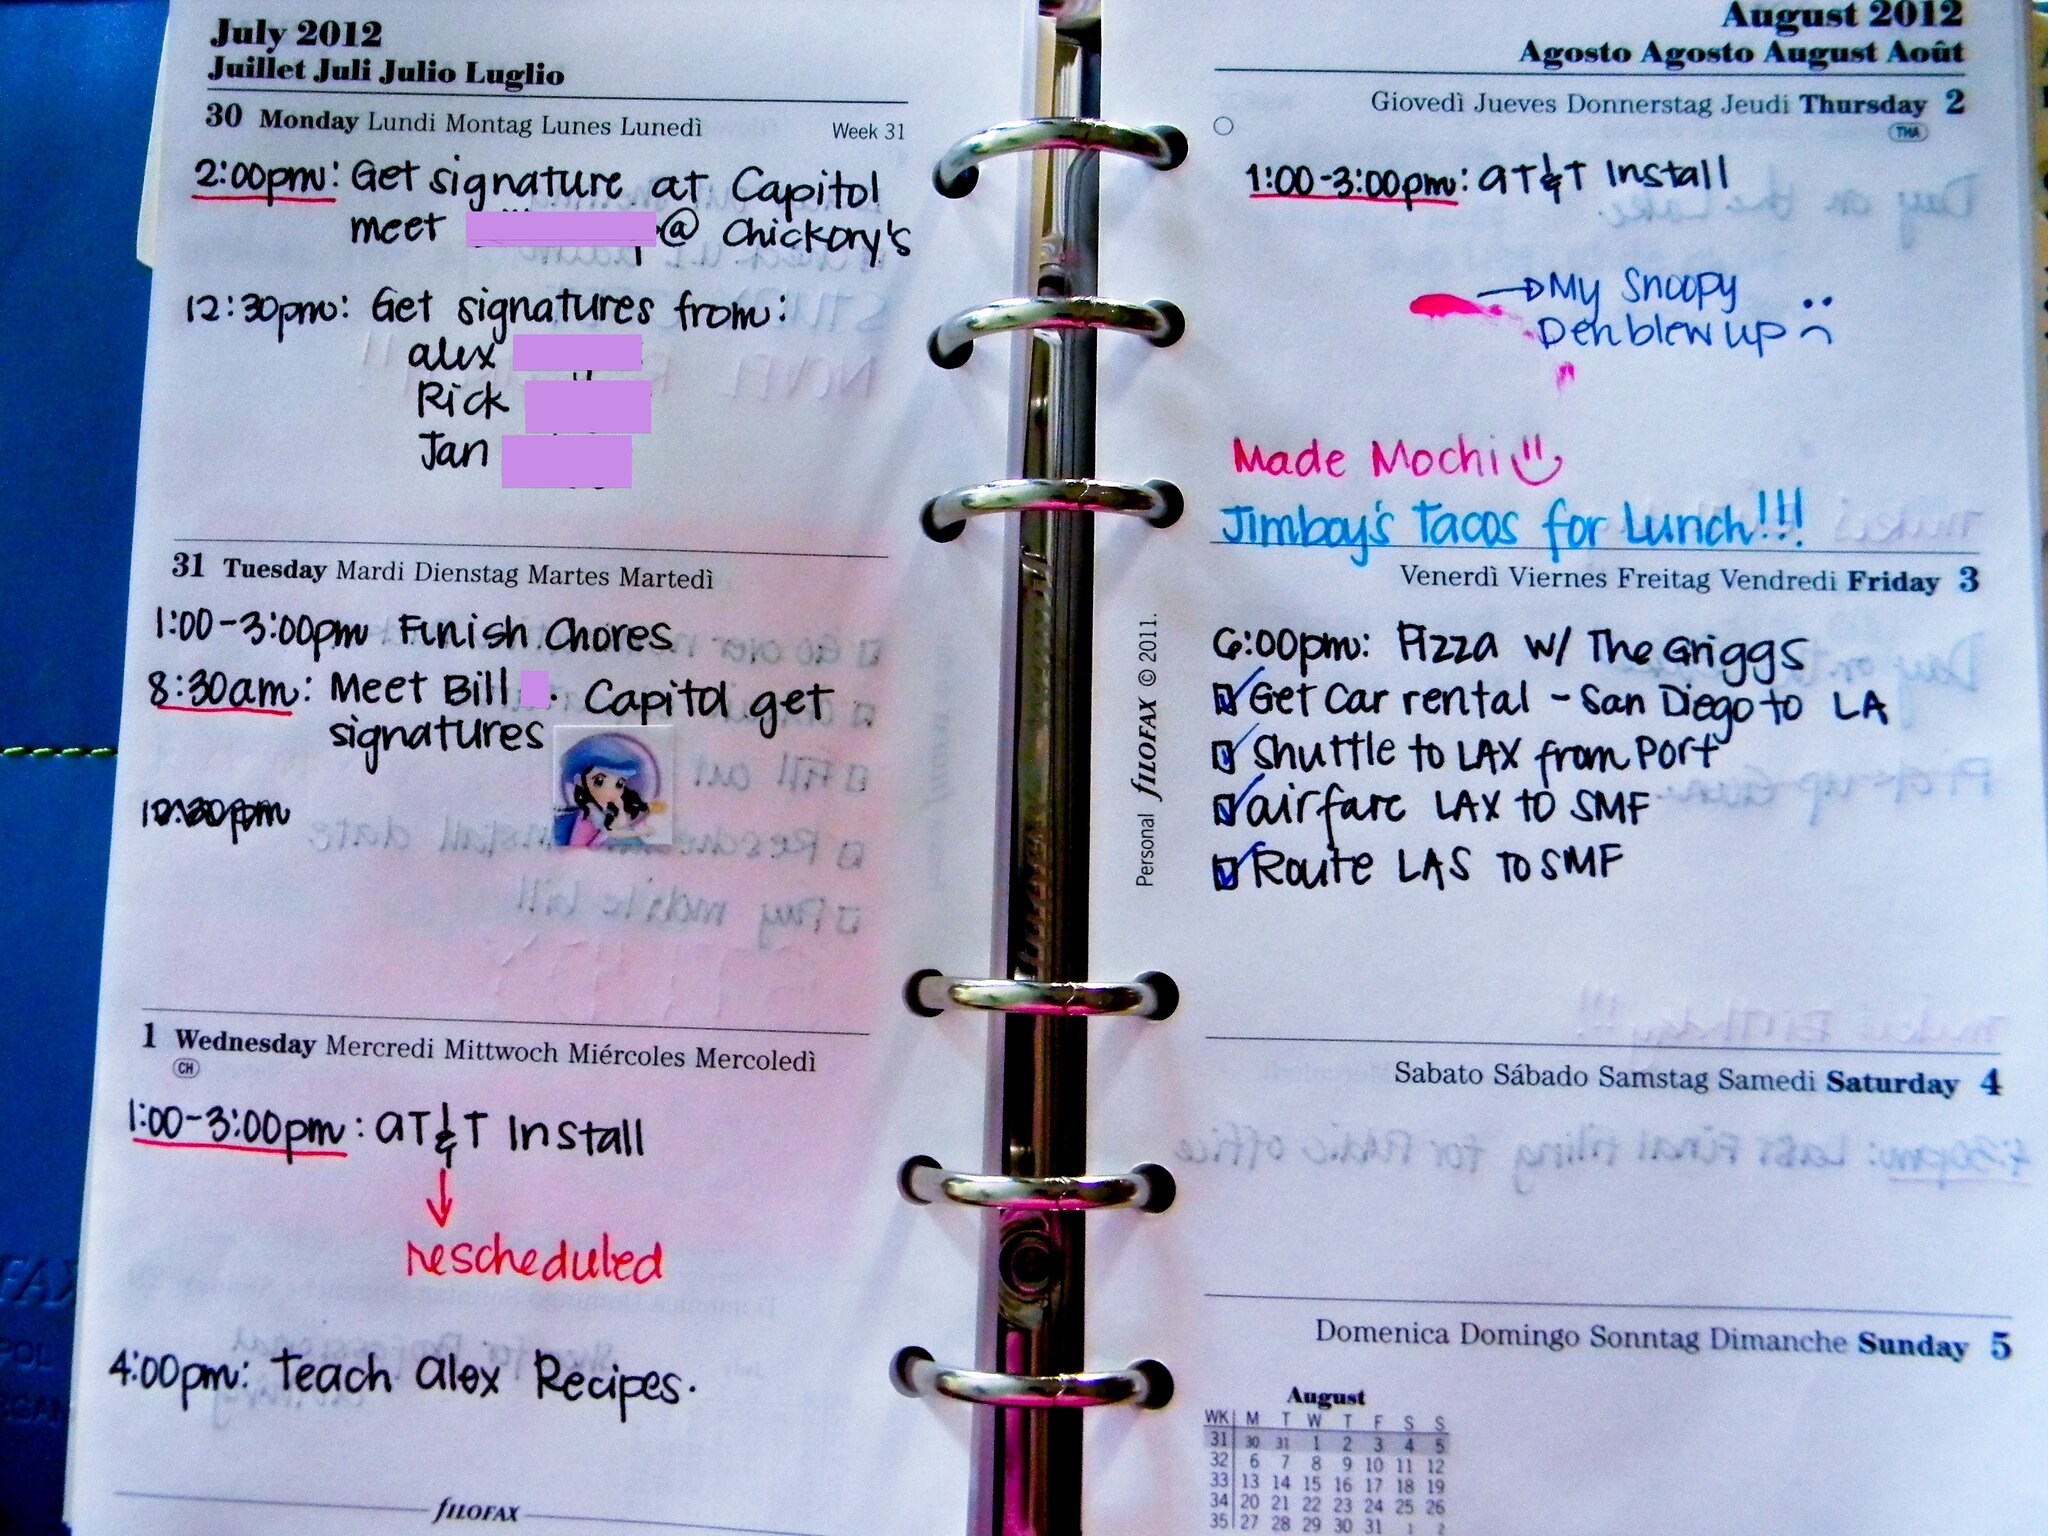
At first I was skeptical.  A tape that won't damage paper?  RUBBISH!  But I stand corrected.  It does do the job.  


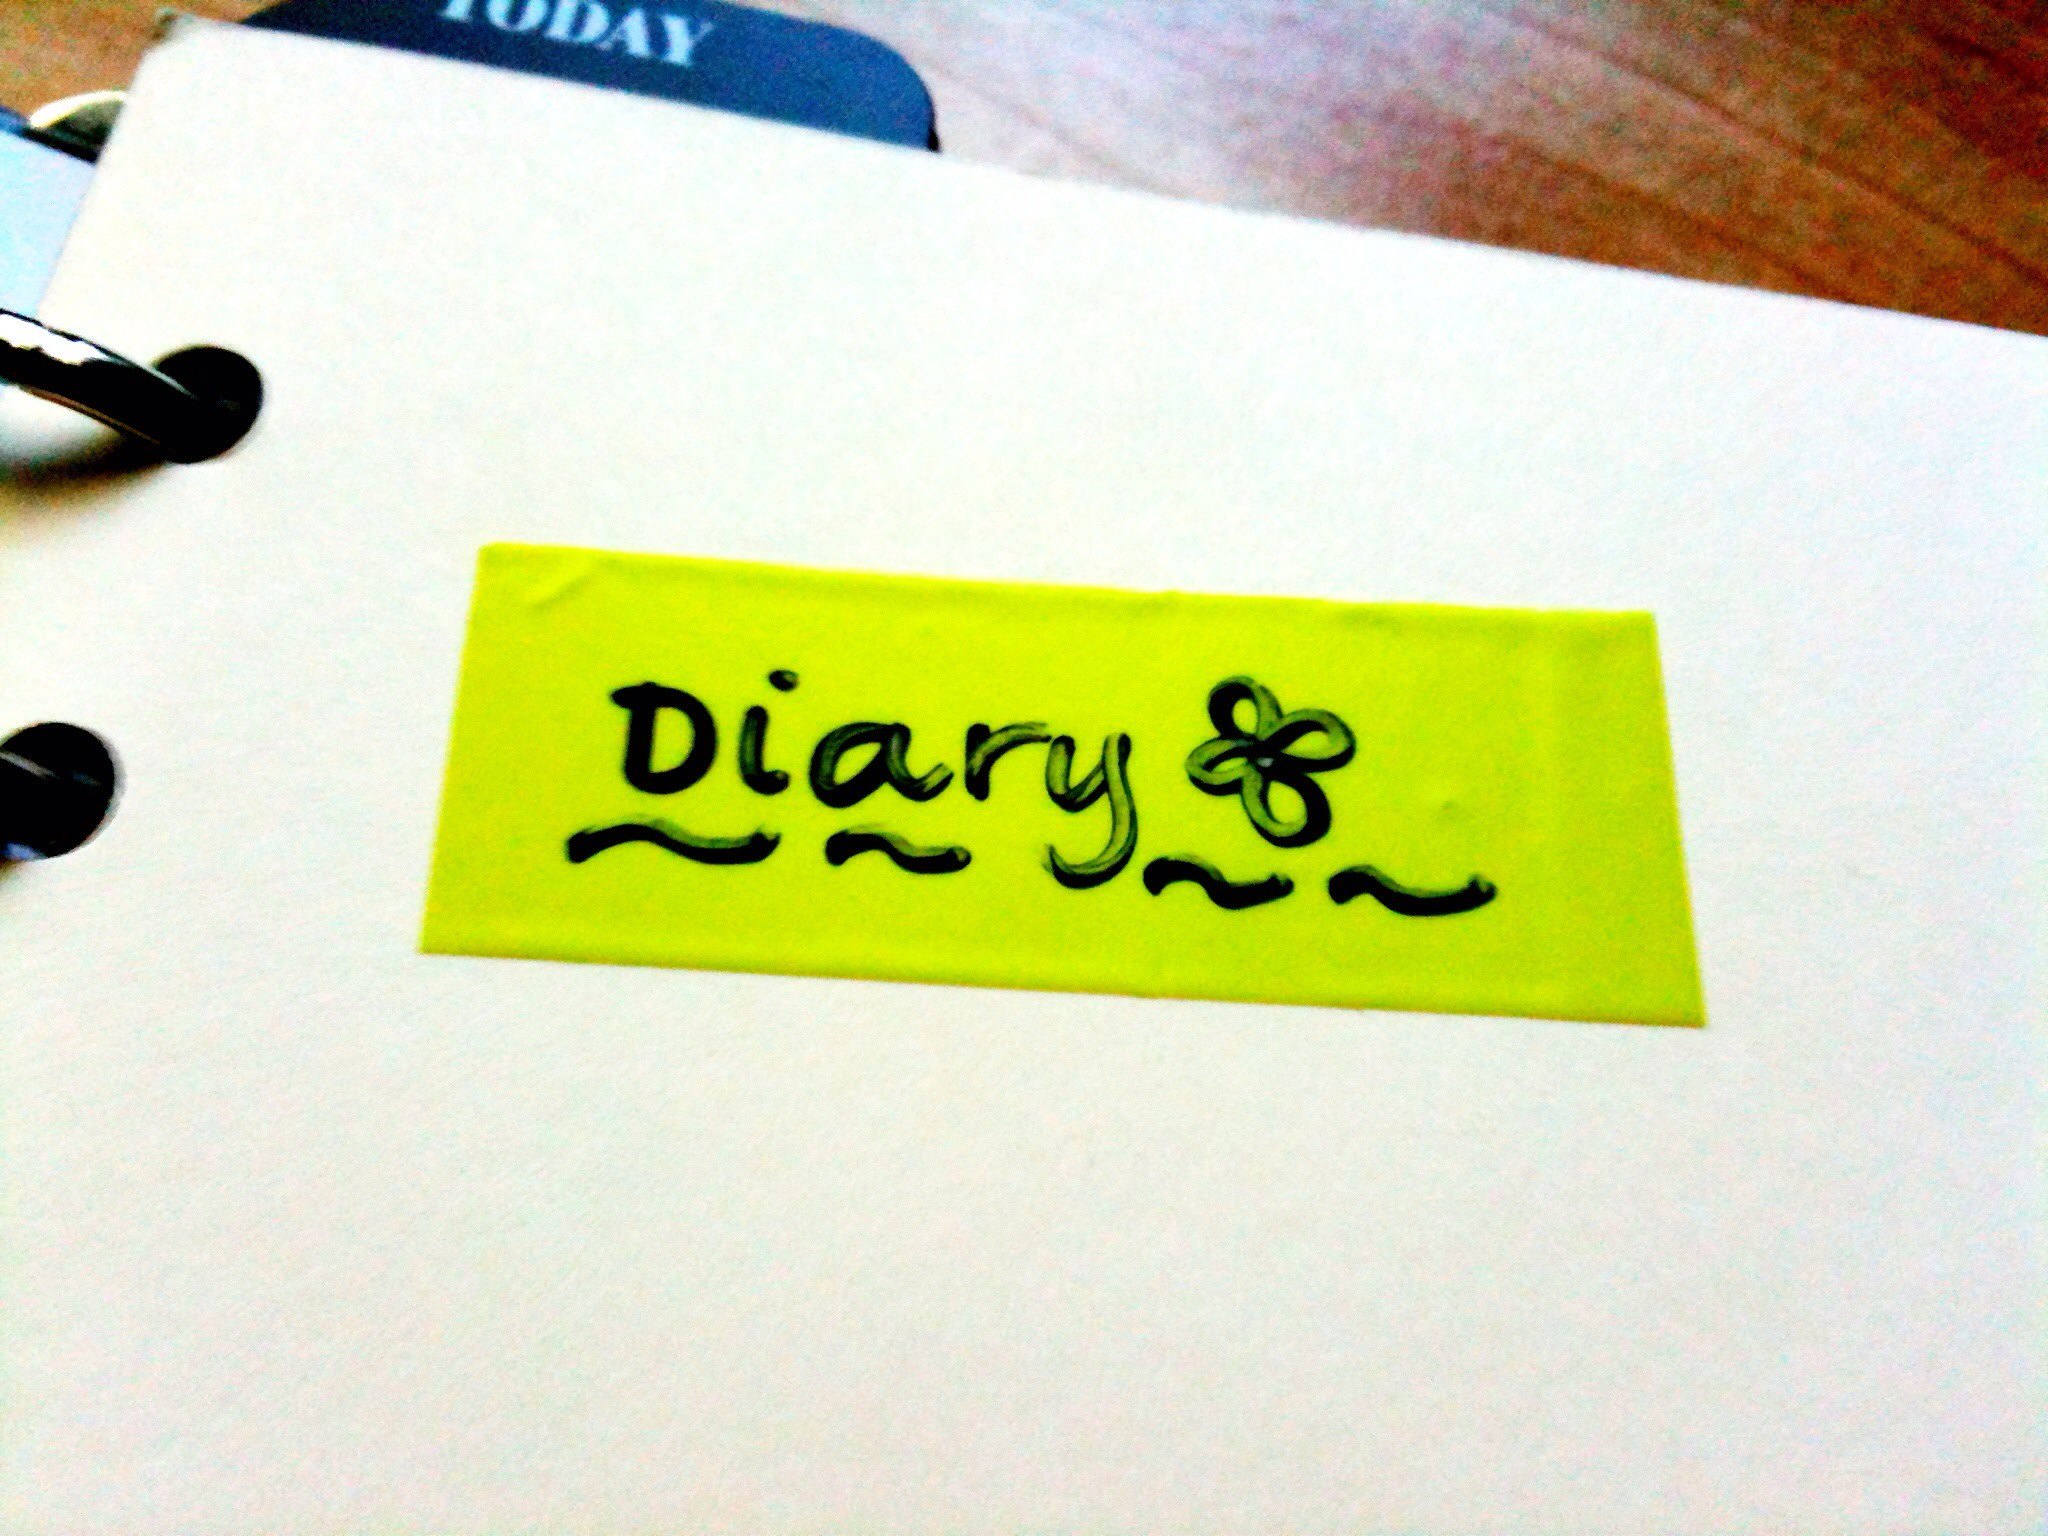
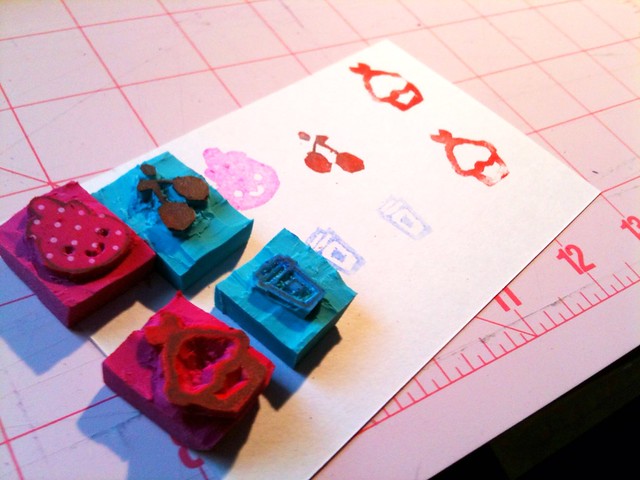
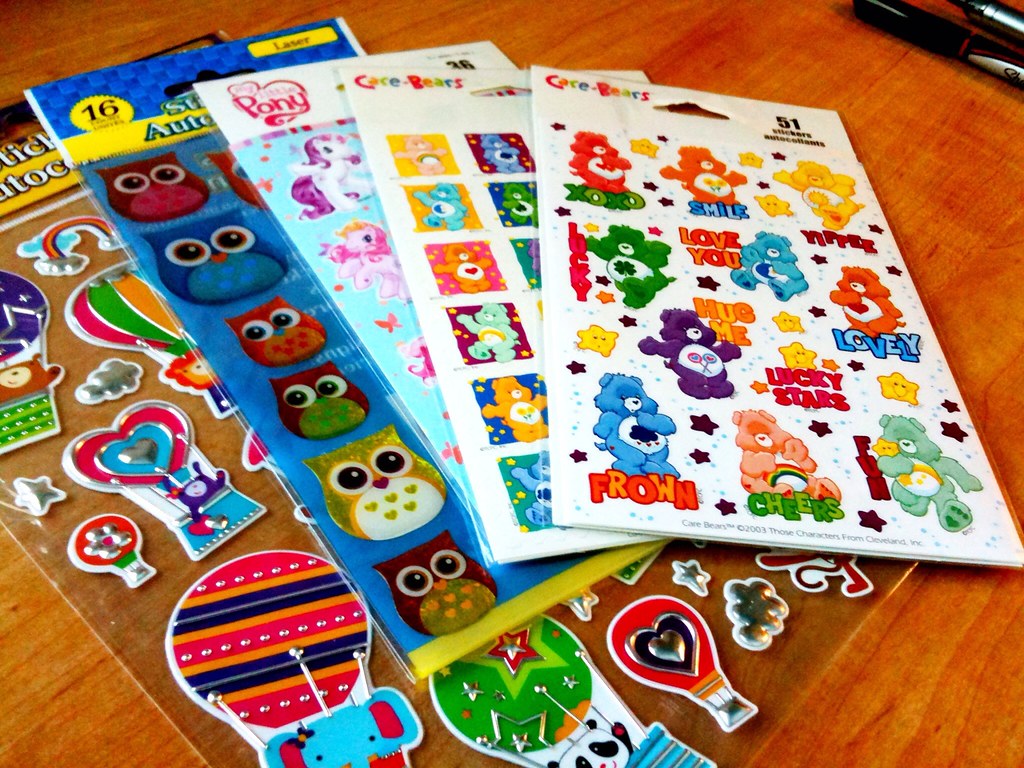
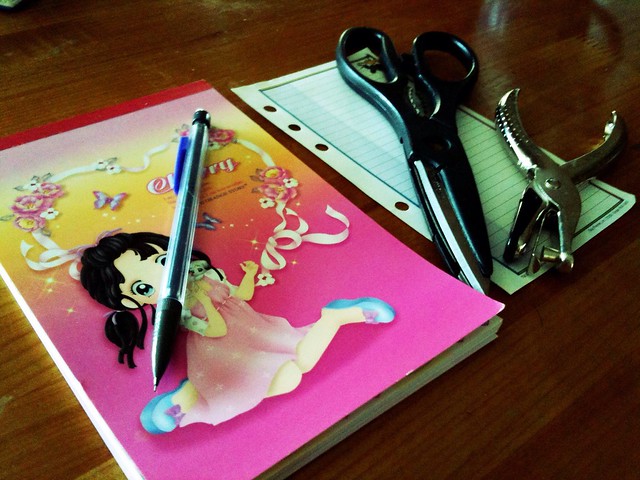
I think it's the beginning of a new friendship with me and Scotch Expressions Tape.  They'll do the job, but they won't replace the other things I seem to put in my Filo -- such as my doodles, stickers that I purchased from the Dollar Store, and of course, the stamps that I've been making.

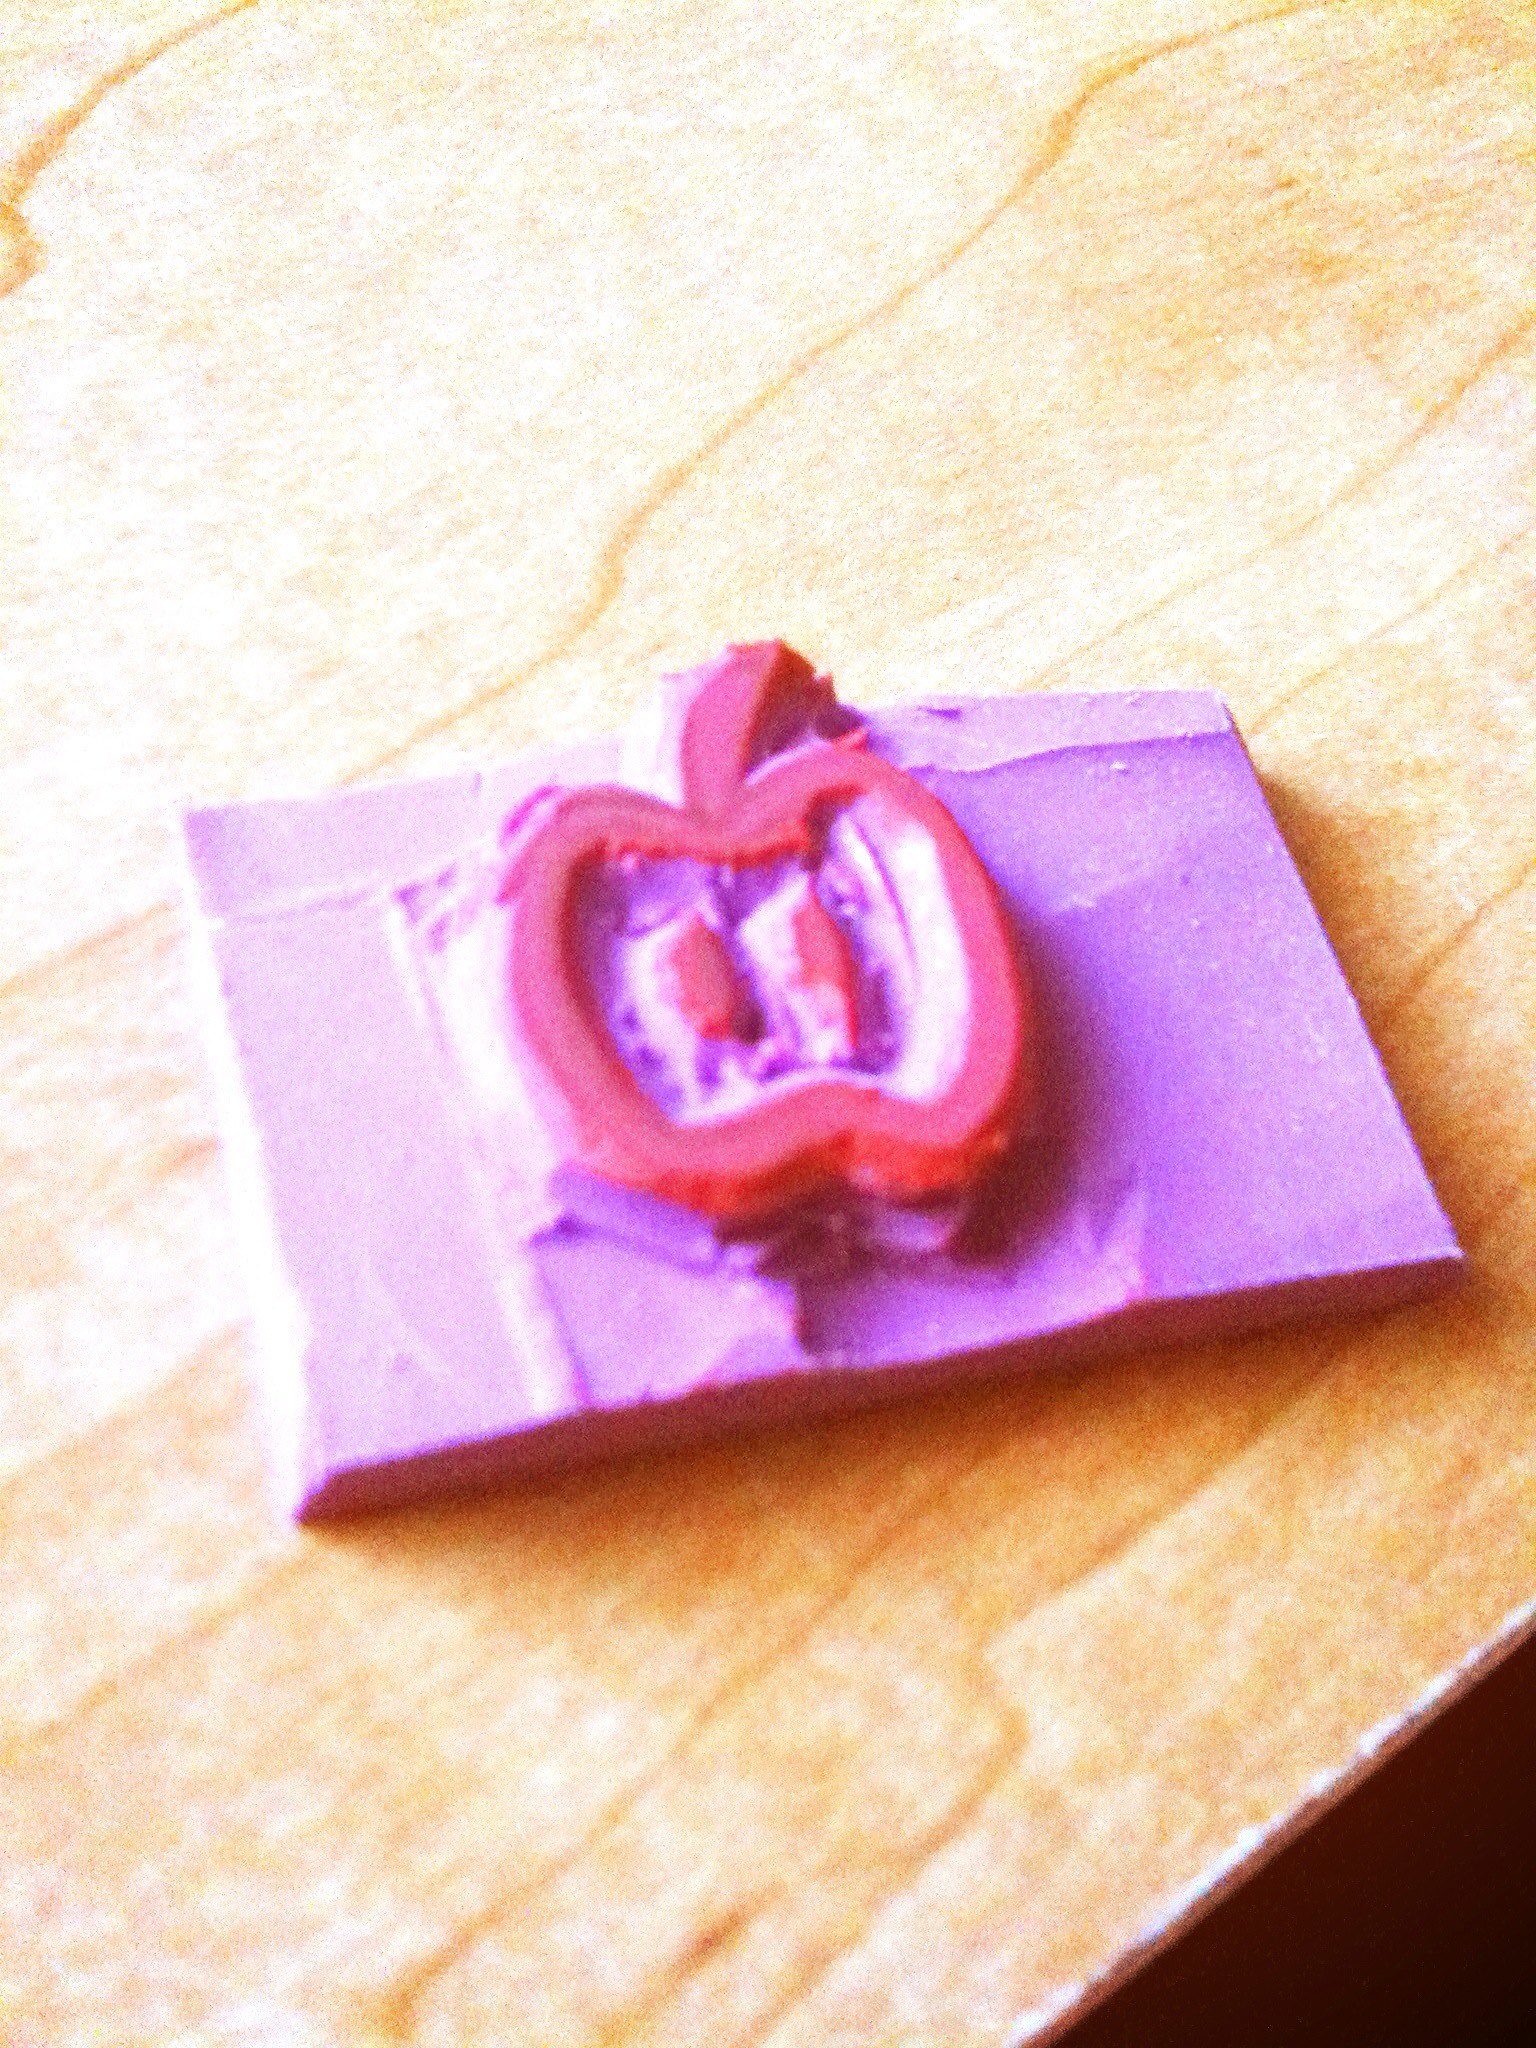
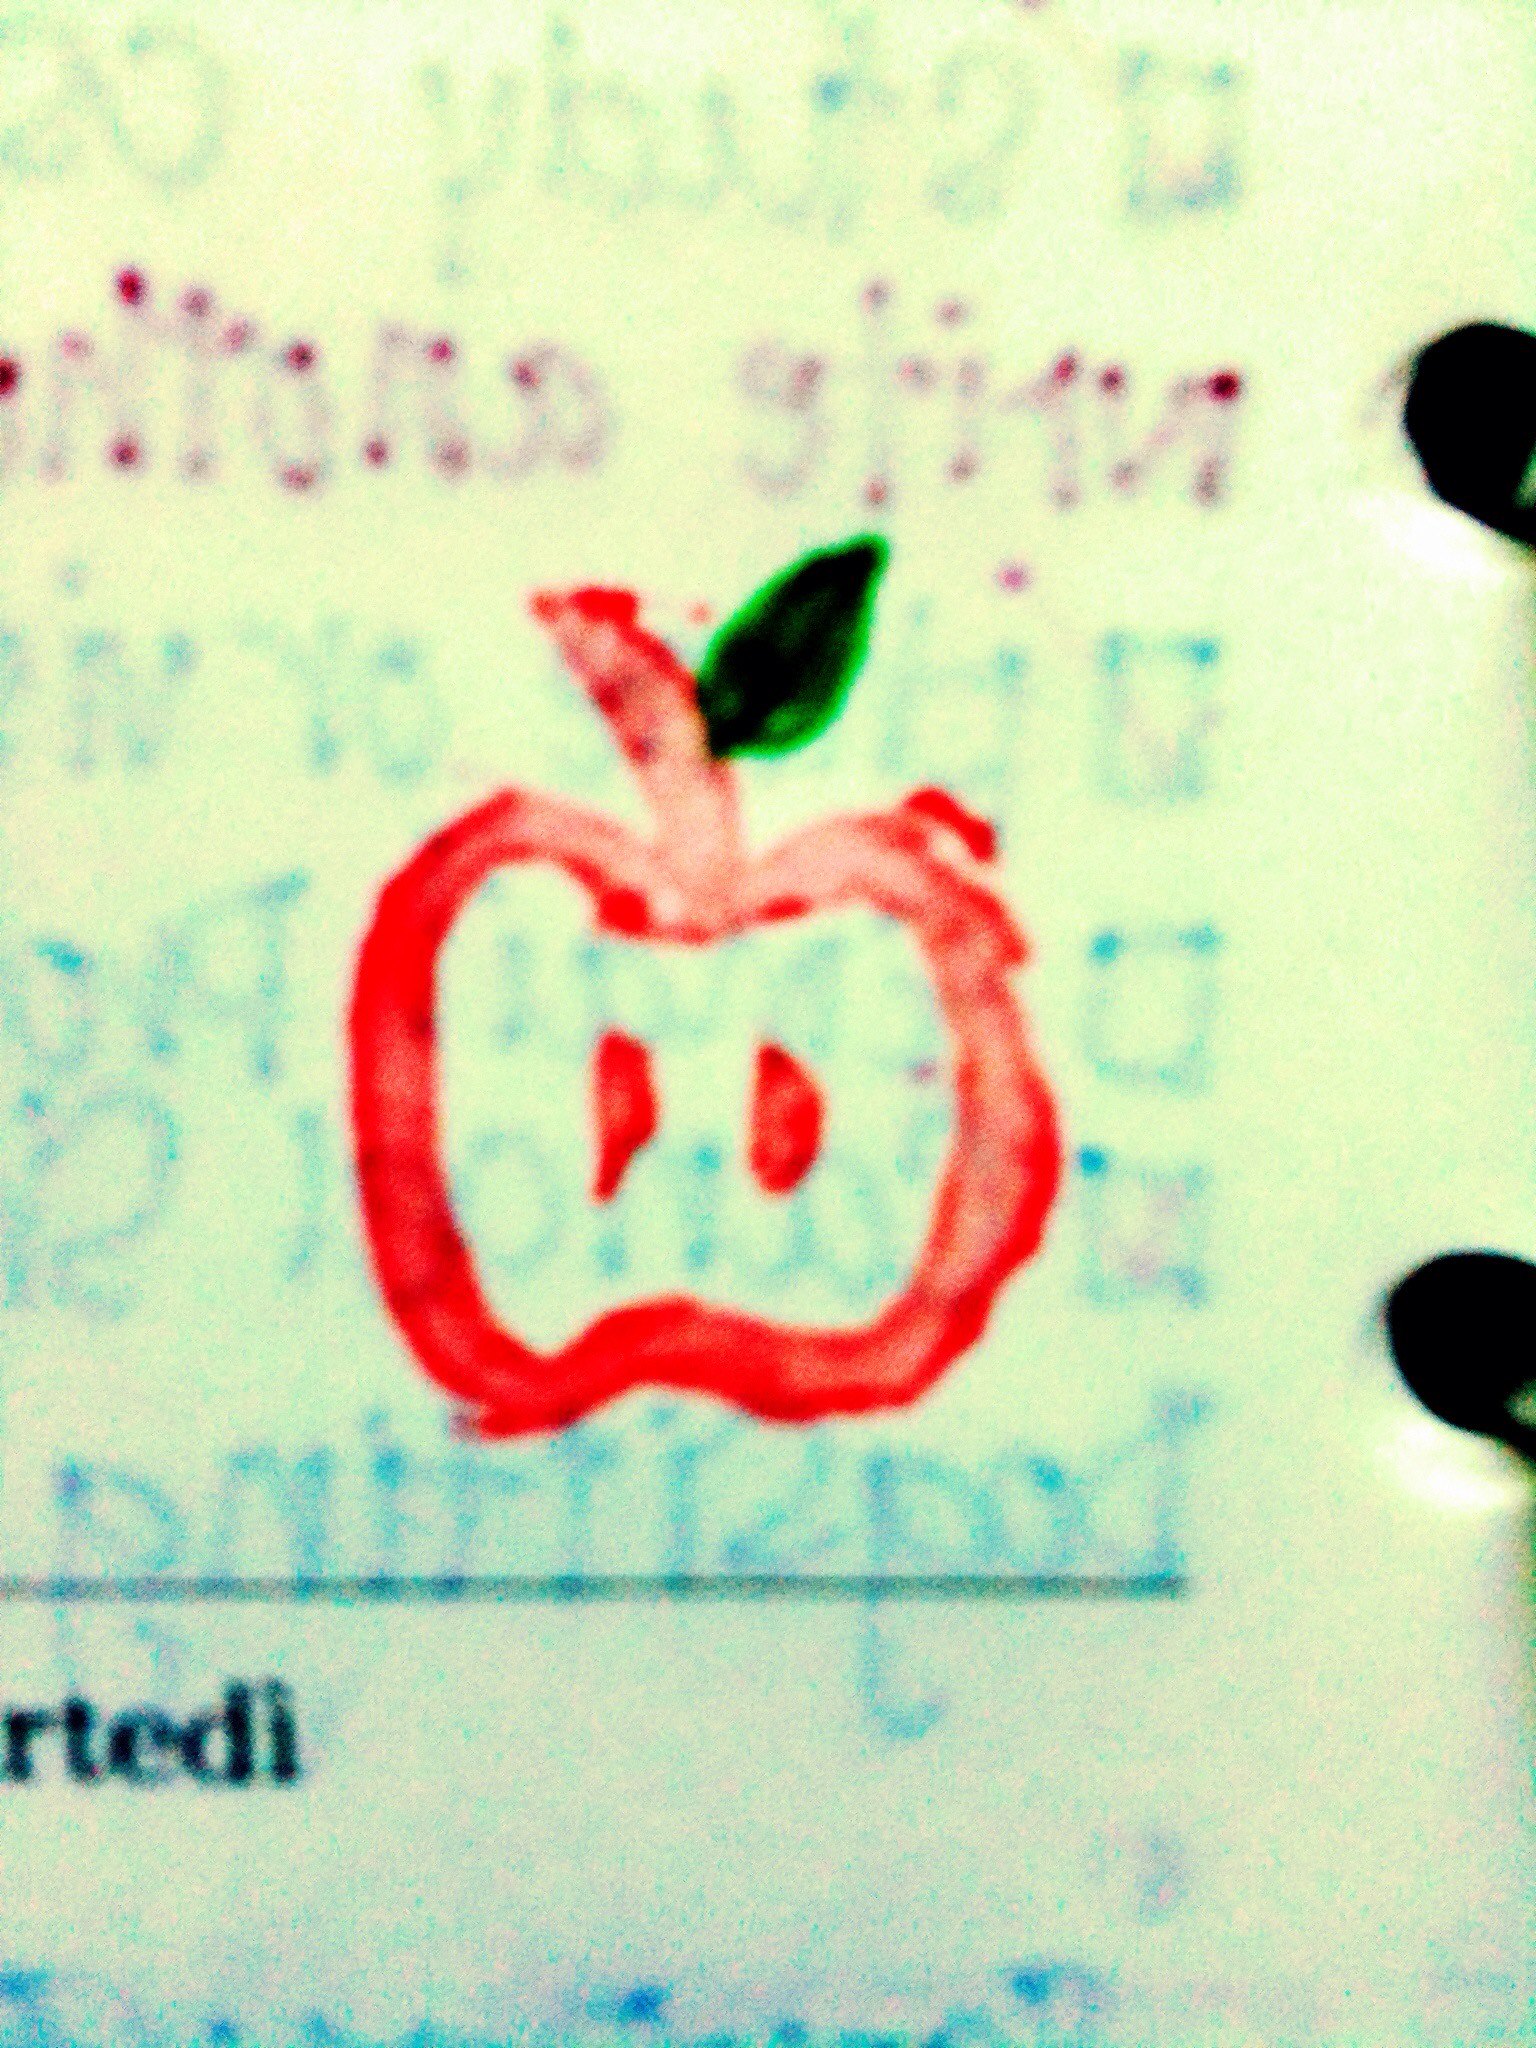
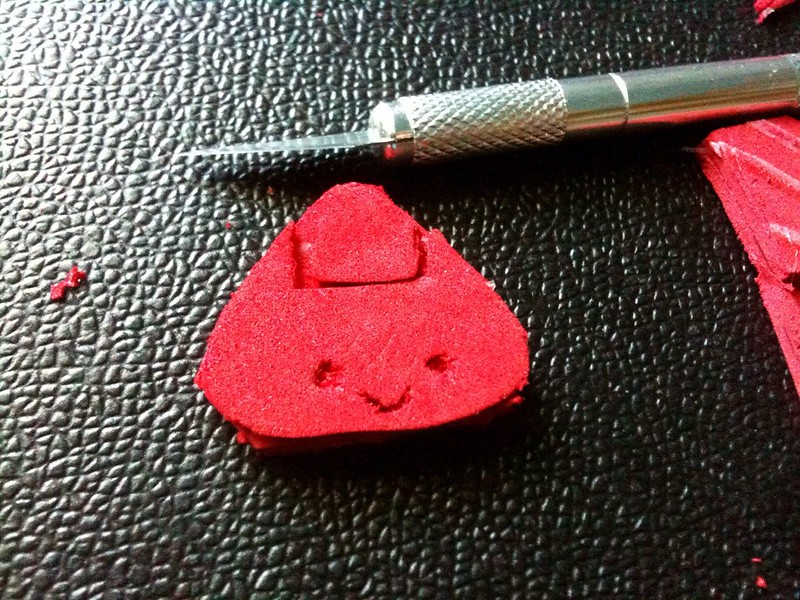
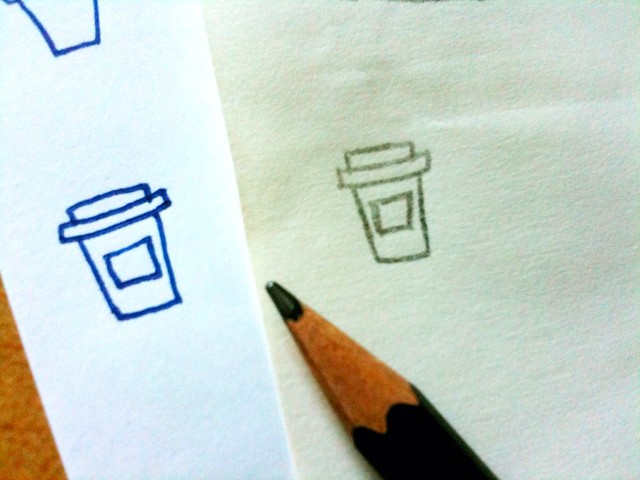
I've been so obsessed lately with making rubber stamps.  The last one I made, which was this morning was that of an apple.  The more I make rubber stamps, the better I get ... I guess.  But I think it's time to move on to bigger more intricate stamps rather than the small ones I've been making.


Crafts

stamps! making my own.

8:12 AM

- warning - image heavy post -

Since my Filo has been looking quite bland lately, I wanted to customise it by drawing, stamping, and adding stickers.  So I dug into my rubber stamp box and found that many of them are just too big to stamp into a day on my Week-On-Two-Pages.  I remembered reading a blog post several years ago about making your own rubber stamps by using erasers.  Well, why not?  I'll give it a try.  I'll post the instruction towards the end.

I didn't have erasers when I first decided to try it, but I did have some craft foam that I used to use when I was teaching my Spanish Speaking kids how to read English several years ago.  I have two sheets of that red craft foam and no longer have any need for it, so I decided to use it as my first try.  I glued three small cut up pieces of foam together using a glue gun and prayed that it would work.  I got started cutting and I wasn't quite thrilled at how it turned out, but still not bad for my first time.


With this result, I told myself the next day that I'll get a pack of erasers from the Dollar Store and try again.  In my previous post, I showed pictures of the pack of erasers and the super big eraser I found at the dollar store.  With those in my hand, I got to work.

I love Starbucks or better yet, I love espresso (since I make Starbucks drinks at home anyway).  I went ahead and drew a coffee cup, traced the drawing onto tracing paper and transferred it onto the eraser.


I started sculpting the stamp which was 2cm x 2cm (very small).  I thought it was going to be easy -- I thought wrong.  It was hard getting into the small crevices and I wondered how people made small and detailed stamps.  I guess practice makes perfect, so I grabbed another part of the eraser and made on in cherry. 


I continued on my route practicing and I ended up with four very small rubber stamps.


Here's what you'll need:

Xacto Knife (Make sure the blades are sharp.  It won't work if its dull).
Rubber Erasers
Tracing Paper
Pencil and an eraser you use daily.

1.  Draw whatever image you want on a piece of paper.  Take the tracing paper and trace it with a pencil.
2.  Transfer the image onto the eraser by rubbing it on the eraser.  Use another eraser, one that you use daily to transfer the image.
3.  Start carving your stamp.  It's a good idea to angle your xacto knife when you're removing parts of the eraser in the inside of the image.
4.  Carefully rub the traces of pencil left on the eraser.
5.  Ink it and stamp away!


Planner

Filofax Week #33

11:19 AM

I can't believe last week was relatively calm, slightly boring and uneventful.  My week was filled with a series of chores that ranged from filing away paperwork (I can't convince Michael to go digital) to caulking the bathroom trim after replacing it nine days ago.


I'm also trying to add more character to my Filo by putting stickers and using a colour coding system to organise my schedule, adopting my iCal colours in my Filo.  Personal Family Work/Study Miscellaneous  Travel (still unsure about the Travel).  I also use pink to underline and strikeout items in my Filo, which is helpful because I can spot the time slot for each entry.

Since I love to doodle, I've also started to draw the weather entry in my Filo, which I am finding quite difficult since the summer days in Sacramento are HOT-HOT-HOT.  I did however start adding stickers, especially those kawaii note/stationery sets that I found in the back of my office drawer.

I intended to buy more kawaii items at Oto's Marketplace (a local Japanese Grocery), but they didn't have much kawaii items in their "Daiso" department, so my last resort was the Dollar Store and I did find cute stickers whilst I was there.


Everything was a dollar, with the exception of one sticker that I found for 50p.  I don't quite remember which one it was.  Since the Care Bears and My Little Pony were on the shelf, I decided to get those as well since they were my favourite characters during the 1980s.  Yikes .... I'm that old?  

I also found erasers that I can use to make my own stamps, of course, to use to decorate my Filo.  I tried making my own stamps yesterday from foam sheets I used to use to teach my Spanish speaking students to read English.  I'll post that experience when I have the photos edited since I've been using my iPhone to take the photographs.


I was really surprised in finding a really large eraser.  The big bright blue one measure 14cm x 5cm whilst the pack of small erasers measured at 4.5cm x 2cm, pretty small, but I can make small stamps out of them -- hopefully.  More on that later.


Crafts

Crayola Art

7:50 AM

There has been a craze lately on melted crayon art on Pinterest. You take a bunch of crayons and line them up on the bottom of the canvas, glue them on, turn the canvas upside down, and melt the crayons so the wax dribbles down.

I wanted to do the same type of art as I've got a crayon collection from the late 1990s. I had one more canvas left, so I set out to create a version of my own.

First off, I want to apologize for the blurry pictures as well as the lack of step by step photos. I'm working with my iPhone 3Gs.

The first thing I needed to do was lightly draw the image on the canvas. I chose a heart shape for this project and began arranging the crayons with the flat edge on the outline. I've also arranged the crayons by color type. Once I've got them laying on the canvas properly, I glued the crayons on with a glue gun and had the name of the color showing rather than the Crayola brand. They had some cute and funky names like "Atomic Tangerine."


Once the crayons were glued on, melted them slowly using a heat/embossing tool. There are some people who used a hairdryer to melt the crayons, but the results didn't come out as great since the hair dryer blows out the air forcefully and the crayons don't melt straight down.

Other suggested using a heat/embossing tool that scrapbookers use since it doesn't blow hot air quite as forcefully as a hairdryer. It blows out gently and at a very high temperature to melt embossing powder. Since I'm a scrapbooker, I used my handy dandy Marvy Embossing Heat Tool which I've had since the late 1990s. Before you start melting the crayons, I suggest getting some newspaper and laying it down. You don't want melted crayons all over your tile or carpet flooring.

With the heart shape, melt the crayons staring from the bottom while slowly turning the canvas. Once you're done, walk away. You need to let the crayons cool down and for the wax to harden.

I was pleased with the results!


So, if you have a set of old crayons that you don't have a use for. Try this project. It's quick and easy.

Fashion

What's In My Bag #2

12:42 PM

What's in my bag?  I haven't done one of these posts in a long time.

Since I'm spending the day with Michael today, I decided to change my bag from the very large white one to my black Roxy Tote Bag.  I love large totes since I practically carry the kitchen sink everywhere I go.

The contents of my bag kind of changed since the last time I wrote a "What's in My Bag" post.


  1. Barnes and Noble 16GB Tablet = I have all my books loaded onto this tablet along with movies and games.  I actually can't leave home without it since I tend to get bored a lot.
  2. Barnes and Noble Nook Tablet Charger = I have to have this with me at all times.  I just never know when I'll need it.
  3. JBL Roxy Mic/Headphones = Since it's illegal to use your mobile in California, I carry my mic/headphones and it comes in handy when I need to make a call as well as avoiding getting a bloody ticket from the CHP.
  4. Esprit Sunglasses = I'm light sensitive and therefore need these all the time.
  5. Le Sportsac Makeup Bag = My makeup bag is relatively light since all I keep in it are: Boots Pressed Powder, Boots Lipstick, Burt's Bees Chapstick, Bath & Body antibacterial, VS lotion and some Imitrex for those moments when my migraine just attacks.
  6. iPhone 3GS = I know.  I need an upgrade, but I'm waiting for the iPhone 5 to come out.  
  7. Liz Claireborne Wallet = Need I say more?
  8. Filofax Metropol = I cannot absolutely leave home without my Filofax.  It organises everything for me and I can see my schedule instead of having to swipe through my bloody phone for a day in the month.
  9. Pen Case with Pens = I'm a pen-a-holic.  All the colours are in my case along with pencils so i can organise my days in my Filofax better.  
  10. Tissue = My grandmum always told me to have tissue on hand because I'll never know when I need it and I do need it a lot during the Spring allergy season.
  11. Hello Kitty Coin Purse = I've accumulated a ton of coins over the years and one of my coin-banks are full.  Michael tells me I have to get rid of those coins.


So, there it is... in a nutshell what I pack into my bag daily.  There are some days that I cram all that and my Mac Pro along with my CSET Exam Prep Book into my tote which makes my bag even heavier as well as wearing down the handles.  I know at some point, my Roxy Tote will finally crack under pressure and I'll have to shell out a few quid for a newer, heavier-duty bag.

Crafts

DIY Kawaii Filofax Inserts

9:55 AM

Whilst cleaning my office a few months ago, I found some old Sanrio and Korean stationeries in the back of my desk drawer.  I didn't have much use for them, so there they stayed.  I could have put them in the donate bin, but I didn't.  For a few months I debated whether or not to just give them away, but there was something nagging me to keep them.

As I was writing my schedule out for the week this past Saturday as well as writing down important information in my Filofax when I came up with the idea.  Those cute stationary sheets that are just sitting in my desk drawer can be used in my Filofax as Notes refills.

I pulled one of the pads out (I have a lot), pencil, scissors, hole punch and of course, a note template and got started on my project.

First I have to apologize for the quality of the photographs.  I took them with my iPhone since both my Point-and-Shoot and SLR cameras were on the charge.


I knew the dimensions of my Filofax refills and could just work off with a ruler, but with the kind of stationary I picked up, it was much easier to trace the outline on to the stationary since it will give me a much uniformed look.


As you can see, placing the Note on top of the stationary gave me an idea where I can start cutting and keep the lines straight.


I made five sheets and placed them inside my Filofax, making it look less dull.  I've also made my own divider tabs a few weeks ago using a manila folder and again tracing the outline.  As much as I love all things Filofax, their refills can get quite expensive and I always change the organisation of my Filofax to fit the year.  


Planner

Filofax Week #31

11:00 AM

A few weeks ago, I attended a seminar at City Hall for the Charter City Commissioner elections.  I had no intention of running for public office and even after the seminar, I still felt the same way.  However, after a couple of weeks, I decided to run because even though its a big commitment, it was a way that I can make a difference.  Thankfully, Michael was thinking of running for one of the fifteen positions opened for this office and I joined him along with another hopeful.  We gathered signatures at the State Capitol.  


Whilst we gathered signatures, I realised that running or campaigning for public office is very expensive.  Many advised that I should put in for a candidate statement (which I read during election season) and they're right.  Many read those statements, but the cost of running a statement is $2,100 or more.  Given that I just finished university and unemployed, I can't possibly pay for a very costly statement.  On Tuesday, I dropped out of the race.

I'm slightly disappointed yet thankful that I'm not running.  Without an endorsement, the next few months are free for me to study for the CSET exam which will be held in November as well as trying to finish up my novel.  My next project?  I'm going to check Oto's Japanese Supermarket for some awesome hauls to decorate my Filofax.  The pages are slightly getting boring.

Planner

Filofax Metropol

3:52 PM

After having forgone a Filofax binder since 2006, I've decided to go back to writing down my appointments, to-dos, etc. rather than entering them in my iPhone. As much as I love having everything in one device, I found it much easier to open up a Filofax Organiser, flip to the page and see everything I need to do clear across the pages without having to scroll through multiple dates on a small screen.

Since I haven't used a Filofax in six years, I have to purchase a new one to fit my organisation needs. As I browsed through the Filofax USA website, I decided to purchase the Filofax Metropol in personal size. I had wanted to get a leather organiser, but since I've just recently started using an organiser again, I thought it'll be better if I bought an inexpensive one and upgrade later on.

Instagram