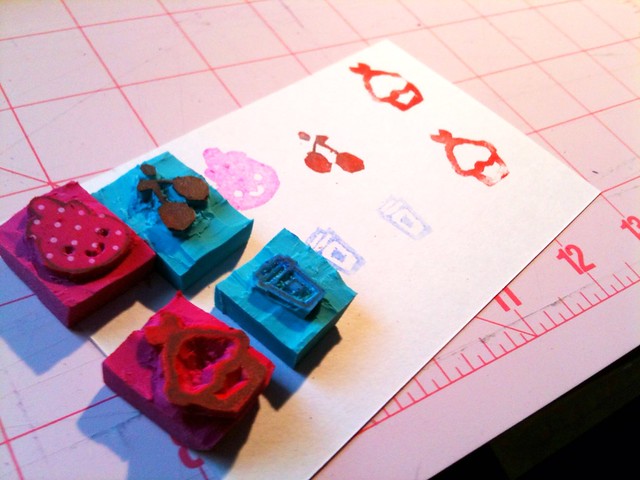
stamps! making my own.

8:12 AM

- warning - image heavy post -

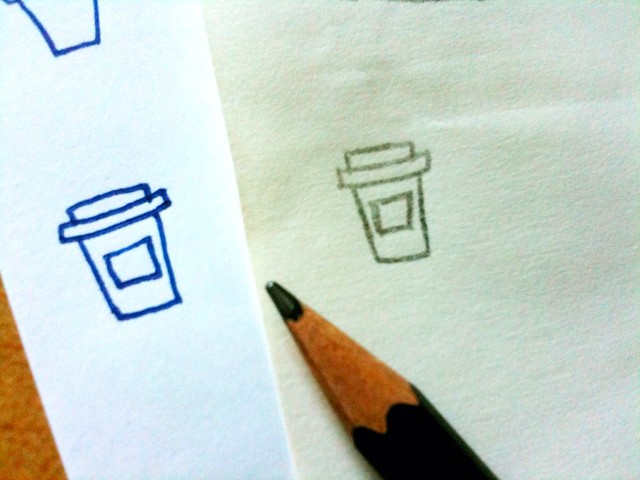
Since my Filo has been looking quite bland lately, I wanted to customise it by drawing, stamping, and adding stickers.  So I dug into my rubber stamp box and found that many of them are just too big to stamp into a day on my Week-On-Two-Pages.  I remembered reading a blog post several years ago about making your own rubber stamps by using erasers.  Well, why not?  I'll give it a try.  I'll post the instruction towards the end.

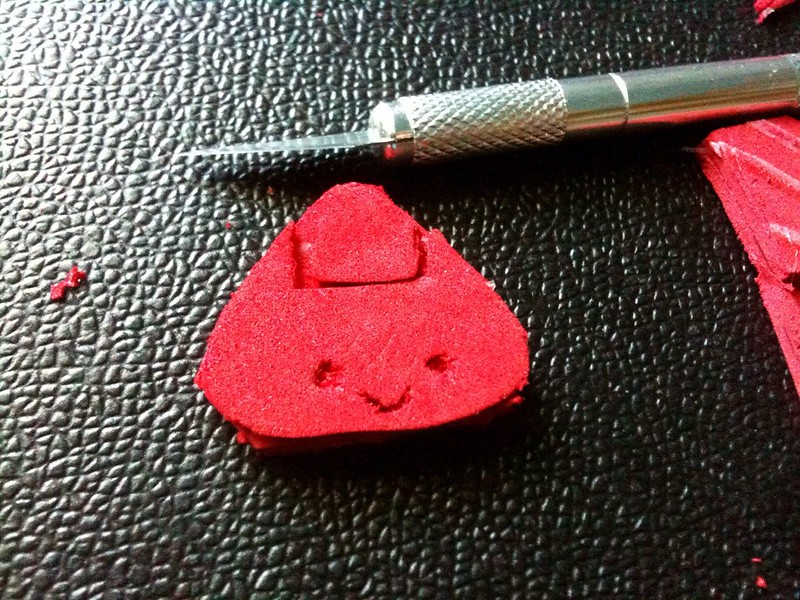
I didn't have erasers when I first decided to try it, but I did have some craft foam that I used to use when I was teaching my Spanish Speaking kids how to read English several years ago.  I have two sheets of that red craft foam and no longer have any need for it, so I decided to use it as my first try.  I glued three small cut up pieces of foam together using a glue gun and prayed that it would work.  I got started cutting and I wasn't quite thrilled at how it turned out, but still not bad for my first time.


With this result, I told myself the next day that I'll get a pack of erasers from the Dollar Store and try again.  In my previous post, I showed pictures of the pack of erasers and the super big eraser I found at the dollar store.  With those in my hand, I got to work.

I love Starbucks or better yet, I love espresso (since I make Starbucks drinks at home anyway).  I went ahead and drew a coffee cup, traced the drawing onto tracing paper and transferred it onto the eraser.


I started sculpting the stamp which was 2cm x 2cm (very small).  I thought it was going to be easy -- I thought wrong.  It was hard getting into the small crevices and I wondered how people made small and detailed stamps.  I guess practice makes perfect, so I grabbed another part of the eraser and made on in cherry. 


I continued on my route practicing and I ended up with four very small rubber stamps.


Here's what you'll need:

Xacto Knife (Make sure the blades are sharp.  It won't work if its dull).
Rubber Erasers
Tracing Paper
Pencil and an eraser you use daily.

1.  Draw whatever image you want on a piece of paper.  Take the tracing paper and trace it with a pencil.
2.  Transfer the image onto the eraser by rubbing it on the eraser.  Use another eraser, one that you use daily to transfer the image.
3.  Start carving your stamp.  It's a good idea to angle your xacto knife when you're removing parts of the eraser in the inside of the image.
4.  Carefully rub the traces of pencil left on the eraser.
5.  Ink it and stamp away!


You Might Also Like

0 comments

Instagram