
DIY Midori Traveller's Notebook
9:17 AM
It's been a month since I last posted to this blog. If I'm supposed to be a lifestyle blogger, then I should be posting daily, but life kind of got in the way and there is no excuse for that. Yet, I'm still going to offer up the excuse that I've been busy writing and editing my admissions essay for post-graduate studies, which I am glad to say that I've been accepted. I start my first trimester this coming autumn.
So, on with the post.
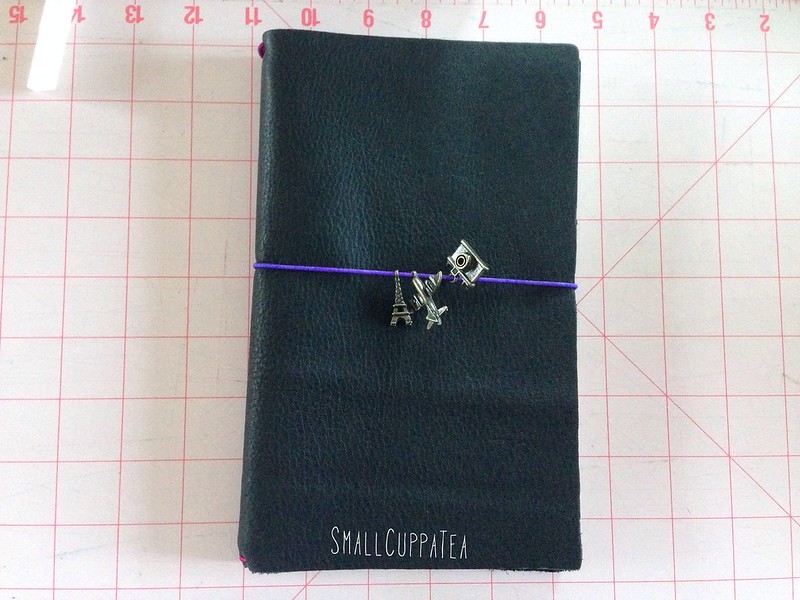
For the last year, I've been crushing on the Midori Traveller's Notebook. I do a lot of art on the side and this notebook would be a good way for me to carry and do art. I normally carry a Filofax Original A5 organiser and doing art in that is not a good idea. Sure, I doodle in my weekly pages and slightly decorate it with washi tapes and such, but the sketching, the list challenges, I'd like to keep that separate. My Filofax is made to organise my life and I wanted a Midori to facilitate my creative side.
So, I've looked around the web for the notebook and decided that Amazon might be the place I should buy it, since I've already got a few items in my cart. After inspecting the reviews and most of all, photos of the product, I was highly disappointed where it's made. It's a Japanese product, yet it's made in Thailand and quite expensive. I always advocated for locally made products, so I decided to search the web for a DIY Midori Traveller's Notebook post.
After a day of searching, I found Julie Strietelmeier's post on The Gadegetter. Her instructions were simple and she's even totalled up how much she's spent on materials.
It took me about three months to finally decide to make the notebook for myself. Yes, for a person who's into time management and absolutely despises procrastination, I've procrastinated on this. I've even procrastinated in visiting Tandy Leather.
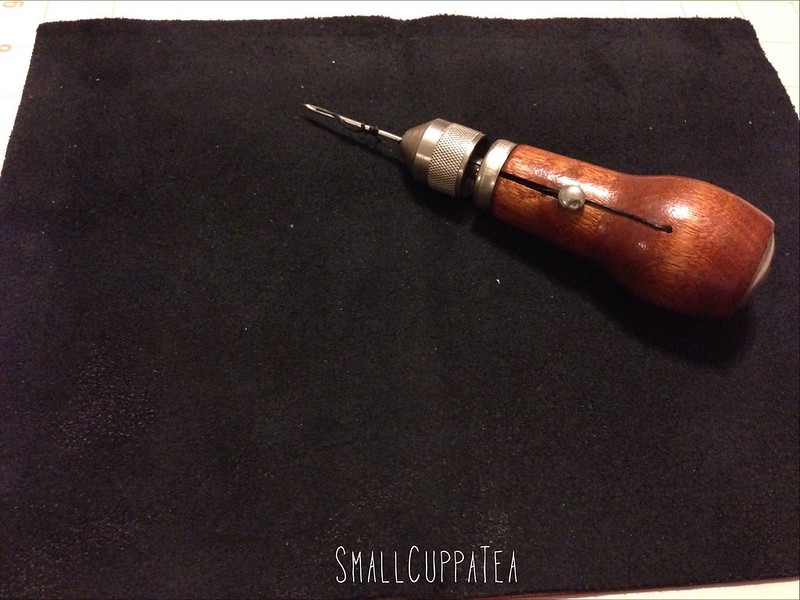
Making this notebook is very simply and it only took me around fifteen to thirty minutes. Here are the materials I've used and they're all US and UK made materials.
Black Leather Trim - $3.99 (I had a 50% off coupon to Michael's)
2 mm Elastic Cord - $1.49
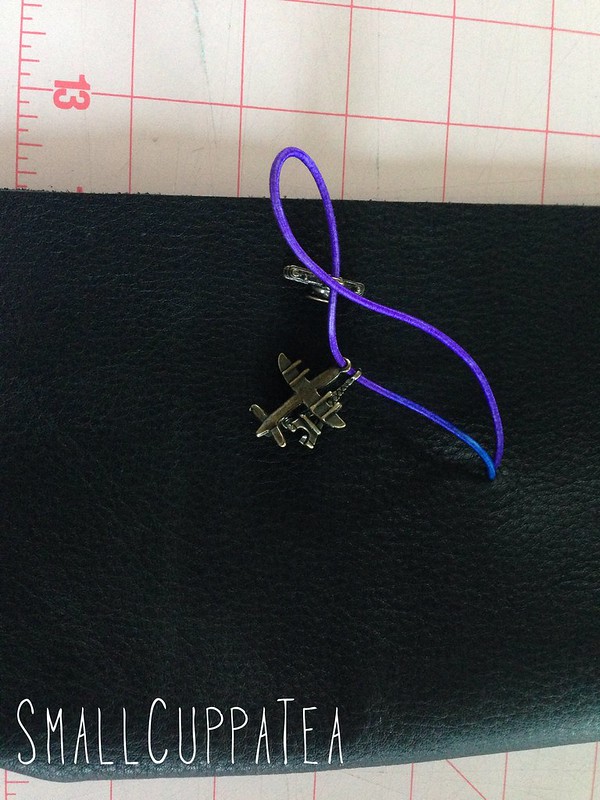
Travel Charms - $2.99
Total with tax: $9.14
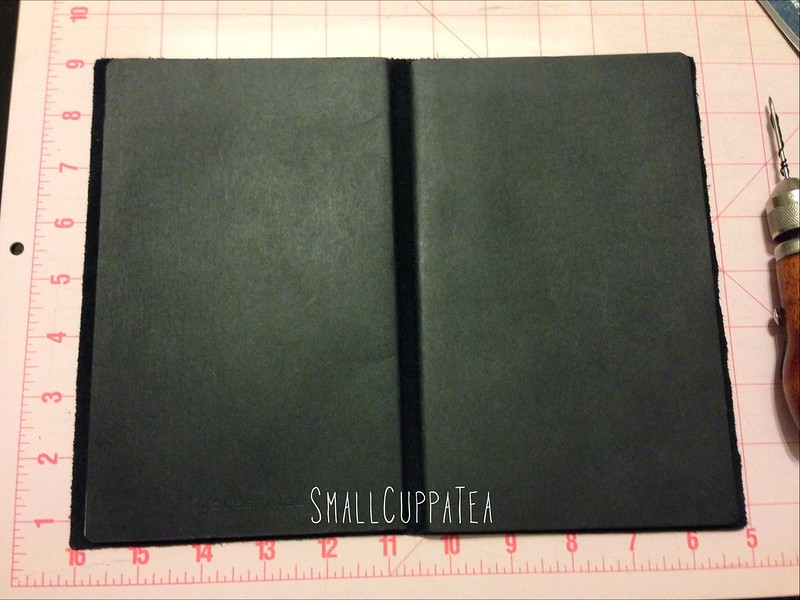
The first step in making the notebook was to measure it out. I didn't think I needed to measure since the trim I've purchased was already pre-cut. Thankfully, I've already got all the leather sewing materials and didn't need to purchase them.

With the two elastic cords threaded through to the inside of the leather fabric, I tied two knots to hold it in place. Next, I made another hole in the middle of the right side of the fabric, threaded the shorter piece of elastic cord with the charms already looped through it and knotted the cord.


0 comments