Planner

Post-Graduate University and Stationery

1:03 PM


Earlier this month, I've finally received a letter from my chosen university that I had been accepted into their post-graduate program. I was overjoyed and the same time a bit relieved since it's the only university I've applied to. I know, I should have had a back-up university, but it was the only one that offered a fellowship at a community college.


After getting the admissions letter, I began prepping for the Fall Trimester. I knew I needed different coloured pens and Pilot Frixon highlighters, though I've already have them. My first stop was Staples where I purchased these items.
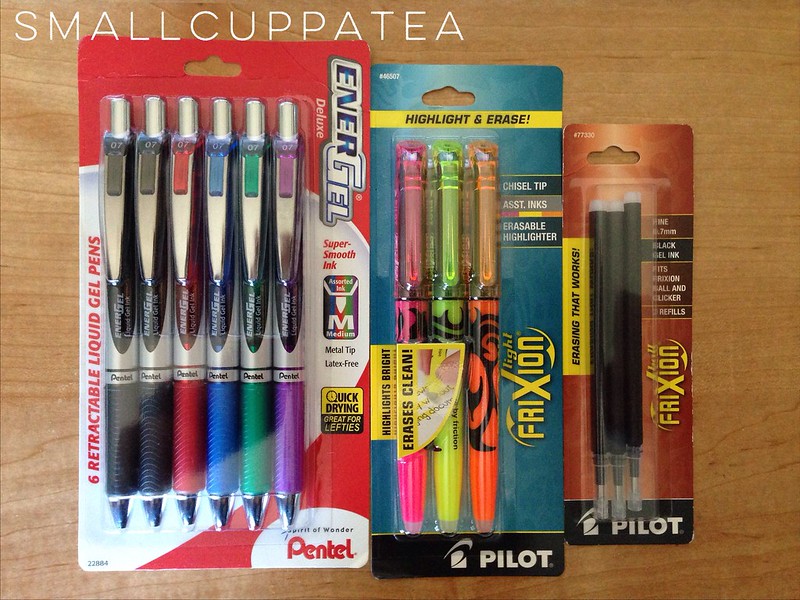

I love using the Pentel Energel pens since they write smooth and does not smudge easily. I was using this brand in my Filofax a few years back (along with others as I experimented with what pens would work). I stopped using them since I wanted the ability to erase any mistakes I make when writing in my Filofax, so I opted for the Frixion Pens. Although I can erase pretty much everything I write in my Filofax, I still cross things out when it's cancelled.

With the Pilot Frixion Highlighters, I absolutely love them since I can highlight and erase if I've gone too far on the text. Back in the late 1990s, I've discovered an erasable highlighter by Crayola and I've been hooked since. So when I found the Pilot Frixion Highlighters several years ago, I bought a packet since they had colours other than yellow.

I also purchased refills for my Pilot Frixion pens since I use the black one in my Filofax quite regularly.

Now that I'm in post-graduate university, I've started to think about the way I plan in my Filofax and the many stationery items I've purchased over the years.


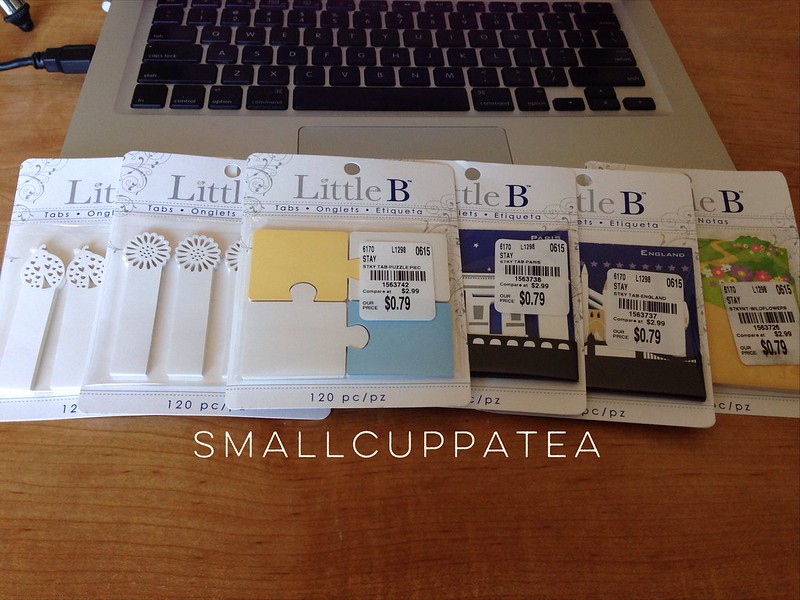
Since acquiring more stationery stuff, I've decided to put it on a wicker basket on top of my desk so I can start using it up. I know it doesn't look like I've got a lot in there, but trust me, I do. And last week, I purchased some tabs from Tuesday Morning.

I've also somehow acquired quite a bit of washi/paper tape and I know there is no chance I'll be able to use this all up
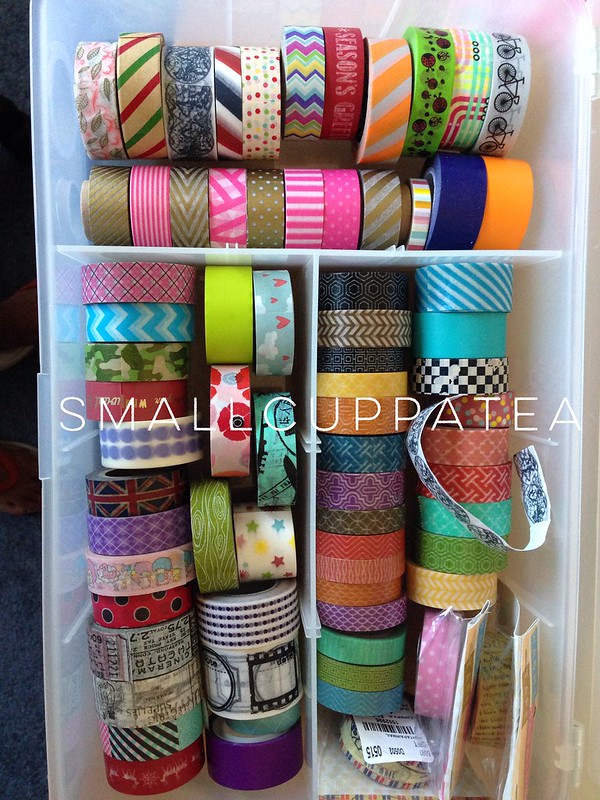

As much as I want to use washi tapes and stickers to decorate my inserts in my Filofax, I'm going to have to refrain as I need to see what I have going on in the week. Thesis, research and homework must be on the forefront of my Filofax rather than have it littered with cute decoration.  So, today, I'm going to revise my Filofax set up for the coming season. I'll post about that this coming week.

I'm also going to take a cue from Angela at PaperLoveStory and add my journey through post-graduate university.

So for now, ta-ta and I hope you had a great weekend!
Crafts

DIY Midori Traveller's Notebook

9:17 AM


It's been a month since I last posted to this blog. If I'm supposed to be a lifestyle blogger, then I should be posting daily, but life kind of got in the way and there is no excuse for that. Yet, I'm still going to offer up the excuse that I've been busy writing and editing my admissions essay for post-graduate studies, which I am glad to say that I've been accepted. I start my first trimester this coming autumn.

So, on with the post.

For the last year, I've been crushing on the Midori Traveller's Notebook. I do a lot of art on the side and this notebook would be a good way for me to carry and do art. I normally carry a Filofax Original A5 organiser and doing art in that is not a good idea. Sure, I doodle in my weekly pages and slightly decorate it with washi tapes and such, but the sketching, the list challenges, I'd like to keep that separate. My Filofax is made to organise my life and I wanted a Midori to facilitate my creative side.

So, I've looked around the web for the notebook and decided that Amazon might be the place I should buy it, since I've already got a few items in my cart. After inspecting the reviews and most of all, photos of the product, I was highly disappointed where it's made. It's a Japanese product, yet it's made in Thailand and quite expensive. I always advocated for locally made products, so I decided to search the web for a DIY Midori Traveller's Notebook post.

After a day of searching, I found Julie Strietelmeier's post on The Gadegetter. Her instructions were simple and she's even totalled up how much she's spent on materials.

It took me about three months to finally decide to make the notebook for myself. Yes, for a person who's into time management and absolutely despises procrastination, I've procrastinated on this. I've even procrastinated in visiting Tandy Leather.

Making this notebook is very simply and it only took me around fifteen to thirty minutes. Here are the materials I've used and they're all US and UK made materials.

Black Leather Trim - $3.99 (I had a 50% off coupon to Michael's)
2 mm Elastic Cord - $1.49
Travel Charms - $2.99

Total with tax: $9.14

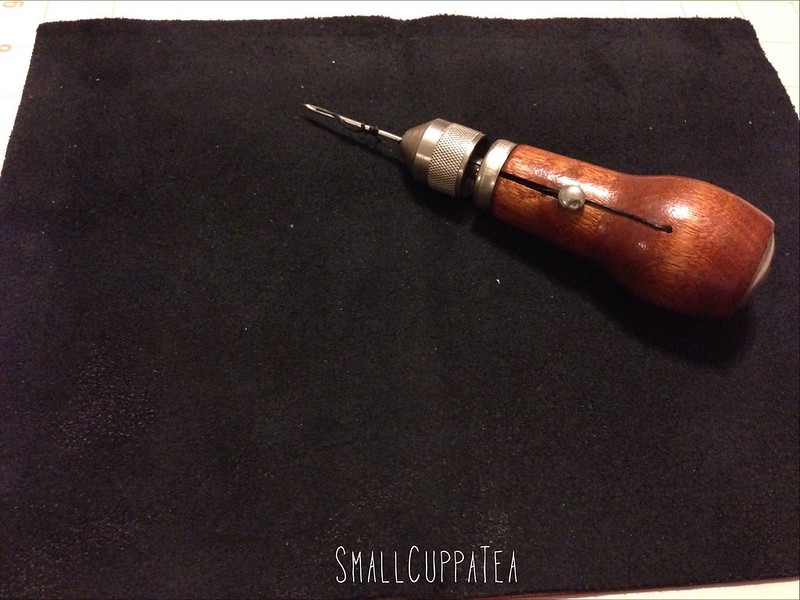
The first step in making the notebook was to measure it out. I didn't think I needed to measure since the trim I've purchased was already pre-cut. Thankfully, I've already got all the leather sewing materials and didn't need to purchase them.


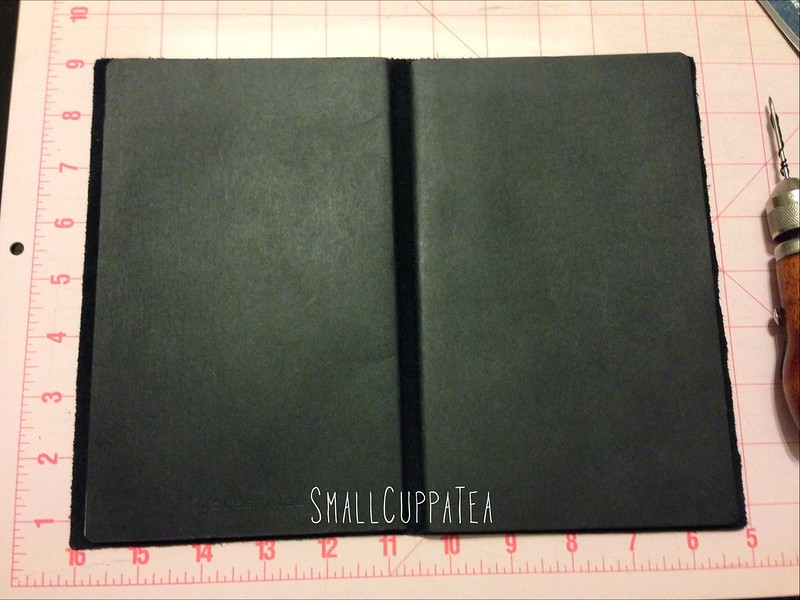
I've placed two Moleskin notebooks next to each other allowing some space in between and the edges. Then I've punched two holes in the middle top and middle bottom in between the two notebooks.


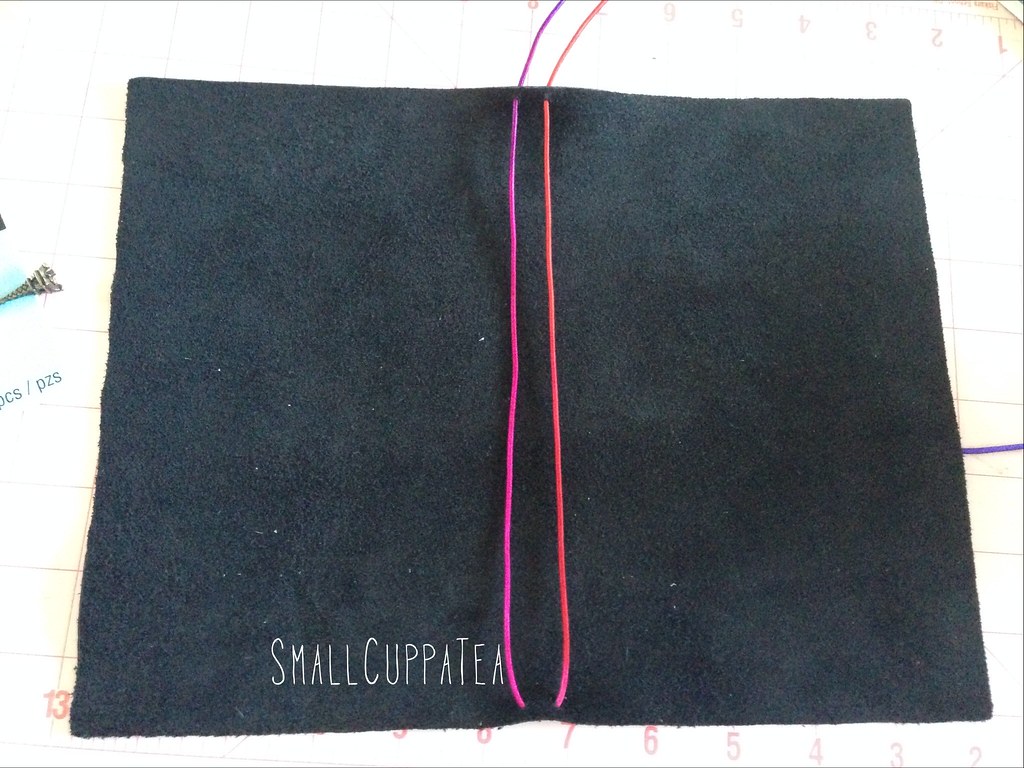
I cut a 26 inch length and a 10.5 inch length of elastic cord. I love the cord I bought since it's variegated and rather colourful. It goes well with the black leather trim. The longer piece, I've thread it through the bottom two holes on the right side of the leather fabric, then up the top two holes and back through the same top two holes. It was a bit difficult to thread it through since the hole I made wasn't quite big and the leather trim was a bit flimsy.


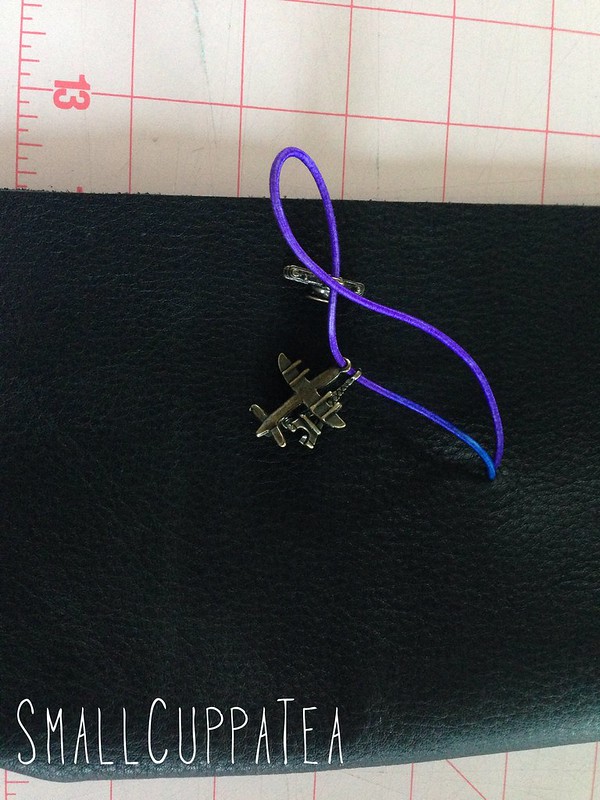
With the two elastic cords threaded through to the inside of the leather fabric, I tied two knots to hold it in place. Next, I made another hole in the middle of the right side of the fabric, threaded the shorter piece of elastic cord with the charms already looped through it and knotted the cord.


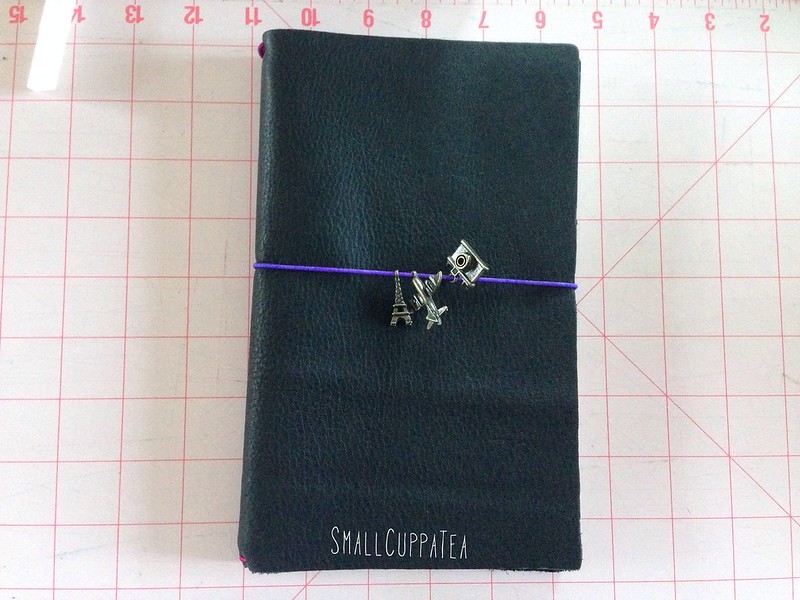
I'm pretty happy on how the traveller's notebook turned out, though I'm a bit unhappy that the moleskin notebooks were slightly large and bulking out of the leather. The material was flimsy and the next notebook I make, I'll need to make a trip to Tandy Leather and buy what was recommended to make the notebook.


What about you, do you own a Traveller's Notebook and what do you use it for?

Food

Review: 5 Ingredient Blender Muffins

4:29 PM


Right, so I've not blogged for over a month. I've been quite busy lately with going through my digital photos, reading applications from high school students for college scholarships, and preparing to apply to post graduate school.

I've been on Pinterest for quite some time now. I pin everything from sewing projects, scrapbooking, fashion, home solutions, recipes, etc. Since I'm on a kick on eating healthy, I happened to come upon a pin which featured a Five Ingredient Blender Muffins. There's no flour or cane sugar involved. I thought, why not try it. If it doesn't work, then no harm done.

Technically, the recipe called for six ingredients, possibly more depending on what type of muffin you want to make. I'll link the recipe at the bottom of this post.

It was the perfect time to make the muffins. I had one very ripe banana and one last egg in my refrigerator. I took out my trusty Vitamix blender and combined the ingredients together.

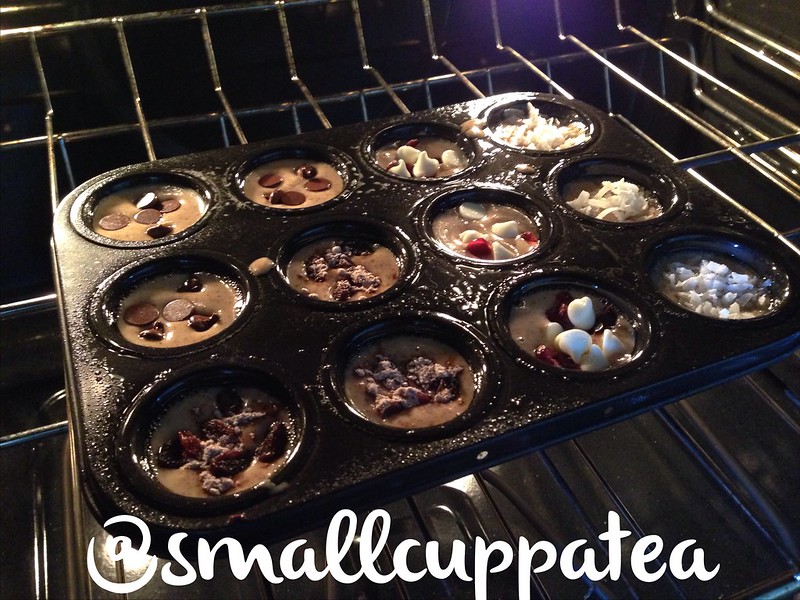
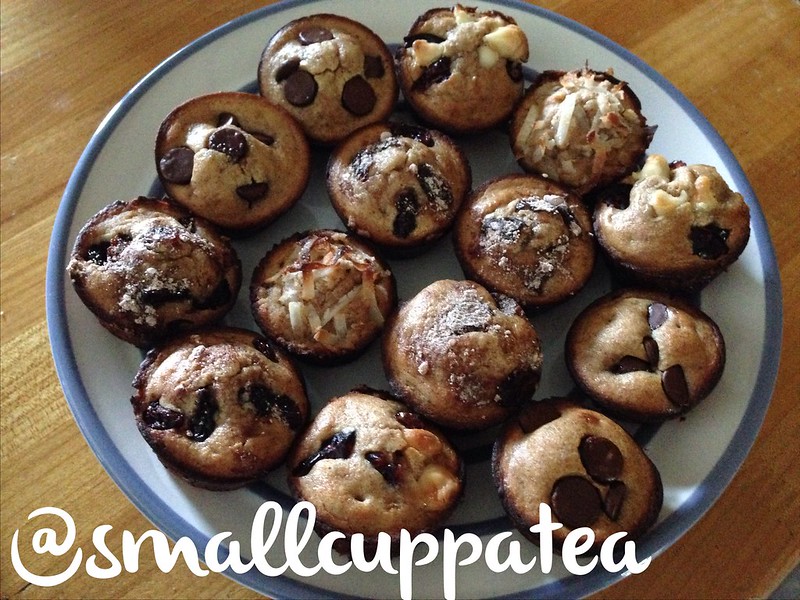
My batter didn't look quite near the batter Happy Healthy Mama made. It was very watery. I assumed it was from the oil from the Almond Butter.  I made a few different recipes with the muffin base -- chocolate chip, white chocolate and cranberry, cinnamon raisin, and coconut and placed them in mini muffin tins.


Surprisingly enough, they turned out pretty good even though I've slightly burned the sides. I had my oven at 400°F. My tip would be watch your temperature. Not every oven runs the same temp. Overall, it's something I would probably make again. As promised, here's the link to the recipe. Five Ingredient Blender Muffins.

Instagram